


6
5
ASSEMBLY
INSTRUCTIONS
Read all instructions on
these two pages before
you start. Check that your
household voltage matches
that shown on label on
bottom of food processor
base.
Note: Before using the Pro
Plus
™
for the first time,
wash all parts except base
in hot, soapy water. Rinse
and dry thoroughly. Handle
metal blade and slicing disc
or shredding disc with great
care. Their blades are
razor-sharp. Do not leave
them in soapy water, where
they may disappear from
sight. Never immerse base
in water or any liquid.
1. Put base on counter or
table near electrical
outlet. Do not plug in
until food processor is
totally assembled.
2. Pick up empty clear
work bowl, holding it
in both hands, with
handle toward you.
Put bowl on base,
fitting center tube over
shaft on base and
placing handle slightly
to left of front
center (7 o’clock.)
Hold bowl by handle
and turn bowl counter-
clockwise as far as it
will go. It will click into
locked position.
3. Pick up metal blade by
center plastic part.
Never touch metal
cutting blades, which
are razor sharp.
Place blade over motor
shaft, twisting it gently
clockwise until it drops
into place over shaft.
Push top of center
plastic part to push
blade down as far as it
will go. Lower blade
should almost touch
bottom of bowl.
4. Put cover on bowl, with
feed tube at back,
slightly to right of
center.
5. With hand on feed
tube, turn cover coun-
terclockwise to lock it
into place. It will click
into position easily. Do
not force it.
Motor will not start
unless work bowl is
securely locked in
position and cover is
securely locked on
work bowl.
6. Hold pusher with more
rounded side toward
you and insert it in feed
tube. Always use
pusher to guide food
through feed tube.
Never use your fin-
gers or spatula.
Plug your Cuisinart
®
Pro Plus
™
into a house-
hold electrical outlet.
To remove cover,
unlock it by turning it
clockwise, then lift it
straight up.
THE MACHINE
FUNCTIONS
Control switch on base of
machine has 3 positions,
giving you fingertip control
of operation.
ON (Continuous)
For continuous operation,
move control switch up to
ON position. Motor will
start, if you have followed
assembly instructions.
OFF
To turn motor off, move
control switch down to OFF
position in center.
PULSE
For on-off operation, called
pulse-chopping or pulsing,
press control switch down
to PULSE position, then
release it.
Motor runs as long as you
hold control switch down.
Motor stops when you
release control switch. Try
it a few times.
You control duration and
frequency of pulses by
length of time you hold
control switch down and
rate at which you press it.
Allow enough time between
pulses to let food in work
bowl fall to bottom.
Always use switch for
pulse/chopping. Never turn
cover back and forth to
start and stop processor.
OPERATING
INSTRUCTIONS
You may want to practice
before actually using the
Pro Plus™ to prepare food
for a meal. Try soft fruit or
vegetables like an apple or
zucchini.
Chopping,
Pureeing, Mixing
1. Remove cover and put
some food into work
bowl. First, cut food into
3/4-inch (2cm) pieces.
You will get a more even
chop if you start with
pieces that are all the
same size.
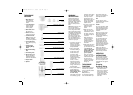
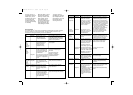
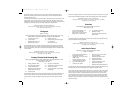
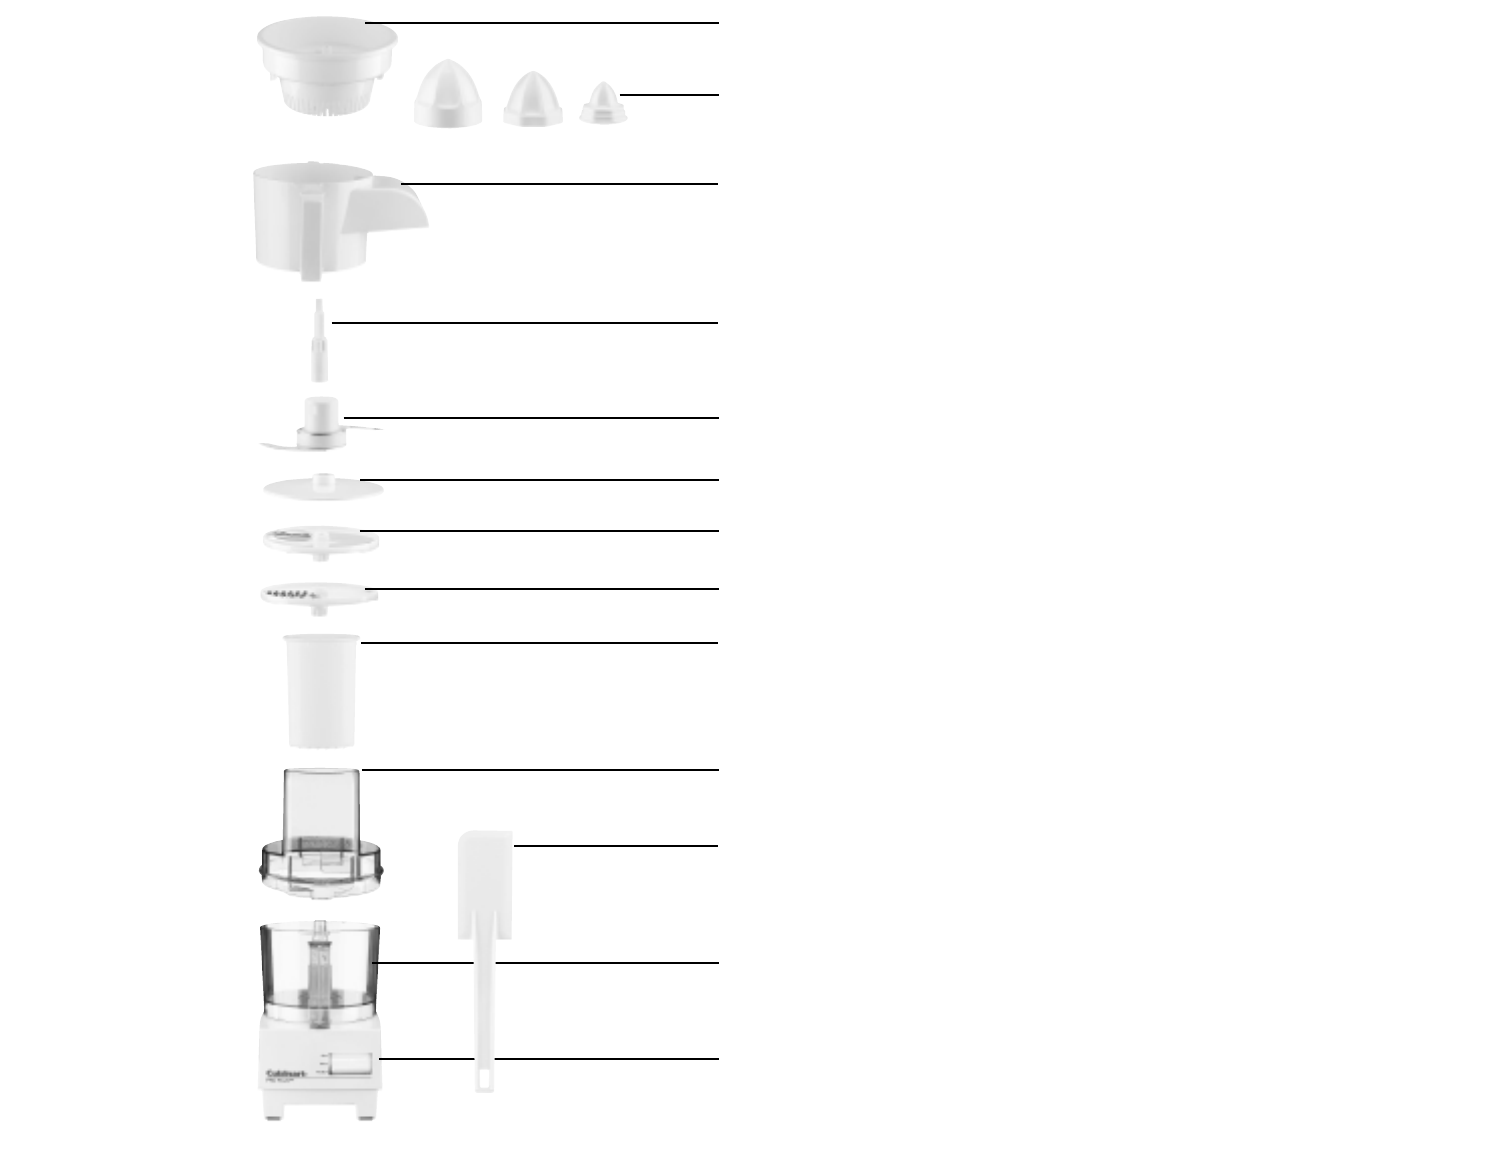
THE MACHINE
INCLUDES
1. Motor Base with
motor shaft and
3-position control
switch
2. 3-cup Work Bowl
made of durable
shatter-resistant
Lexan
®
plastic.
3. Work Bowl Cover
with feed tube.
4. Pusher that slides
inside the feed tube.
5. Continuous Feed
Chute for slicing and
shredding unlimited
amounts of ingredients.
6. Juicer Attachment
with 3 sizes of juicing
cones.
7. Stainless Steel
Chopping/Mixing
Blade
8. Medium Shredding
Disc
9. 2mm Slicing Disc
10. Ejector Disc directs
sliced or shredded
ingredients through
feed chute attachment.
11. Adapter Stem
12. Spatula
Pusher
3-Cup Work Bowl
Cover with Feed Tube
Housing Base
Spatula
Chopping/Mixing Blade
2mm Slicing Disc
Ejector Disc
Adapter Stem
Continuous Feed Chute
Citrus Attachment
3 Juicing
Cones
Medium Shredding Disc
02CU13467 LPP IB rev 3/4/04 6:30 PM Page 6