Living innovation
Blender
KF8110J
4
• Packaging must never be left within the reach of children since it is
potentially dangerous.
• To prevent accidents or damage to the appliance, always
keep your hands and cooking utensils away from the blades
and moving parts.
• Unplug the appliance when it is not in use, before cleaning
it, and before fitting or removing parts and attachments.
PLEASE RETAIN THESE INSTRUCTIONS
The De'Longhi blender, which combines professional function with
practical use, will become an irreplaceable ally in your kitchen. It is:
- easy to use, thanks to the filler cap that allows you to introduce
items while the blender is operating.
- ideal for instant recipes.
- irreplaceable for making quick, excellent water-ices..
INSTRUCTIONS FOR USE
WARNING
PREPARE THE CONTAINER WITH THE ITEMS TO BE BLENDED
AND FIT IT TO THE MOTOR BODY BEFORE INSERTING THE PLUG.
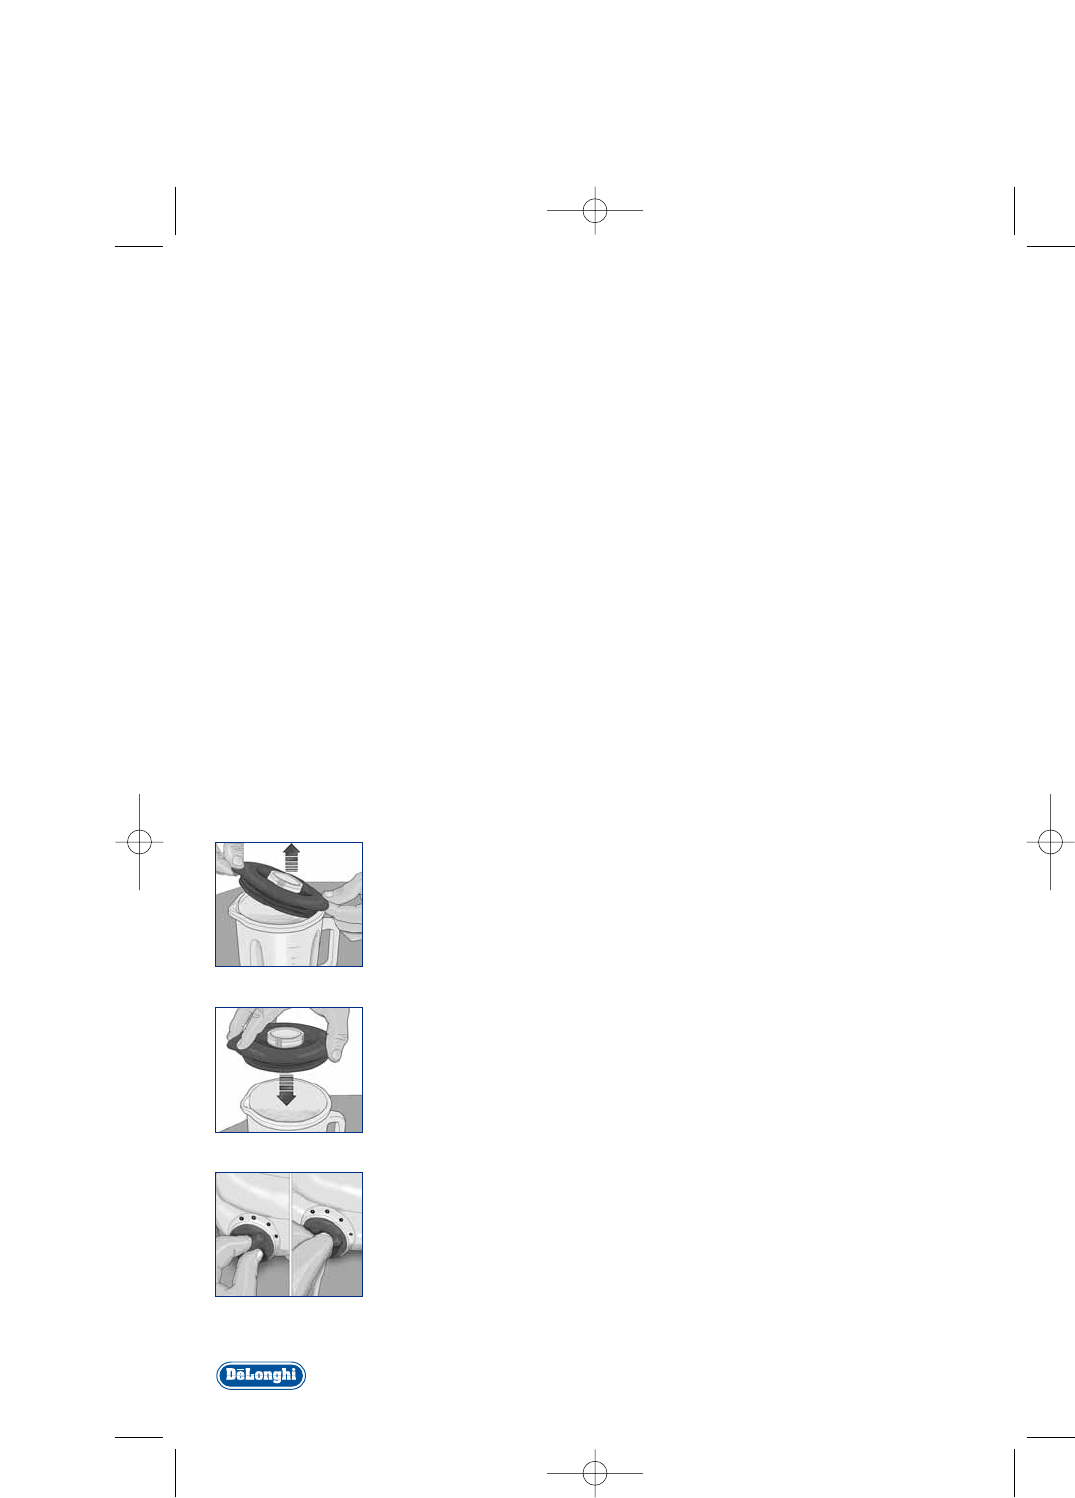
- Lift the lid (B) (Fig. 1).
- Cut the food into small pieces and place it in the glass goblet (C); do
not exceed the maximum level, which is marked on the container.
- Close the glass goblet (C) with the lid (B) (Fig. 2) and fit it onto the
motor body.
- Insert the plug and turn the on control (F) clockwise to the first or
second mark to start the blades (Fig. 3).
Turning the control (F) clockwise to the second mark will increase
the speed of the blades (Fig. 3).
Turning the control (F) anticlockwise will activate the PULSE fun-
ction (Fig. 4), very useful for short periods of processing.The
appliance functions as long as is kept in the P position.
NEVER REMOVE THE LID DURING USE.
- During use it is possible to add foods to the container by turning
and lifting out the filler cap (A) (Fig. 5), after first switching off the
appliance.
- It may become necessary to switch off the appliance several times in
order to remove any food residues from the sides of the container.
In this case, switch off the appliance and unplug the power cord.
- Remove the filler cap and lid and remove any residues from inside
the container using a spatula.
Fig. 1
Fig. 3
Fig. 2
MANHATTAN_DeLonghi.qxp 8-05-2006 17:10 Pagina 4


