


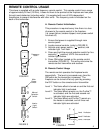
MANUAL SELECTION SWITCH
Operates the electric fireplace in the same manner as the remote control transmitter. Pressing
the switch up (“ I ” position) has the same effect as the ON button on the remote control and
pressing the switch down (“ II ” position) has the same effect as the OFF button of the remote
control. Pressing the switch up once activates Level 1, twice activates Level 2, three times
activates Level 3. Pressing the switch down turns the electric fireplace OFF.
Level 1: The flame effect is turned on and the first red indicator light flashes momentarily.
Level 2: The flame effect remains on, the heater is activated to the low heat setting, and the first and second red
indicator lights flash momentarily.
Level 3: The flame effect remains on, the heater is set to the high heat setting, and all three red indicators flash
momentarily.
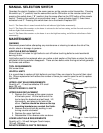
MAINTENANCE
WARNING
Disconnect power before attempting any maintenance or cleaning to reduce the risk of fire,
electric shock or damage to persons.
LIGHT BULB REPLACEMENT
Allow at least 5 minutes for light bulbs to cool off before touching bulbs to avoid accidental
burning of skin.
Light bulbs need to be replaced when you notice a dark section of the flame or when the clarity
and detail of the log exterior disappears. There are two bulbs under the log set which generate
the flames and embers.
TOOL REQUIREMENTS
Slot screw driver
HELPFUL HINTS
It is a good idea to replace all light bulbs at one time if they are close to the end of their rated
life. Group replacement will reduce the number of times you need to open the unit to replace
light bulbs.
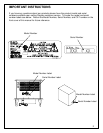
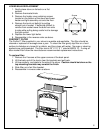
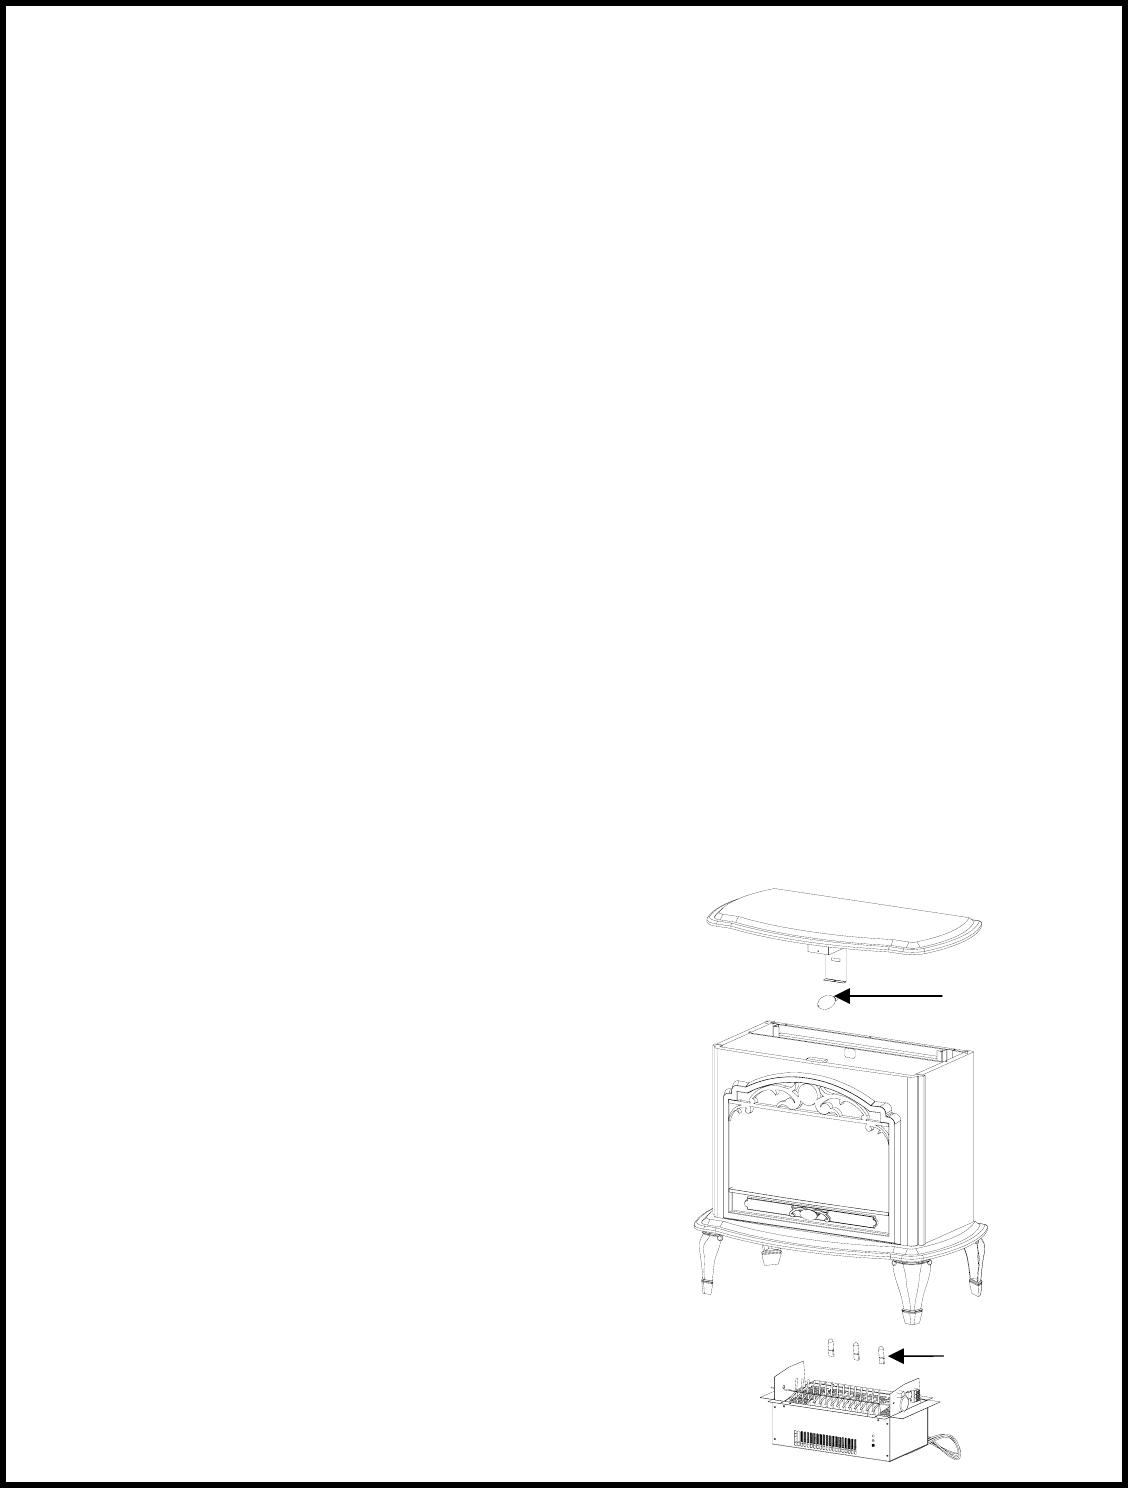
UPPER LIGHT BULB REQUIREMENTS
Quantity of 1 –15 watt candelabra E12 small
base 120 volt.
DO NOT EXCEED 15 WATTS
UPPER BULB REPLACEMENT
1. Remove the 2 screws at the upper corners
of the back panel. Lift the back end of the
top to clear the brackets and pull back. Lift
top carefully, and place to the side of the
stove. Caution should be taken as the top
mounting brackets may scratch the finish.
2. Remove the burnt bulb by pushing in and
turning counter-clockwise.
3. Replace the upper light bulb.
4. Reassemble in the reverse order as above.
LOWER LIGHT BULB REQUIREMENTS
Quantity of 3 – 35 watt Halogen Quartz lamps,
120 volt, G9 base.
DO NOT EXCEED 35 WATTS PER BULB
Upper Light Bulb
Lower Light Bulbs
5