


8
Electrical connection.
It is essential that the electrical installation is carried
out correctly, taking into account all relevant regula-
tions and codes of practice. Your wine cellar will
operate on a mono-phased alternating current.
Please check that the voltage shown on the data plate
corresponds to your power supply.
WARNING – THE WINE CELLAR MUST BE
EARTHED.
The wine cellar is fitted with a plug intended for an
earthed socket. Dometic and its subsidiaries will not be
held responsible for any incident due to non-existent or
defective earth wires.
Electrical leads must be routed and secured so
that they cannot come into contact with hot or
sharp parts of the wine cellar.
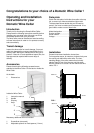
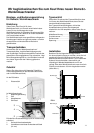
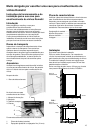
Adjust the feet of the wine cellar so that it stands in a
vertical position in both directions. Use a spirit level if
necessary.
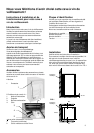
1. Remove the transport pallet on which your wine
cellar rests.
2. Adjust the feet to allow a 30 mm clearance under
the wine cellar. FIG 1
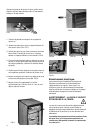
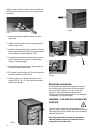
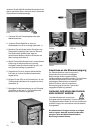
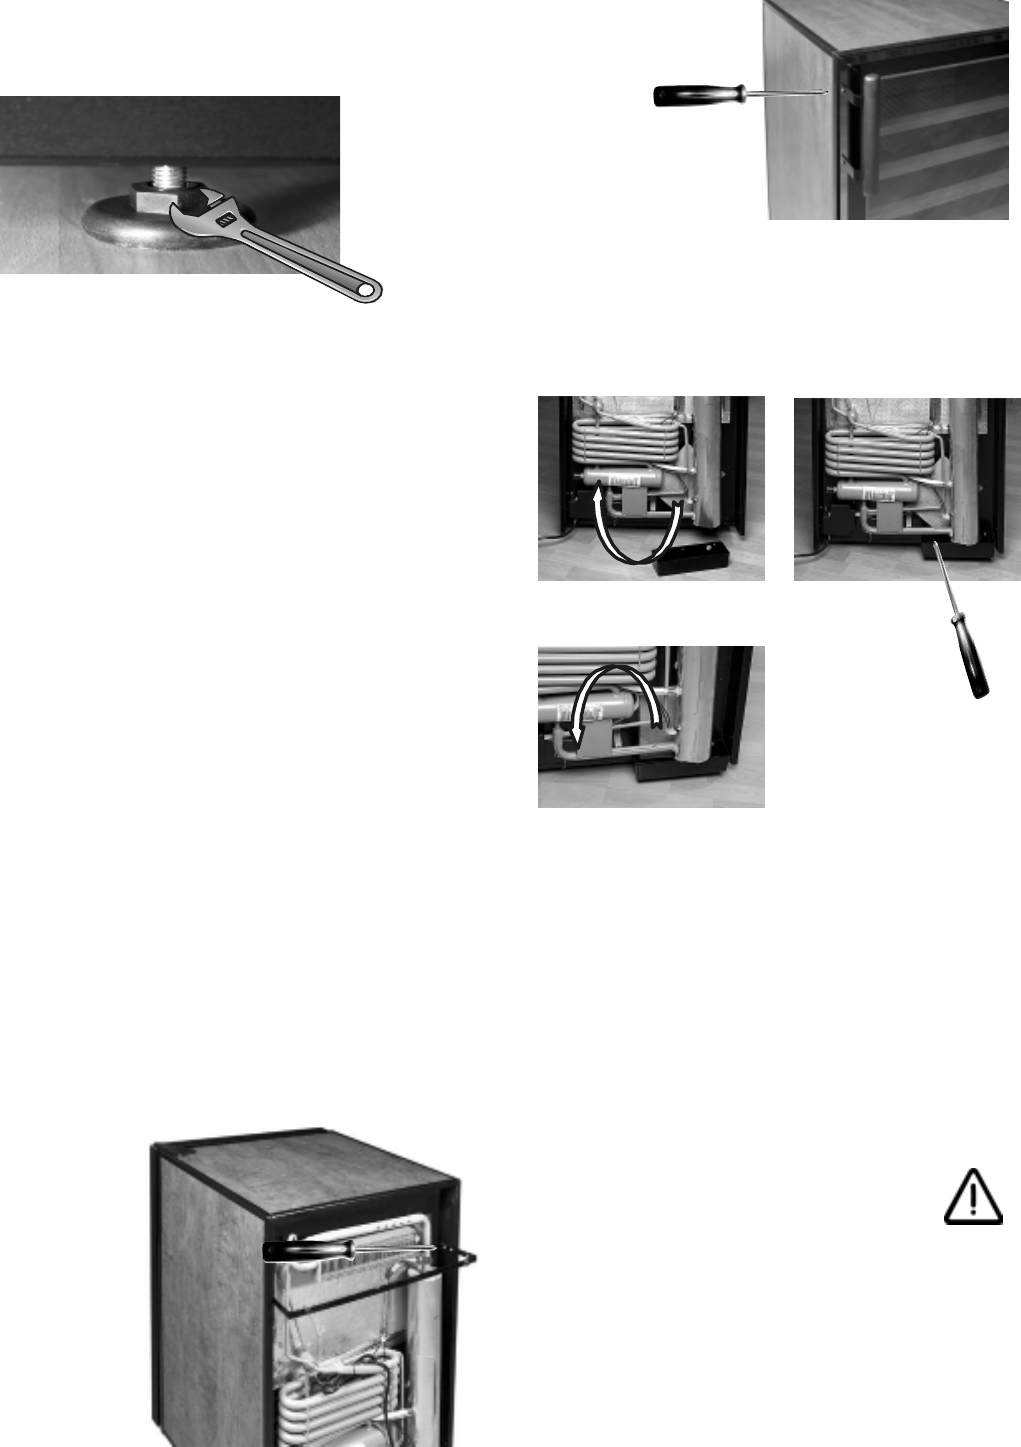
3. Attach the steel rod using the two screws at the top
back on each side of the cellar. The rod ensures the
correct distance to the wall behind. FIG 2
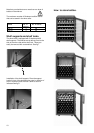
4. For optimum performance, please place your wine
cellar far away from any source of heat (radiator,
cooker or intense sunlight).
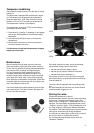
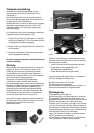
5. Check that the charcoal filter is in place at the top
left corner inside the wine cellar.
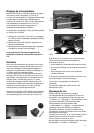
6. Fit the door handle to the door. The door frame has
pre-drilled holes on its side. FIG 3
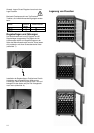
7. Attach the driptray on the back as shown on the
pictures FIG 4a , 4b , 4c . The screws are already
attached at the back.
FIG 2
FIG 3
FIG 4a FIG 4b
FIG 4c
FIG 1