


6
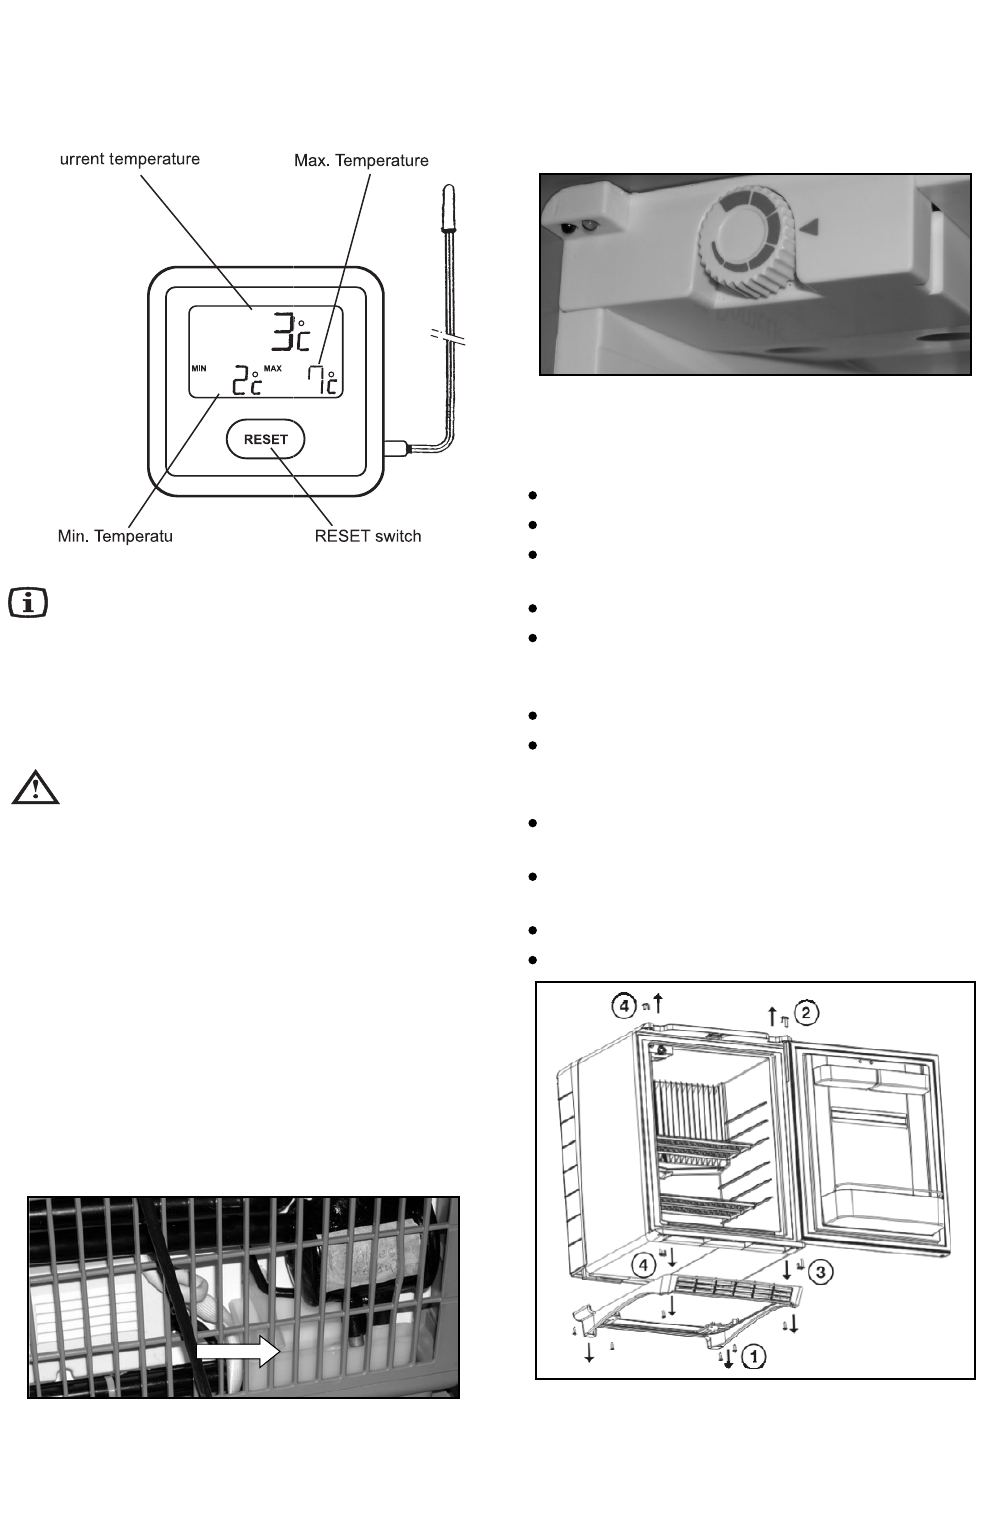
The temperature readings may rise temporarily after
opening the door or placing additional items inside the
cabinet.
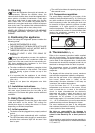
On the thermometer the battery transit strip must be
removed to activate the temperature display.
Figure 4.
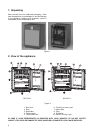
7. Useful suggestion
Do not overfill the appliance. It is advisable to leave
some space between the products in the cabinet to
ensure efficient and even cooling. If the shelves are
packed too tightly there may be unacceptable
temperature variations.
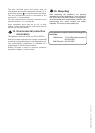
8. Defrosting, cleaning and
maintenance
Frost will gradually form on the cooling surfaces and it
must not be allowed to become too thick since it acts
as an insulator and interferes with the cooling.
We recommend to defrost the appliance in every 3
weeks, or depending on the ice quantity on the
cooling fins. While defrosting the appliance should be
switched off by disconnecting the refrigerator from the
electricity supply and leave the cabinet door open.
The frost will melt and the defrost water will run
through the drain tube from the drip channel into an
evaporating vessel located at the bottom rear of the
refrigerator. (Fig 5.)
After defrosting the cabinet interior should be wiped
out with a clean, damp cloth.
Figure 5.
C
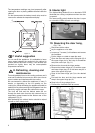
9. Interior light
Two light-emitting diodes (A) on an electronic PCB
illuminate the cooling compartment when the door
is opened.
Two sensors (B) control whether the door is open
or not and the LEDs will work accordingly.
Figure 6.
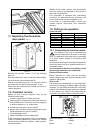
10. Reversing the door hang,
(Fig. 7-8.)
Disconnect at the mains.
Lay the appliance on its side.
Loosen up 7 screws (1) of footframe and remove
the footframe.
Put the fridge on a desk to ease the work.
Open the door and snap out the fixing tab (2) of
the upper hinge pin by the help of screwdriver
and push out the pin. (fig. 8.)
Remove the door and the hinge washer.
Remove the bottom hinge pin (3) and the upper
and lower hinge plug (4) in the same way as in
case of the upper hinge pin.
Snap in the lower hinge pin (3) to the desired
side.
Put back the door and the hinge washer and
snap in the upper hinge pin (2).
Snap in the 2 hinge plugs (4) too.
Put back the footframe with its screws.
Figure 7.
B
B
A
A