INSTRUCTIONS FOR USE
HOW TO START THE REFRIGERATOR
Leveling
In
the boiler ammonia vapor is distilled from an am-
monia-water mixture and carried to the fined con-
denser, where it liquifies. The liqiud flows to the eva-
porator where it creates cold by evaporating into a
circulating flow of hydrogen gas. If the evaporator coil
is not level the liquid readily accumulates, forming
pockets which can impair the gas circulation or even
block it, in which case, of course, the cooling will stop.
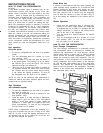
When the recreational vehicle is stationary it must be
leveled to be comfortable to live in. If the refrigerator
is properly installed, i e the freezer shelf parallel to
the floor, the refrigerator will then also perform well.
A dubble level should be placed on the freezer shelf.
When the vehicle is on tow, the continuous rolling and
pitching movement will not affect the refrigerator as
long as the movement passes either side of level, but
when the trailer is temporarily parked this sensitivity
of the refrigerator should be remembered. So, once
more, before you start the refrigerator make sure it is
level.
Gas operation
with piezo igniter
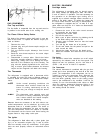
1.
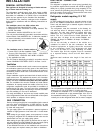
To start the refrigerator turn the knob A to position
“GAS”.
2.
Turn the thermostat knob B a quarter of a turn
from position “OFF”
3.
Push the button C to stop and push the button D
of the piezo igniter. The pushing has to be repea-
ted until the gas is lit at the burner. This can be
observed through the reflector E.
4.
After the gas is lit keep the button C pushed for
10 seconds. Release the button and check through
the reflector that the burner flame stays burning.
If not repeat the lighting procedure. To shut off
the refrigerator turn the knob A to off position.
NOTE: As soon as the necessary cold temperature in
inside the cabinet has been reached, adjust the ther-
mostat knob to required setting.
Gas Operation
with automatic reigniter
1.
To start the refrigerator turn the knob A to position
gas Lamp E comes on.
2.
Turn the gas thermostat knob B a quarter of a turn
from position “OFF”.
3.
Press the button C to stop and keep it depressed.
When lamp E goes out wait 15 sec. and release
button C. If the lamp comes on again, repeat the
procedure. If flame blow out reignition will take
place automatically. To shut off the refrigerator
turn the knob A to off position.
NOTE: After a replacement of the gas container or a
long shut off period the gas line is likely to be filled
with air. In such a case the lighting procedure has to
be repeated until the air is pushed out of the line and
the gas has reached the burner.
Flame Blow Out
If trouble is encountered
with
the flame blowing out
under specially windy conditions, try to avoid the wind
blowing against the wall where vent outlets are loca-
ted. If the trouble persists, set the thermostat to MAX.
This later measure can of course only be temporary
such as when the vehicle is on tow, for after a day or
so at this setting the foodstuffs in the cabinet will fre-
eze.
Electric
Operation
1.
Check that the attachment plug is correctly con-
nected to the mains supply. When the refrigerator
is equipped also for 12 Volts D C operation the low
voltage connection is made at the marked termi-
nals at the rear of the refrigerator.
2.
Turn the knob A to desired position for electric
operation.
3.
Turn the thermostat knob B a quarter of a turn
from position “OFF”. To shut off the refrigerator
turn the knob A to off position.
HOW
TO USE THE REFRIGERATOR
Food Storage Compartment
The food storage compartment is completely closed
and unventilated, which is necessary to maintain the
required low temperature for food storage. Conse-
quently foods having a strong odor or liable to absorb
odors should be covered. Vegetables, salads etc
should be covered to retain their crispiness. The col-
dest positions in the refrigerator are underneath the
cooling evaporator and at the bottom of the refrigera-
tor, and the least cold positions are on the upper door
shelves. This should be considered when different
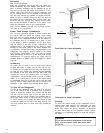
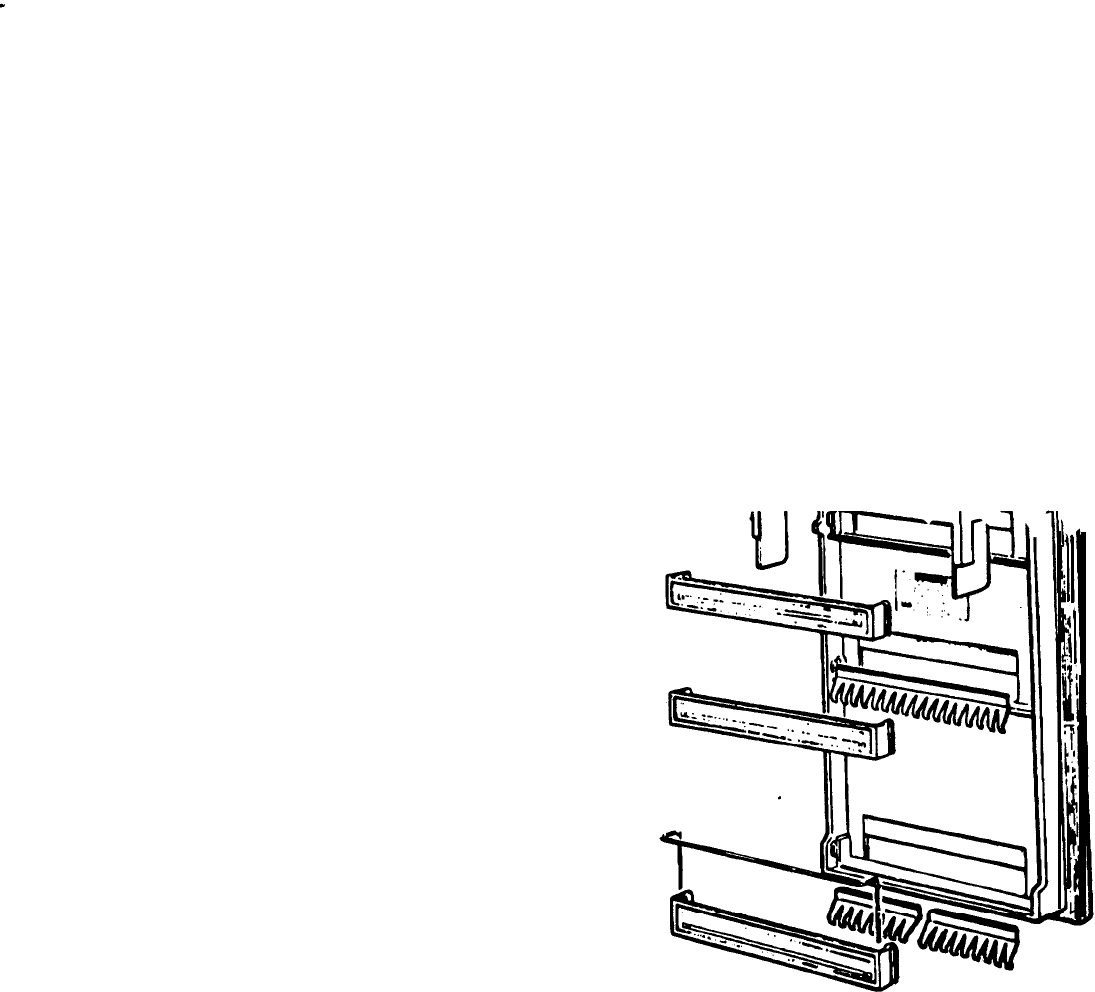
types of food are placed in the refrigerator. The bottle
retainer in the lowest door compartment is divided in
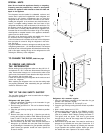
two removable parts, see fig.
Door
interior


