


POWER PRUNER
TM
ATTACHMENT
OPERATOR'S MANUAL
9
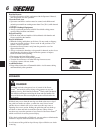
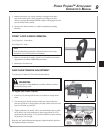
5. Rotate locator pin (A) 1/4 turn clockwise to engage lower shaft
hole. Insure locator pin is fully engaged by twisting lower drive
shaft. Locator pin should snap flush in coupler. Full engagement will
prevent further shaft rotation.
6. Secure lower shaft assembly to coupler by tightening clamping
knob (D).
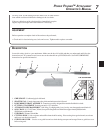
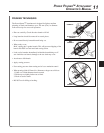
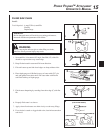
FRONT LOOP HANDLE REMOVAL
Tools Required: Screwdriver.
Parts Required: None
NOTE
Front loop handles/loop handles with barrier bars are not recom-
mended for use with Power Pruner attachment.
1. Remove front handle assembly, barrier bar (if installed), and mount-
ing hardware from PAS or SRM-SB power head.
2. Retain parts for future use.
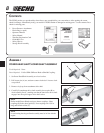
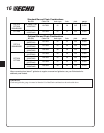
SAW CHAIN TENSION ADJUSTMENT
Tools Required: 10 mm (13/32 in.) Wrench, Screwdriver
WARNING
Always wear gloves when handling saw chain, otherwise serious
personal injury may result.
To Adjust Saw Chain Tension.
1. Loosen two (2) 6 mm guide bar nuts (A) located on cutting attach-
ment.
2. Turn the adjuster slot (B) clockwise until saw chain touches the
bottom of guide bar. Turning adjuster slot (B) counter clockwise will
loosen saw chain on guide bar.
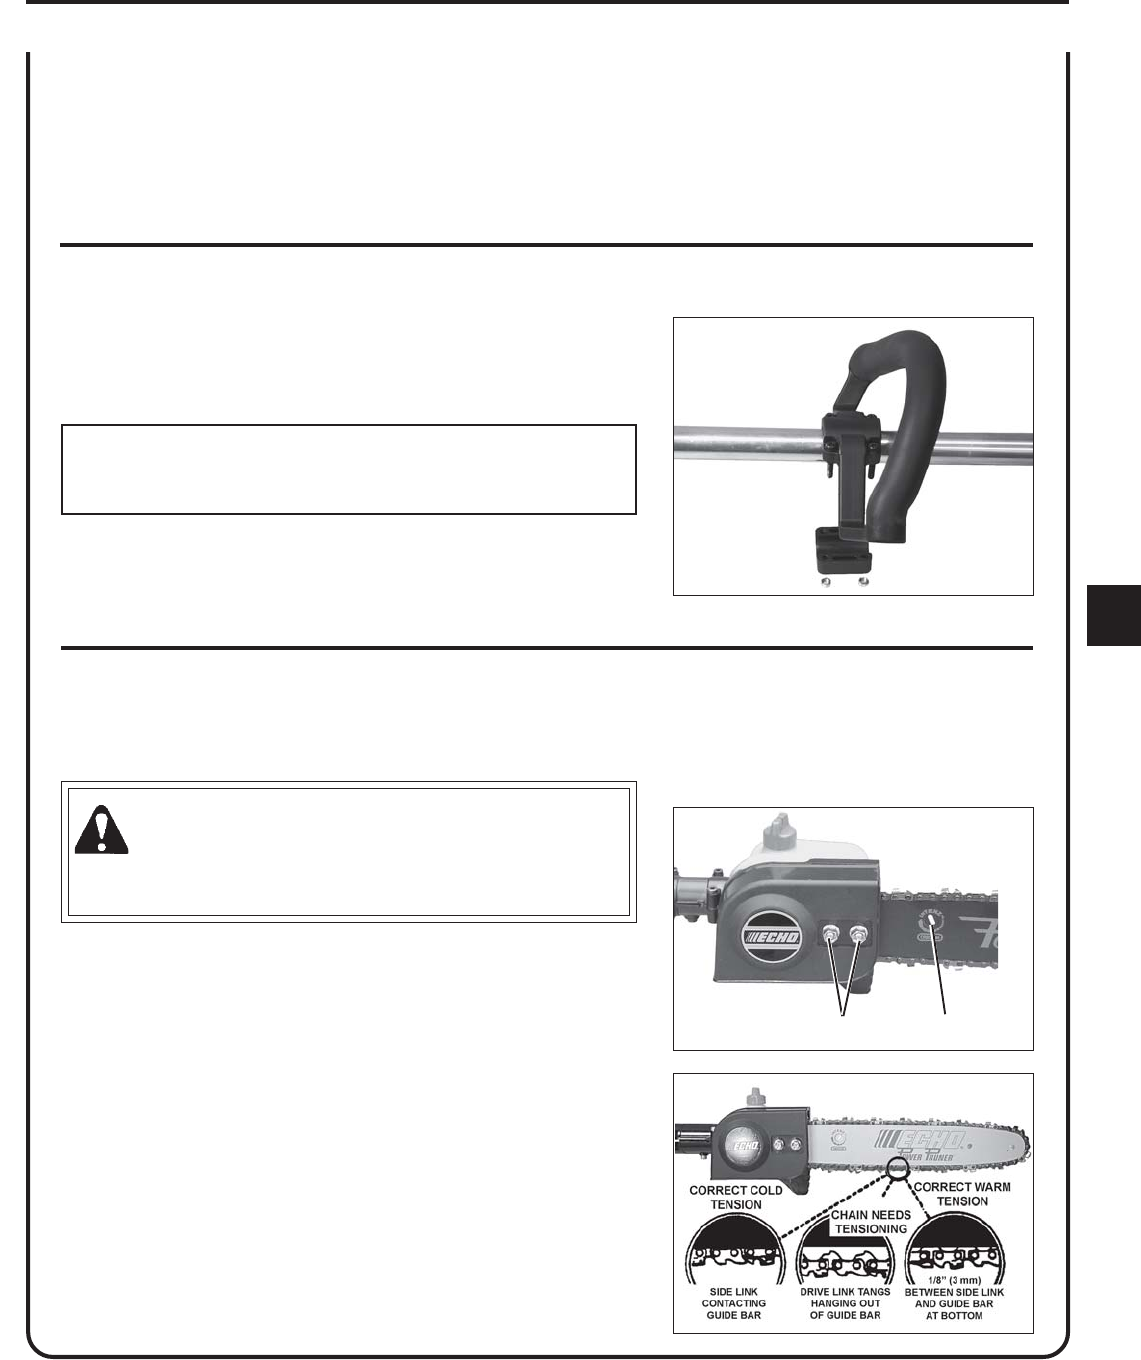
3. Tighten guide bar nuts firmly. Move saw chain backwards on guide
bar by hand. Saw chain should move freely on guide bar if it is in
proper mesh with sprocket. If saw chain is difficult to rotate or binds
on guide bar, it is too tight.
Keep the saw chain lubricated and properly adjusted and the guide bar
nuts tightened firmly at all times.
A
B