


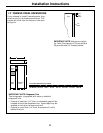
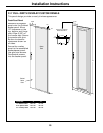
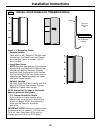
2 INSTALL WATER LINE
• A cold water supply is required for
automatic icemaker operation. The water
pressure must be between 40 and 120 psi.
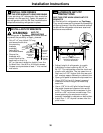
• Route 1/4″ O.D. copper tubing between
cold water line and the water connection
location.
• Tubing should be long enough to extend
to the front of the refrigerator. Allow
enough tubing to accommodate bend
leading into the water line connection.
NOTE: Certain types of plastic may crack or
rupture with age and cause water damage to
your home.
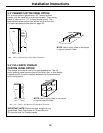
Shut off the main water supply.
Turn on the nearest faucet long enough
to purge all the water from the line.
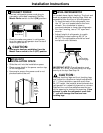
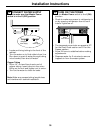
• Install a shutoff valve between the
icemaker water valve and cold water pipe
in a basement or cabinet. The shutoff
valve should be located where it will be
easily accessible.
NOTE: It is best to install the valve into a
vertical water pipe. If you install the valve into
a horizontal water pipe, make the connection
at the top or side to avoid drawing off any
sediment from the water pipe.
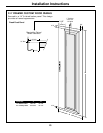
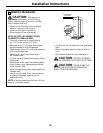
• Drill a 1/4″ hole in the water pipe.
• Fasten the shutoff valve to the pipe with
pipe clamp.
• Tighten the clamp screws until the
sealing washer begins to swell. Do not
OVERTIGHTEN.
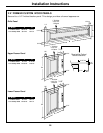
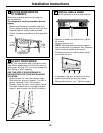
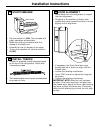
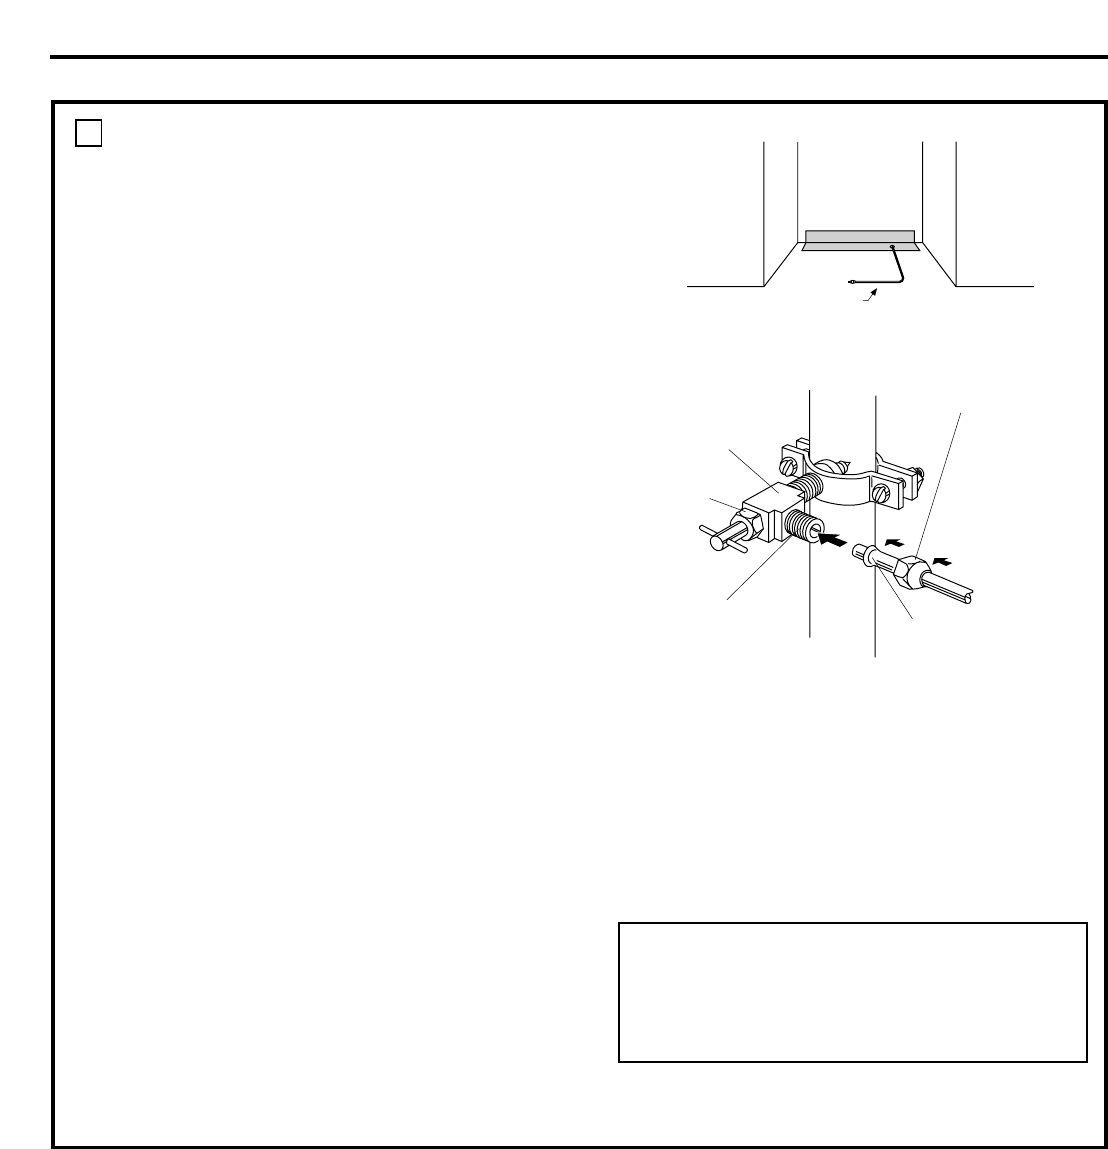
• Place a compression nut and ferrule
(sleeve) for copper tubing onto the end
of the tubing and connect it to the shutoff
valve. Make sure the tubing is fully inserted
into the valve and ferrule is tightened.
• Turn on the main water supply and
flush debris. Run about a quart of water
through the tubing into a bucket. Shut
off water supply at the shutoff valve.
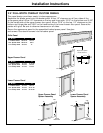
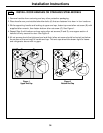
NOTE: Saddle type shutoff valves are
included in many water supply kits. Before
purchasing, make sure a saddle type valve
complies with your local plumbing codes.
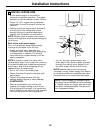
Floor
Copper Tubing
Saddle Type
Shutoff Valve
Compression Nut
Ferrule
(Sleeve)
Outlet Valve
Packing Nut
NOTE: Commonwealth of Massachusetts
Plumbing Codes 248CMR must be adhered
to. Saddle valves are illegal and use is not
permitted in Massachusetts. Consult with
your licensed plumber.
Installation Instructions
29