18
Getting Started
BEFORE SETTING OVEN CONTROLS
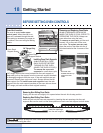
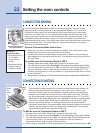
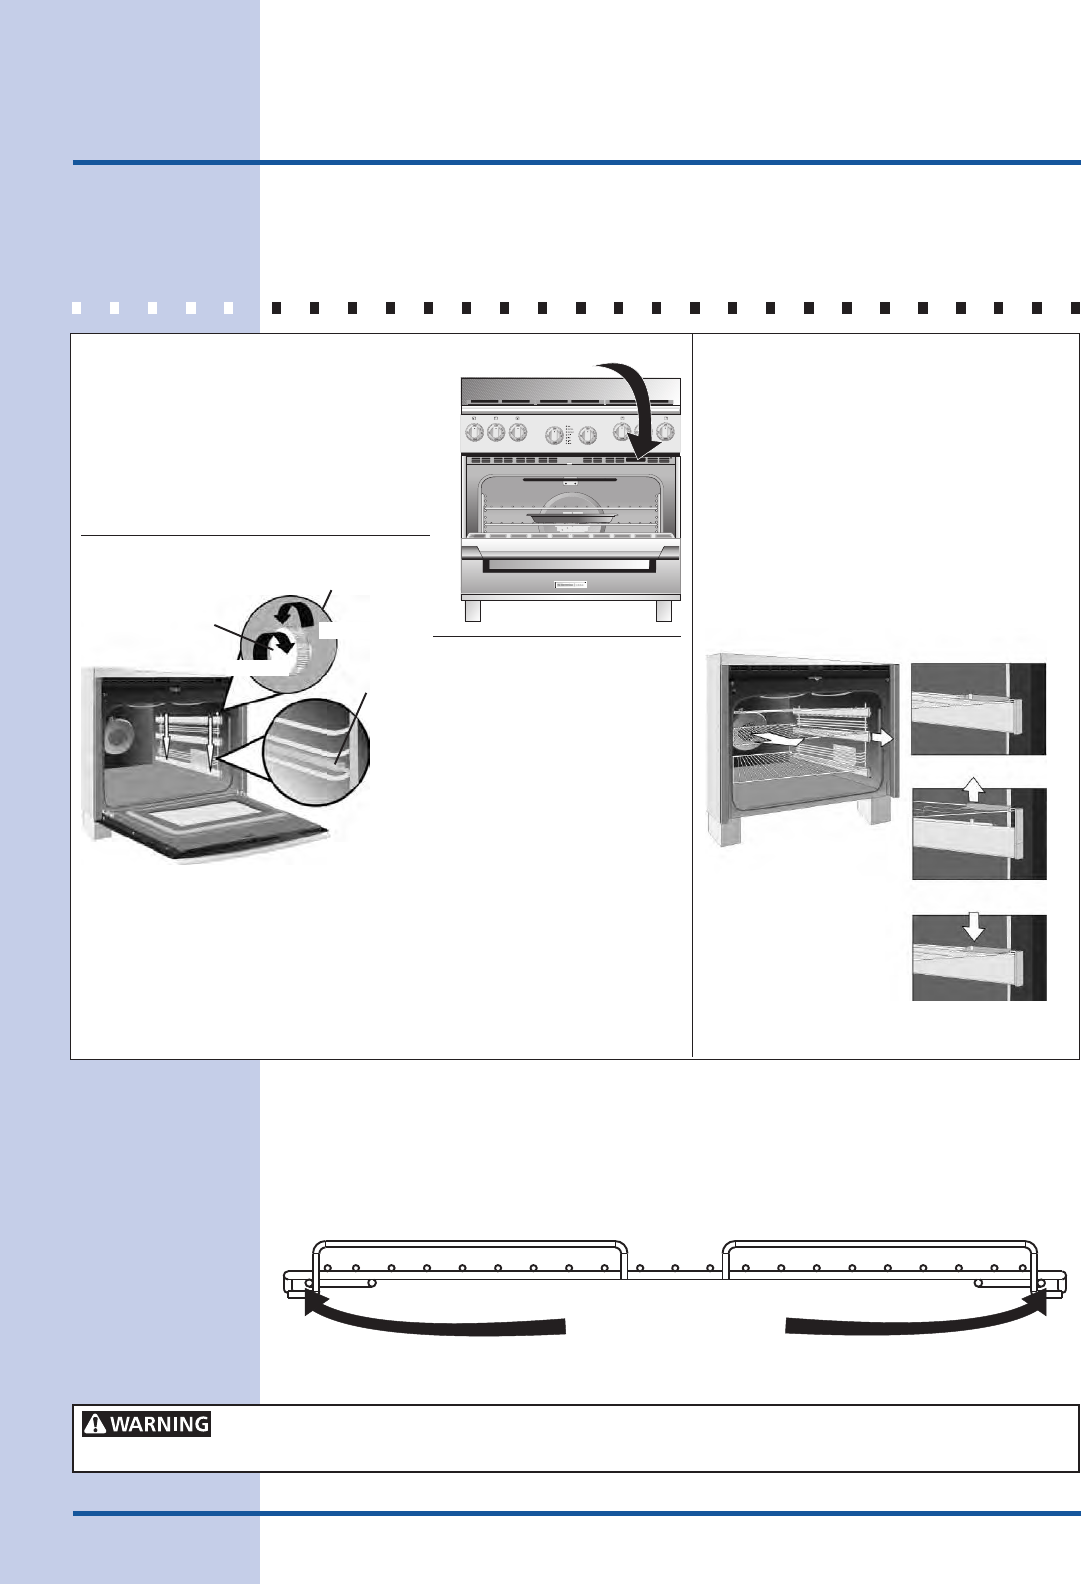
Removing and Replacing Oven Racks
ALWAYS ARRANGE OVEN RACKS
WHEN THE OVEN IS COOL (PRIOR TO
OPERATING THE OVEN). Always use
oven mitts when using the oven.
To remove an oven rack, pull the rack
forward. Lift up the rack off the oven
rack slider. To replace an oven rack,
place the rack on the slider into the 4
pinholes located at the 4 corners of the
rack.
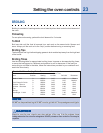
Oven Vent Location
The oven is vented under upper
control panel. When the oven is on,
warm air is released through the vent.
This venting is necessary for proper air
circulation in the oven and good baking
results.
Installed on sliders
To remove from
sliders
To place on sliders
Pull oven rack
forward and lift it up
of the oven rack
slider.
Oven vent
Always arrange the oven racks when the oven is cool (prior to operating the oven). Always use
oven mitts when using the oven.
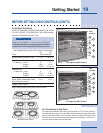
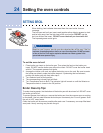
Removing Non-Sliding Oven Racks
Simply pull the rack and slightly tilt it upward when the rack hits its stop position.
Replacing Non-Sliding Oven Racks
Insert the rack into the oven rack supports by inserting the rack openings into the rack
supports. Be sure the rack is at the same position on each oven rack support on both sides.
Insert the openings
into the rack support
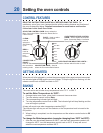
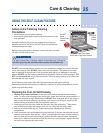
Installing Oven Rack Supports
ALWAYS INSTALL OVEN
RACK SUPPORT BEFORE
TURNING ON THE OVEN
(WHEN THE OVEN IS COOL).
To remove the oven rack
supports for a self-clean cycle,
36” Range Only
Remove
Replace
Oven Rack
Support Screw
Oven Rack
Support Bracket
(36” range: remove the screw located over the rack support on
each side) pull up the support from the oven rack support brackets
to disengage supports from the oven. If the rack supports are not
removed, the self-clean cycle won’t start. Always remove the left
side support first. To install oven rack supports insert the rack
supports into the rack support brackets on the oven side as shown
(36” range: put back screws at their original location).


