


14
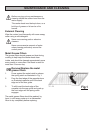
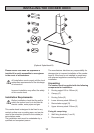
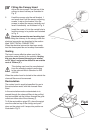
Fitting the Canopy Hood
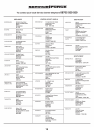
1. Adjust the two screws V on the top of the
canopy to about halfway as illustrated in
Fig. 5.
2. Hook the canopy onto the wall bracket 1
and push down until the canopy adjusting
screws V rest on the bracket, turn the
screws to adjust the canopy vertically and
level it horizontally as illustrated in Fig. 5.
4. Insert the screw V1 into the central hole to
lock the canopy in to position as illustrated
in Fig. 5.
Electrical connection and working test
Before fitting the chimney to the canopy make the
electrical connection as described in the section
titled “ELECTRICAL CONNECTION”.
When the electrical connection has been made,
test the three speed fan and worktop illumination.
Venting
The hood is more effective when used in the
extraction mode (ducted to the outside). Venting
kits may be purchased through your retailer
or DIY store, and must be ducted to an outside
vent of 125mm (5”).
The ducting used must be manufactured
from fire retardent material conforming
to the relevant British Standard or DIN
4102-B1.
When the cooker hood is ducted to the outside the
charcoal filters must be removed.
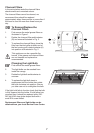
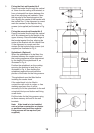
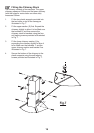
Recirculation
The cooker hood is supplied specified for use in
the recirculation mode, with the charcoal filters
fitted.
In the recirculation mode contaminated air is
passed through the charcoal filters to be purified
and recirculated into the kitchen through the grille
outlets on either side of the chimney (I).
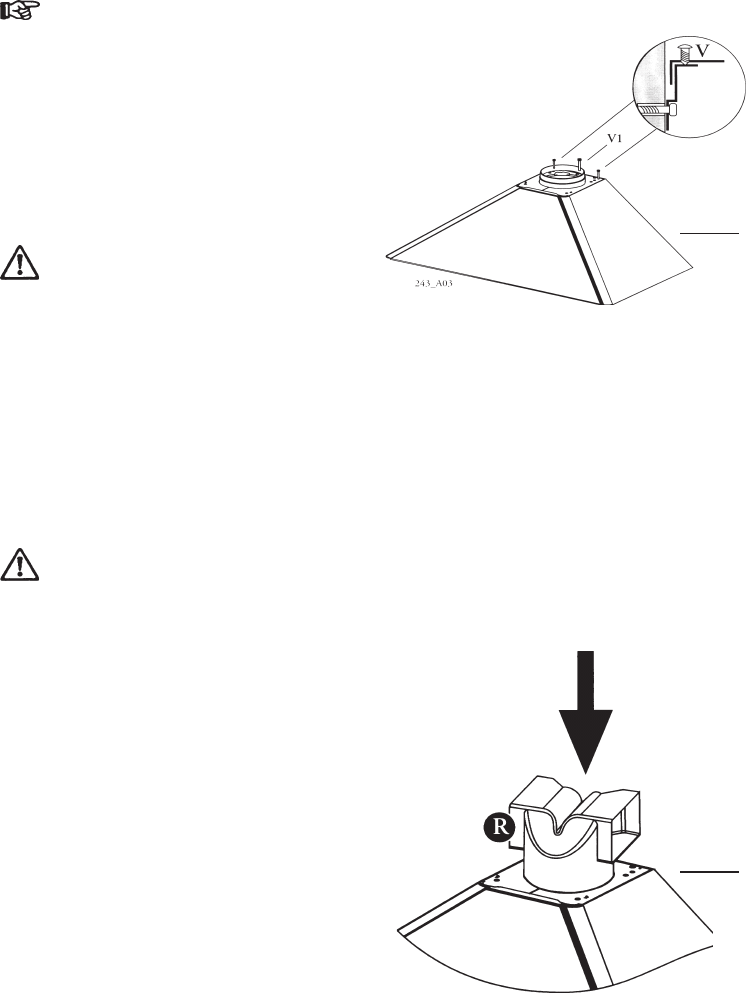
To fit the recirculation spigot (R), place the spigot
over the outlet on top of the canopy and push
down on the spigot until it snaps into position as
illustrated in Fig. 6.
Fig.5
Fig.6