20
Automatic Ice & Water Maker/Dispenser
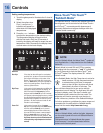
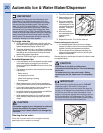
Removing Ice Bin
IMPORTANT
You may want to change your ice cube size per your
preference or if you have low water pressure in your
home. The ice cube size function allows you to change
the cube size from the display panel. There are three
sizes: 1,2, and 3. The factory default is 1 (smallest).
This size should work well in most cases. If your water
pressure is low or you simply prefer a larger size, then
you can change to size 2. Size 3 should ONLY be used
in case of very low water pressure. Using size 3 with high
water pressure (above 70 psi) could result in overfilling
the ice maker. The excess water will spill into the ice bin
causing the existing ice to clump together.
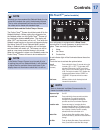
To change cube size
1 Quickly press the CUBE button twice. You will see
one dash in the refrigerator temperature display. The
freezer temperature display will show ICE.
2 Press the refrigerator Up (+) and Down (-) buttons to
change the size. One dash will produce small cubes,
two dashes will produce medium cubes and three
dashes will produce large cubes.
3 Press the CUBE button again to save the setting.
Ice maker/dispenser tips
• Ifyourrefrigeratorisnotconnectedtoawatersupply
or the water supply is turned off, turn off the ice
maker by holding the On/Off soft-touch icon for three
(3) seconds.
• Thefollowingsoundsarenormalwhentheicemaker
is operating:
- Motor running
- Ice dropping into ice bin
- Water valve opening or closing
- Running water
• Whendispensingice,youwillhearasnappingor
clicking sound when the ice chute opens and closes.
• Ifyouneedalargequantityoficeatonetime,itis
best to get cubes directly from the ice bin.
• Icecubesstoredtoolongmaydevelopanoddavor.
Empty the ice bin as explained below.
• Whendispensingcubedice,itisnormaltohavea
small quantity of little pieces along with the whole
cubes.
CAUTION
If the water supply to your refrigerator is softened,
be sure the softener is properly maintained.
Chemicals from a water softener can damage the
ice maker.
Cleaning the ice maker
Clean the ice maker and ice bin at regular intervals,
especially prior to vacation or moving.
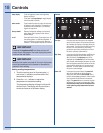
1 Turn off the ice maker.
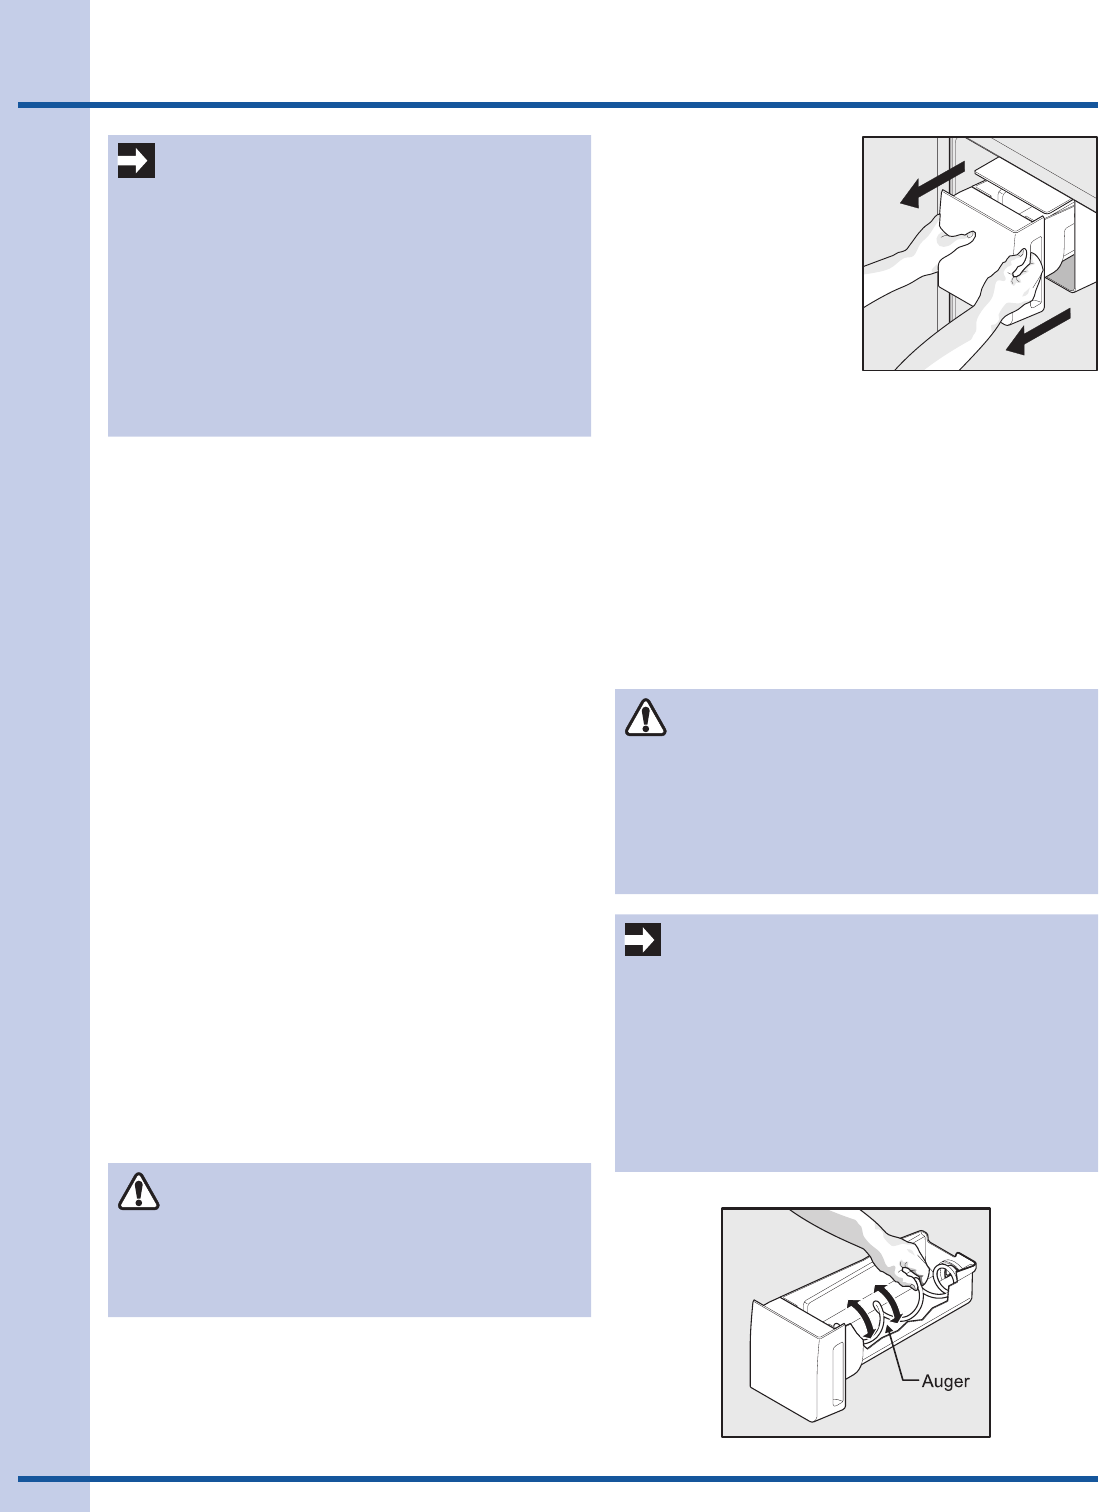
2 Remove the ice bin by
pulling straight out.
3 Empty and carefully
clean the ice bin with
mild detergent. Do not
use harsh or abrasive
cleaners. Rinse with
clear water.
4 Allowtheicebinto
dry completely before
replacing in the
freezer.
5 Replace the ice bin. Turn the ice maker on.
Remove and empty the ice bin if:
• Anextendedpowerfailure(onehourorlonger)
causes ice cubes in the ice bin to melt and freeze
together, jamming the dispenser mechanism.
• Youdonotusetheicedispenserfrequently.Ice
cubes will freeze together in the bin, jamming the
dispenser mechanism.
Remove the ice bin and shake to loosen the cubes or clean
as explained above.
CAUTION
NEVER use an ice pick or similar sharp
instrument to break up the ice. This could damage
the ice bin.
To loosen stuck ice, use warm water. Before
replacing the ice bin, make sure it is completely
dry.
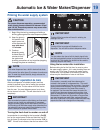
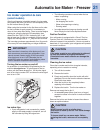
Adjusting Ice Bin Auger
IMPORTANT
When removing or replacing the ice bin, DO NOT
rotate the auger in the ice bin. If the auger is
accidentally rotated, you must realign the auger by
turning it in 45 degree turns (see below) until the ice
bin fits into place with the drive mechanism. If the
auger is not properly aligned when replacing the ice
bin, the refrigerator will not dispense ice. The fresh
food door also may not close properly causing warm
air to leak into the fresh food compartment.


