


16
Release the minute minder button and the display
will return to the time of day after 5 seconds.
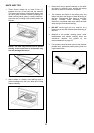
Whilst the minute minder is set the bell symbol ( )
is displayed.
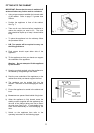
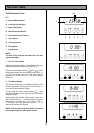
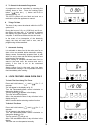
During the operation of the minute minder, the
remaining time period can be shown in the display
by pressing the minute minder button ( ) as Fig.
5.
The minute minder will sound intermittently for up to
2 minutes at the end of the timed period. The sound
can be stopped by pressing any of the 4 left-hand
side buttons.
3. How To Set The Oven Timer Control
When using the timer control for the very first time, it
is advisable to let it operate while you are at home.
The displays can be checked to show that it is
operating correctly and you will feel confident to
leave a meal to cook automatically in the future.
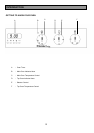
A) To Set The Timer To Switch On And Off
Automatically
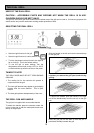
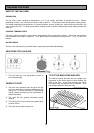
i) Ensure the electricity supply is switched ON and
that the correct time of day is displayed, e.g. 9.
a.m. as Fig. 6.
ii) Place food in oven.
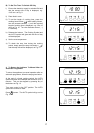
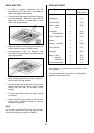
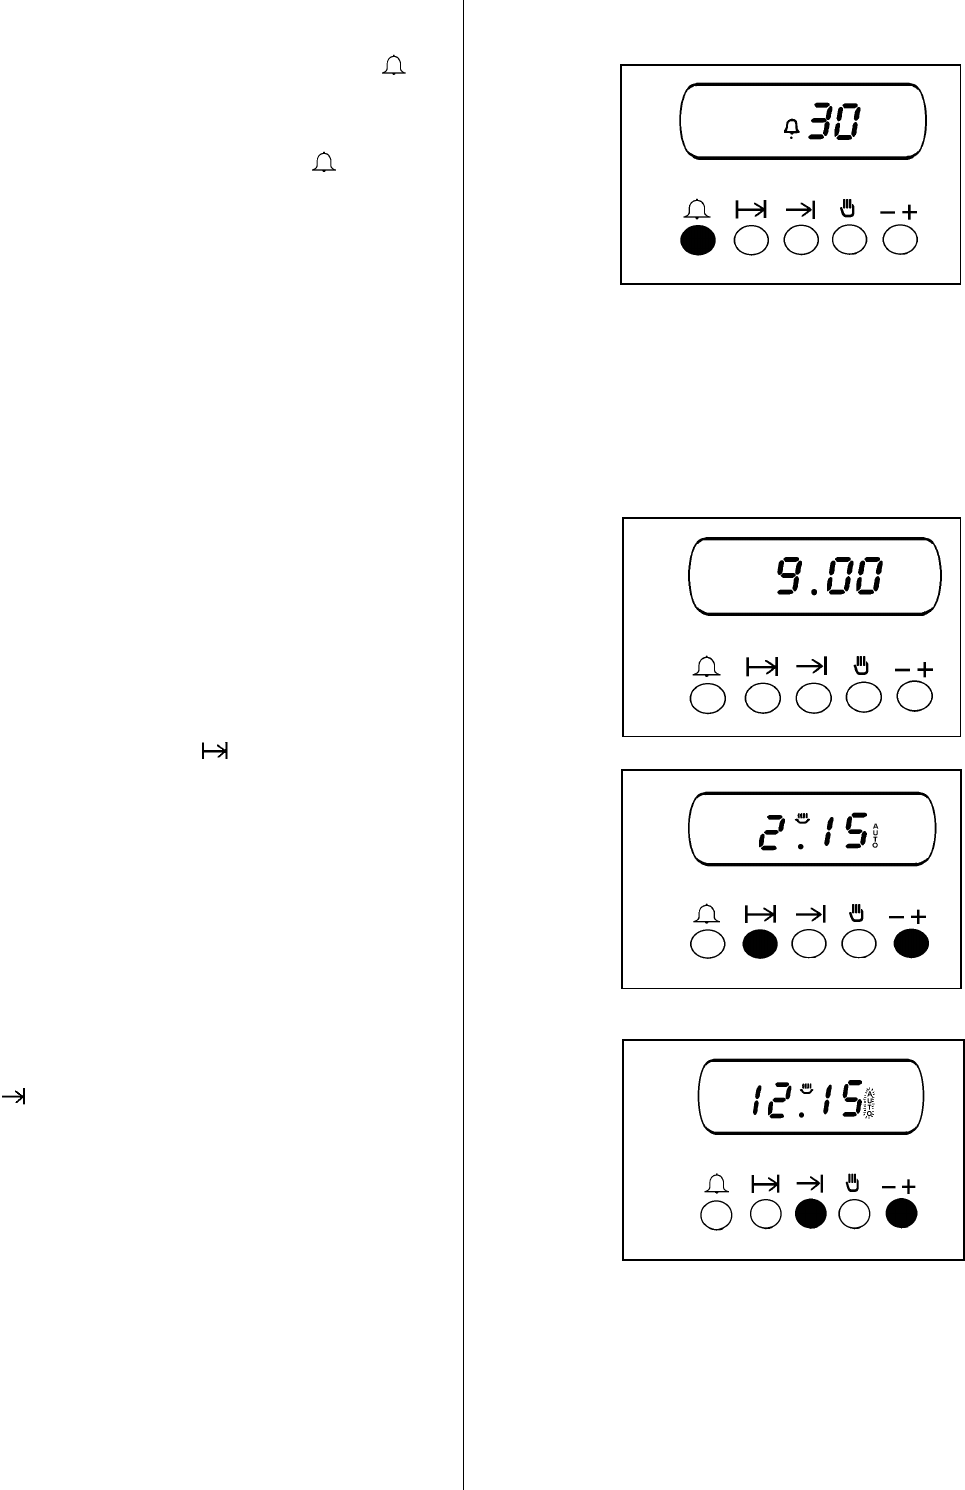
iii) To set the length of cooking time, press the
cooking hours button ( ) and while holding it
down, turn the increase control ( + ) until the
required length of cooking time is displayed, e.g.
2 hrs 15 mins as Fig. 7. If necessary turn the
decrease control ( - ) until the correct time
interval is achieved.
iv) Release the buttons. The AUTO symbol and
cooking symbols will glow.
Remember, this must be completed within 4
seconds of first pressing the cooking hours
button.
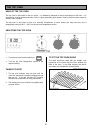
v) Set the STOP time. Press the stop time button
( ) while holding it down, turn the increase
control ( + ) until the required stop time is
displayed, e.g. 12.15 p.m. as Fig. 8. If
necessary turn the decrease control ( - ) until the
correct time interval is achieved.
vi) Release the buttons the cooking symbol will go
out and the time of day will be displayed.
vii) Set the main oven control to the required
temperature and select the required function.
NOTE: When the automatic timed period starts
the main oven indicator neon will turn ON and
OFF during cooking.
Fig. 5
Fig. 6
Fig. 7
Fig. 8