


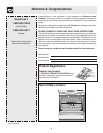


10
Setting Surface Controls
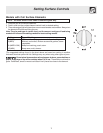
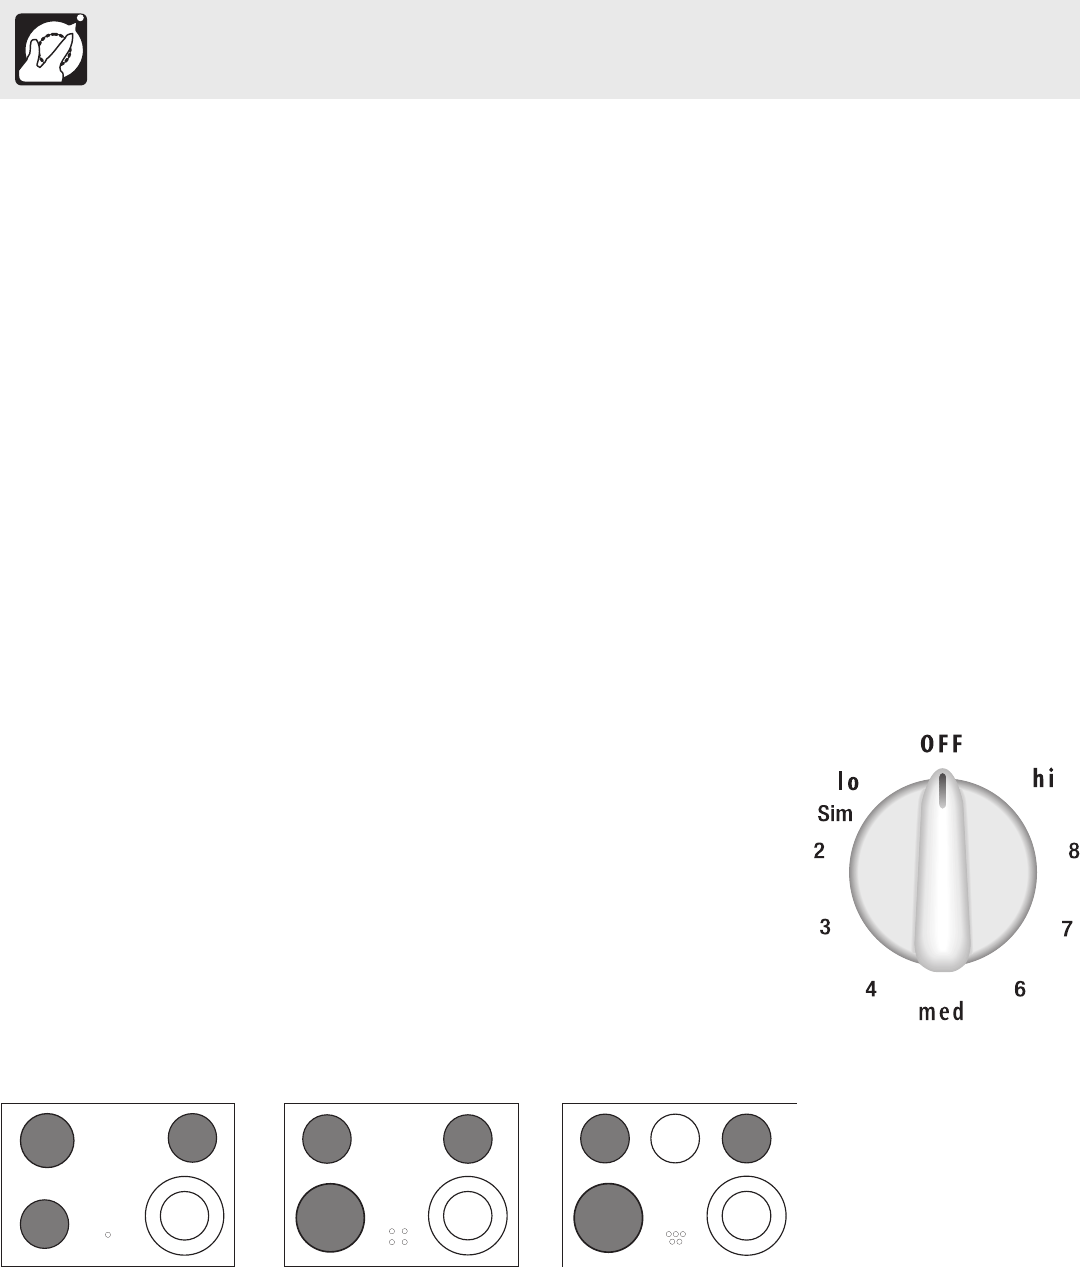
Fig. 3
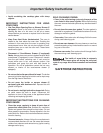
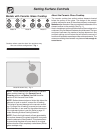
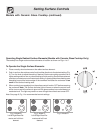
Fig. 4- Model B
Left & Right Rear Ele-
ments and Left front
element
1. Place correctly sized cookware on the radiant surface element.
2. Push in and turn the surface control knob in either direction to the desired setting (Fig.
3). Turn the knob to adjust the setting if desired. Start most cooking operations on a
higher setting and then turn to a lower setting to finish cooking. Each surface element
provides a constant amount of heat at each setting. A glowing red surface heating area
extending beyond the bottom edge of the cookware indicates the cookware is too
small for the surface heating area.
3. When cooking has completed, turn the surface control knob to OFF before removing
the cookware. Note: The Surface Indicator light will come on when the control knob
will be turn on and will continue to glow until the glass cooktop has cooled down to a
moderate level. The light may remain on even though the controls are turned OFF.
Note: See page 9, Fig. 1 for recommended control settings.
To Operate the Single Surface Elements:
Operating Single Radiant Surface Elements (Models with Ceramic Glass Cooktop Only)
The cooktop has single radiant surface elements at location as shown on Figs. 4 to 7.
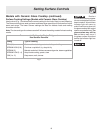
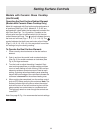
Fig. 5 -Model C
Left & Right Rear Ele-
ments and Left front
element
Models with Ceramic Glass Cooktop (continued)
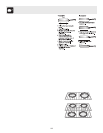
Fig. 6 -Model D