


6
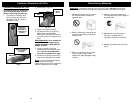
Cleaning & Changing the Dust Cup Filter
Changing and Cleaning the Dust
Cup Filter
In order to achieve the best
performance, empty the dust cup
container and clean the dust cup
filter after each use.
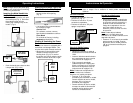
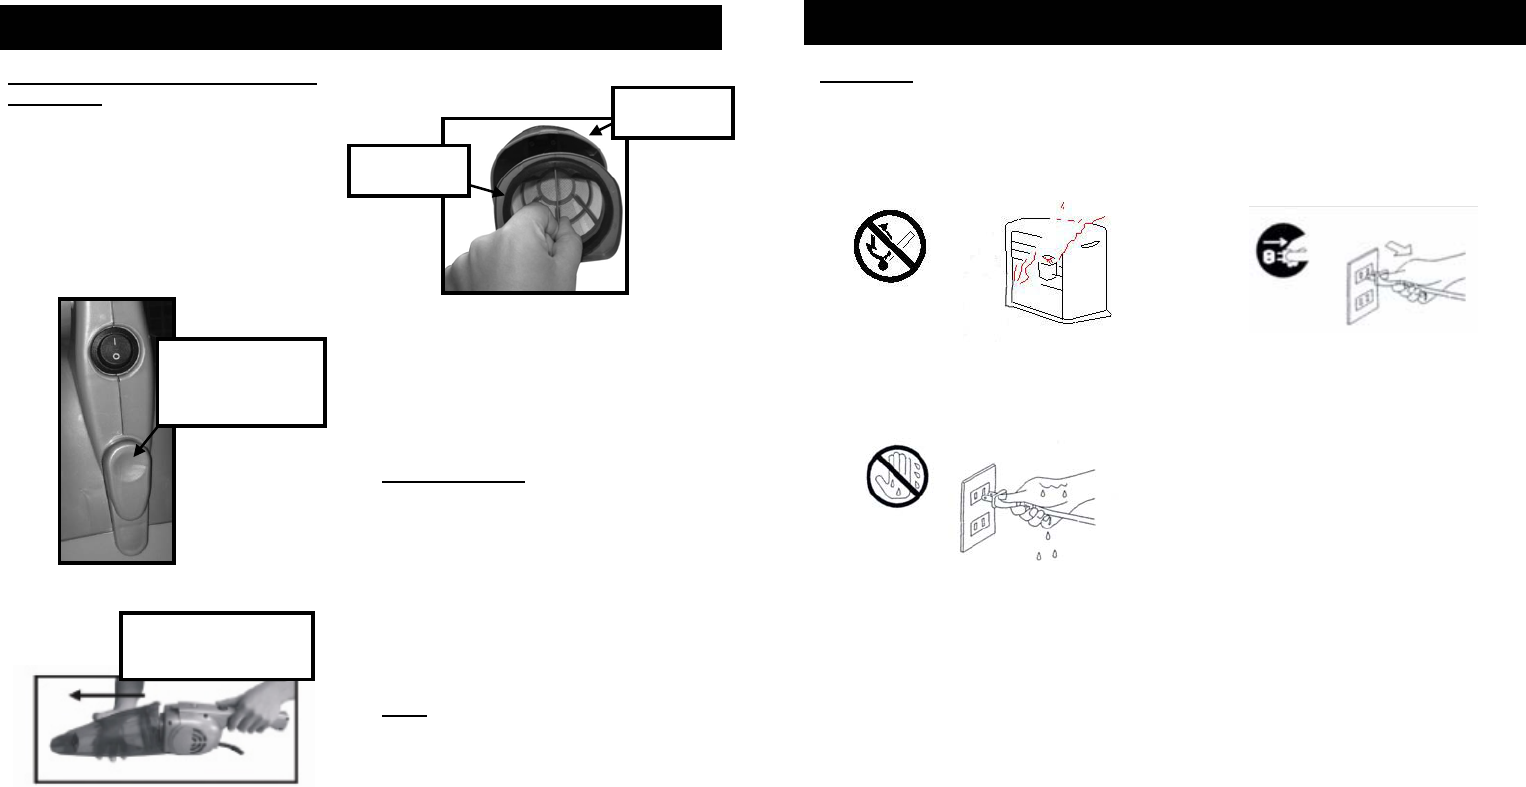
1. To remove the dust cup container,
press down on the dust cup
container release button (Fig. 8)
and separate the dust cup container
from the main unit. (Fig. 9)
Press down on
the dust cup
container release
button
Fig. 8
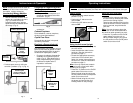
2. Pull out the dust cup filter. (Fig. 10)
Fig. 9
Dust Cup
Container
Dust Cup
Filter
Fig. 10
3. Empty the dust from the dust cup
container.
4. Rinse the dust cup filter in cold
water, and then let it air dry for 24
hours before replacing it back in
the dust cup container.
Important Note: DO NOT use a
washing machine to clean the dust
cup filter. Do not use a hair dryer to
dry it. AIR DRY ONLY.
5. Replace the dust cup filter carefully
into the dust cup compartment.
NEVER operate the stick vac
without the dust cup filter in
place.
6. Attach the dust cup container to the
main body of the unit.
Note: It is recommended that the dust
cup filter be replaced every three (3)
months (depending on usage) to
ensure peak performance of the unit.
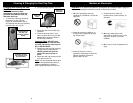
Medidas de Precaución
Importante: Si la abertura de succión o la manguera de la unidad se tapan, apague la
aspiradora y destápelos antes de encender nuevamente la unidad.
1. No use la aspiradora cerca de
calefactores, radiadores o colillas de
cigarrillos.
2. Antes de enchufar el cable en un
tomacorriente, asegúrese de tener
las manos secas.
4. Al desenchufar el cable del
tomacorriente, tire del enchufe, no
del cable.
3. Antes de empezar a usar la
aspiradora, asegúrese de quitar los
objetos grandes o filosos que
podrían dañar el filtro.
5. No recoja nada que se esté
quemando o echando humo, como
cigarrillos, fósforos, o cenizas
calientes.
6. No lo use sin el filtro instalado en su
lugar.
11
Separate the dust
cup container from
the main body.