OPERATING INSTRUCTIONS
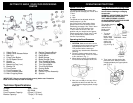
French Fry Blade Assembly
CAUTION: Make sure that the unit is
unplugged from the power source and
the operating button is “OFF” before
inserting or removing attachments.
Note: The French Fry Blade is already
assembled to the blade holder. Do not try
to remove it. (fig. 12)
1. Make sure that the blade storage
cover is closed during use.
2. Fit the processor bowl and spindle
as detailed previously.
3. Using the finger holes in the french fry
blade holder, fit it over the spindle and
press firmly into place as indicated.
(fig. 13)
WARNING: USE EXTREME CAUTION
WHEN HANDLING BLADES. BLADES
ARE SHARP.
4. Fit the lid and click into place as
indicated in Setting Up section
(page 4).
5. Plug in the processor.
6. WARNING: USE THE FOOD
PUSHER TO ADD FOOD INTO THE
PROCESSOR BOWL THROUGH
THE FEEDER TUBE.
Do not overload the bowl. In one
operation, you can process a
maximum 6 cups (1500 ml) of food.
Fig. 12
Fig. 13
Processing Examples
For fine slicing: Blade A - Recommended speed level is High
(Cucumbers, raw potatoes, lettuce, carrots)
For coarse slicing: Blade B - Recommended speed level is High
(Cabbage, carrots, onions)
For fine shredding: Blade C - Recommended speed level is High
(Carrots, cucumbers, cabbage)
For coarse shredding: Blade D - Recommended speed level is High
(Lettuce, carrots, apples)
For Grating: Blade E - Recommended speed level is High
Blade A Blade B Blade C Blade D Blade E
7
Operating the Blender
Setting up:
1. CAUTION: Make sure that the unit is unplugged
from the power source and the the Speed
Control Dial is in the "Off" position before
inserting or removing any attachments and
before cleaning.
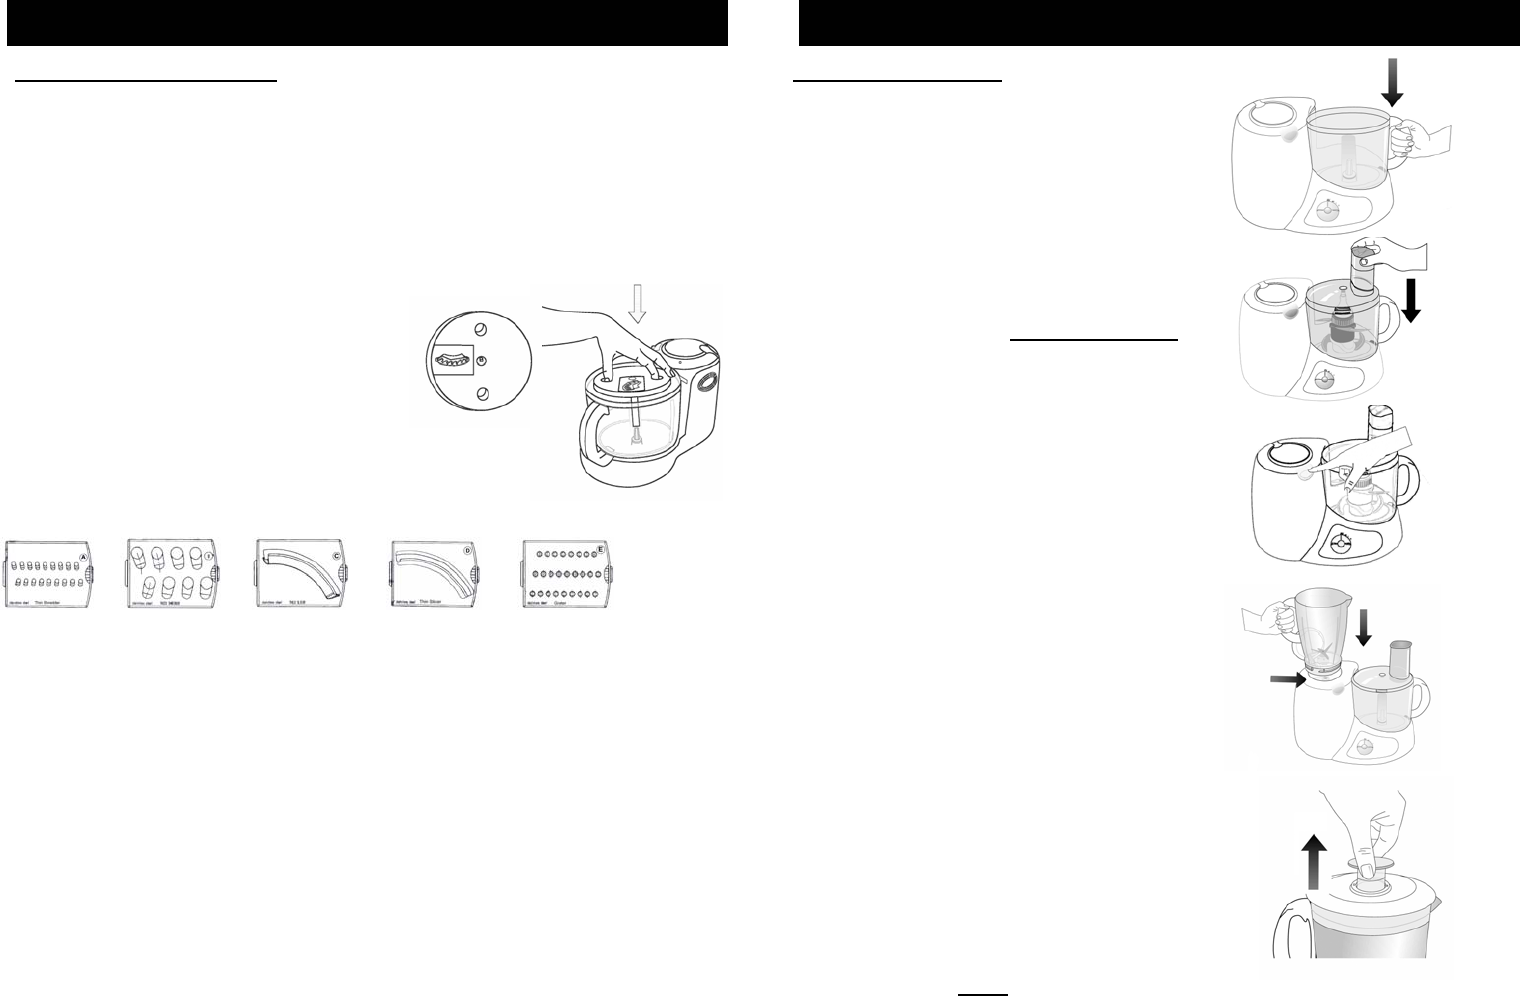
2. Place the food processor bowl onto the
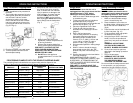
processor body. (fig. 14)
3. When fitted correctly, the handle will fit into the
slot at the base of the unit.
4. Place the food processor lid on the bowl and
lock in place by turning counter clockwise.
(fig. 15) Make sure that NO ATTACHMENTS
are inside the food processor bowl when you
are using the blender.
5. Open the safety cover by pressing on the safety
cover release button. (fig. 16)
6. Place the blender jar in the opening and turn
counter clockwise to lock in place. (fig. 17)
7. WARNING: Never operate the blender without
the blender lid in place. When processing hot
ingredients, remove the measuring cap from the
blender lid to allow steam to escape. (Fig. 18)
8. Recommended speed level for blending is "2"
(high). When blending soft vegetables or fruits
start with level "1" (low) and then go to level "2"
(high). For hard vegetables or fruit always use
speed level "2" (high).
IMPORTANT: Do NOT load the blender with more
than 10 oz. (300 gr.) of hard vegetables at one
time. Do NOT operate continuously for more than
20 seconds at one time.
NOTE: You can crush 16 oz. (500 ml) of ice cubes
in the blender using the PULSE/TURBO button.
CAUTION: To prevent spilling (overflow) do NOT
operate the blender with than 4 cups (1000 ml) of
soft liquid (i.e. soup) at one time.
* Always operate the blender with the blender lid
in place.
* When blending hot liquids, always remove the
small measuring cap in the blender lid.
* Avoid contact with moving parts at all times.
* Keep hair, clothing as well as spatulas and
other kitchen utensils out of the blender jar while
in operation to reduce the risk of severe injury to
persons or damage to the blender. A spatula
may be used but ONLY
when the unit is not in
use.
Fig. 14
OPERATING INSTRUCTIONS
Fig. 15
Fig. 16
Fig. 17
Fig. 18
8


