


7 8
www.ninjakitchen.com
TOLL FREE: 1-877-646-5288
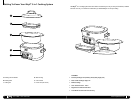
Getting to Know the Ninja
®
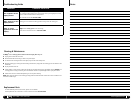
3-in-1 Cooking System Control Panel
Function Dial
Turn the dial to select Stovetop, Slow Cook or Oven
mode.
Stovetop - Use the Ninja
®
3-in-1 Cooking System as
you would a stovetop. You can simmer, sauté, or sear.
Slow Cook - Use the Ninja
®
3-in-1 Cooking System
as a slow cooker. Select the temperature - low or high
and let the cooking system do all the work. When it
has finished cooking, it will automatically switch to
Auto Warm.
Buffet - Use the Buffet mode after cooking is
completed to keep food warm from 30 minutes up to
12 hours.
Oven - Use the Ninja
®
3-in-1 Cooking System instead
of the regular oven. You can roast, bake or even cook
with steam.
LED Display Screen
The LED screen displays the timer settings for the Slow
Cook, Buffet and Oven modes. It also displays the oven
temperature settings for the Oven mode.
Time/Oven Temp. Button
Use the Time/Oven Temp. button to toggle between the
Time and Temperature when using the Oven mode.
Adjustment Dial
Use the Adjustment dial to set the count down
timer in Slow Cook mode or to change the time and
temperature when using the Oven mode.
Auto Warm
The Ninja
®
3-in-1 Cooking System will go into auto
warm when the set cooking time in Slow Cook mode is
over.
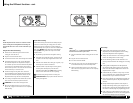
Using the Different Functions
OVEN
Preparing to Use the Ninja
®
3-in-1 Cooking System
Before using the cooking system for the first time:
1 Carefully remove all the parts from the box. Wash
the cooking pot, roasting rack and the roasting lid
with warm, soapy water. The cooking pot may also be
washed in the dishwasher. The roasting lid and roasting
rack are not dishwasher safe. Do not place the main
housing in water or in the dishwasher. Wipe it clean
with a damp cloth.
2 When ready to use, place the cooking pot inside the
main housing. Never use the cooking system without
the cooking pot inserted into the housing.
3 Plug the unit into the wall outlet.
4 The cooking system will not turn “On” as long as the
Function Dial is in the “Off” position.
5 When ready to start the appliance, turn the Function
Dial to the function that you want. The red Power light
will light up indicating that the appliance is on.
6 Follow instructions on the following pages on how to
use the different functions.
Stovetop:
1 Place the cooking pot inside the housing.
2 Place the food that you wish to cook inside the pot in an
even layer for best results.
3 Set the Function Dial to the desired Stovetop mode to get the
appliance heated. The LED Display will show “On” and the
Power light will turn on.
4 When you have finished using the unit, turn the Function
Dial to “Off” and then unplug the unit and allow it to cool
completely before handling.
NOTE: The appliance will not function if the cooking pot is not
inside the main housing.
TIP: When you want to sear meats, set the Stovetop to “High”.
To sauté vegetables, set the Stovetop to “Med” or “High”.
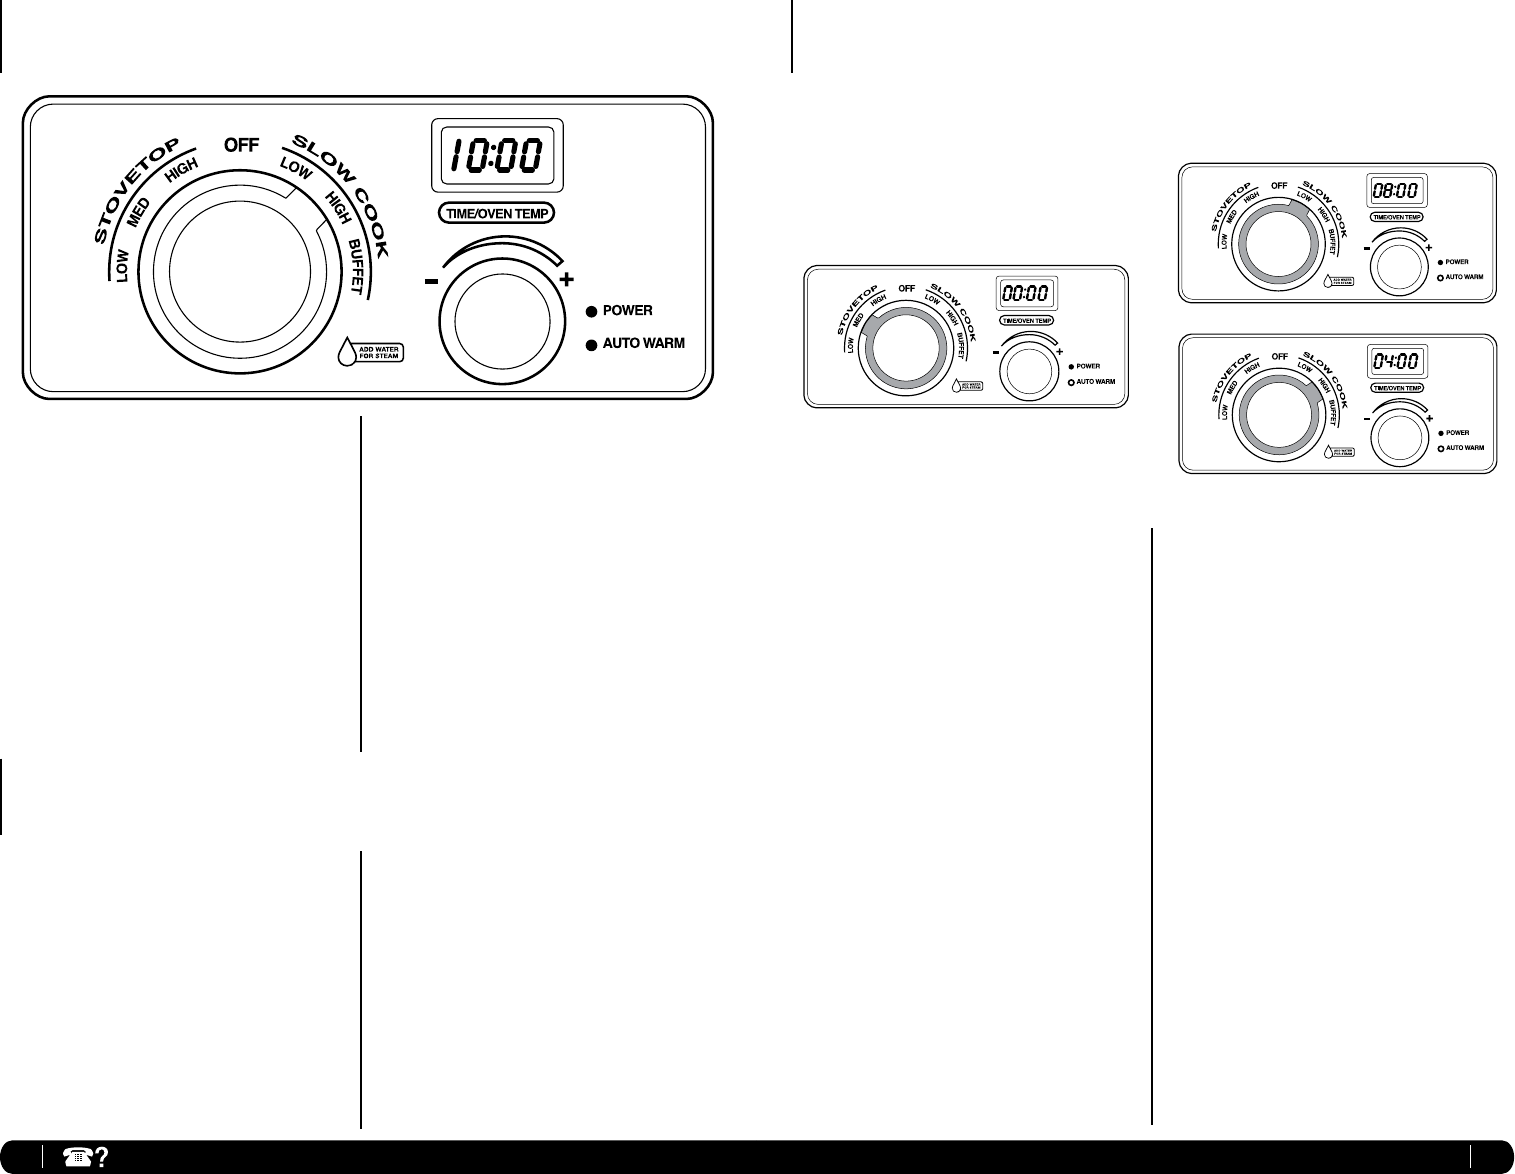
Slow Cook:
The 6 qt. capacity makes this an ideal slow cooker for the
entire family. The Low and High settings automatically switch
to Auto Warm after the cooking is complete to keep the food
warm. Use the Stovetop function on “High” to sear meats and
vegetables before slow cooking to enhance flavors and create
gourmet meals.
Do not exceed the top of the cooking pot when filling with
food. This could result in the food boiling over.
1 Place the ingredients into the cooking pot and place the lid
on top.
2 Plug the unit into the electrical outlet.
3 Turn the Function Dial to either Low or High under Slow Cook
depending on the recipe instructions. The LED Display will
show “On” and the Power light will turn on.
4 The Display Screen will show “8:00” hours for Low setting
and “4:00” hours for High setting. Turn the Adjustment Dial
to set the desired time. The time will increase or decrease in
30 minute increments for up to 12 hours. The timer will begin
counting down after 1 minute. Do not lift the lid continuously
while cooking.
5 After the cooking process is done, the unit will switch to Auto
Warm for up to 12 hours.
6 When you have finished using the unit, turn the Function
Dial to “Off” and then unplug the unit and allow it to cool
completely before handling.
OVEN
OVEN
OVEN