


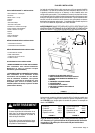
USE AND CARE CONTINUED - MAINTENANCE
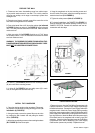
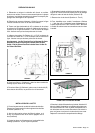
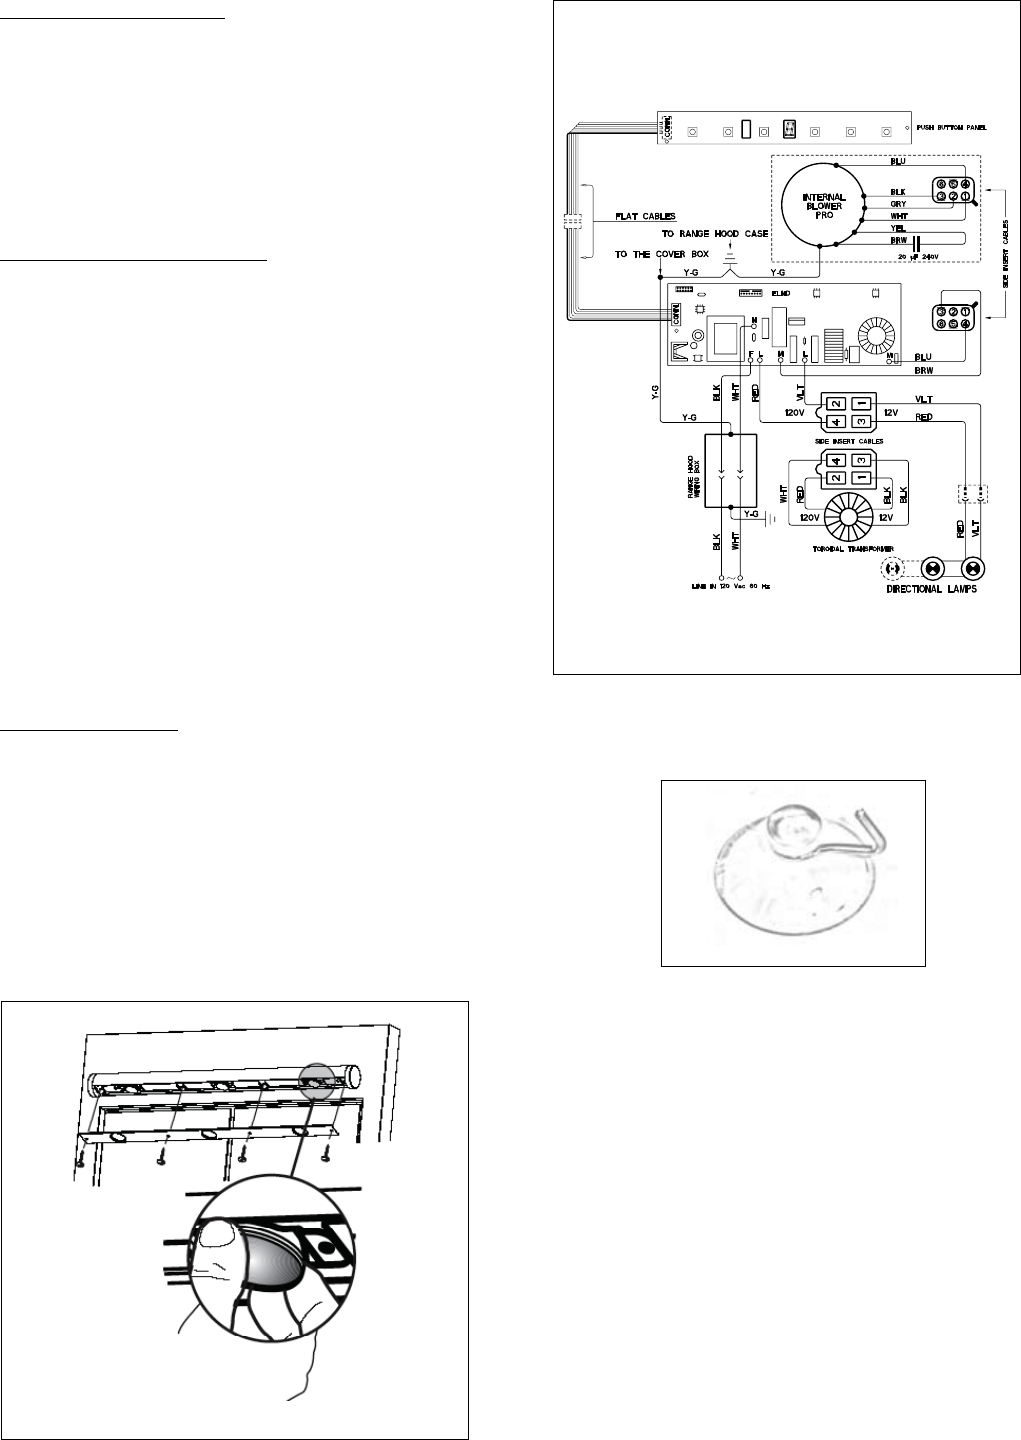
Charcoal Filter Information
(as indicated in FIGURE
9)
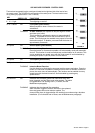
Charcoal Filter Alarm Activation
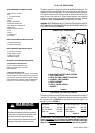
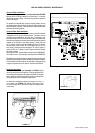
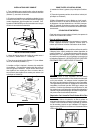
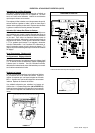
Replacing the Lamps
(as indicated in FIGURE 13)
FIGURE 14
FIGURE 13
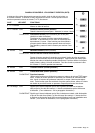
WIRING DIAGRAM
FIGURE 14