8
Setting Surface Controls
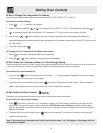
Single Radiant Surface Elements (all models)
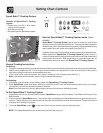
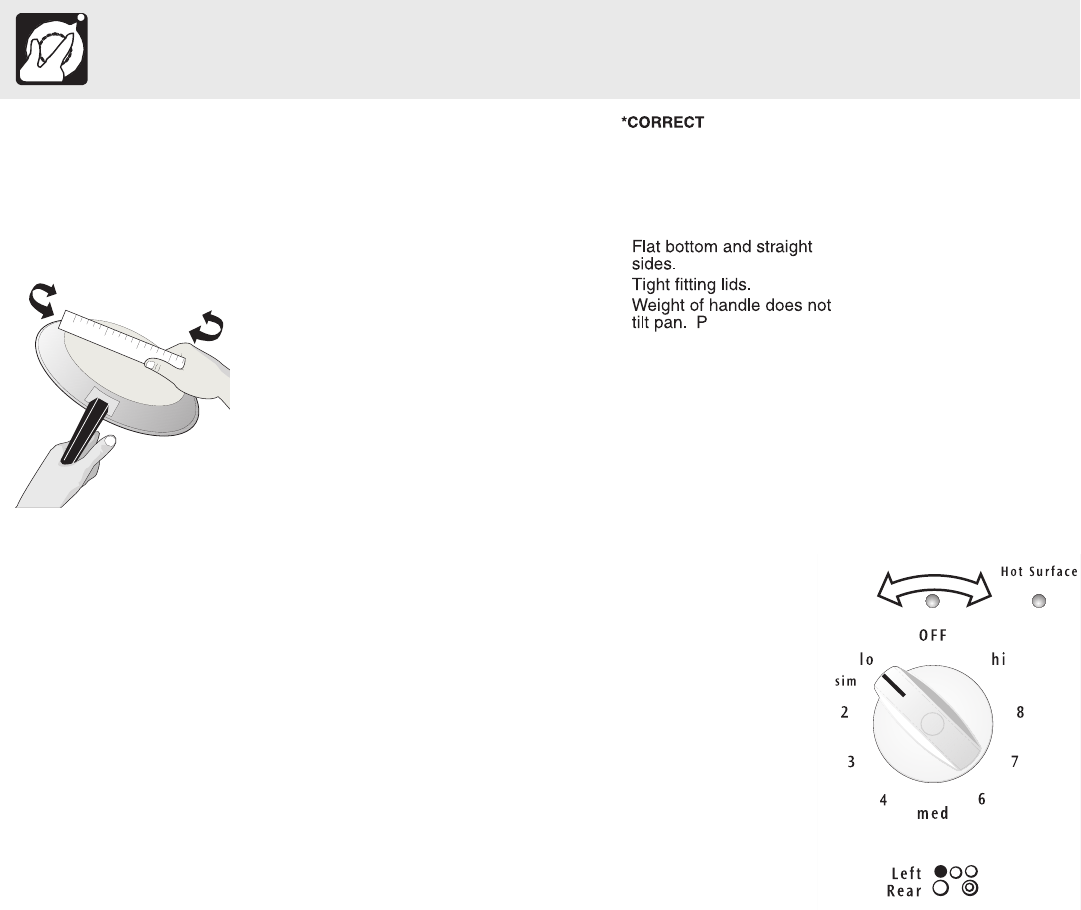
Fig. 3
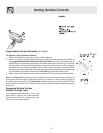
To Operate a Single Radiant Element:
1. Place correctly sized cookware on radiant surface element.
2. Push in and turn the surface control knob in either direction to the desired setting (Refer to
the Suggested Radiant Surface Element Settings Table, Figs. 3 & 4). Start most cooking
operations on a higher setting and then turn to a lower setting to finish cooking. The surface
control knobs do not have to be set exactly on a particular mark. Use the marks as a guide
and adjust the control knob as needed. Each surface element provides a constant amount
of heat at each setting. A glowing red surface heating area extending beyond the bottom edge
of the cookware indicates the cookware is too small for the surface heating area.
3. When cooking is complete, turn the surface element OFF before removing the cookware.
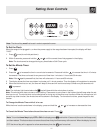
Note: The Element On indicator lights will glow when one or more elements are turned ON. A
quick glance at these indicator lights when cooking is finished is an easy check to be sure all
control knobs are turned OFF. The Hot Surface indicator light will continue to glow AFTER the
control knob is turned to the “OFF” position and will glow until the heating surface area has cooled
sufficiently.
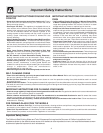
The suggested settings found in Fig. 4 are
based when cooking with medium-weight
aluminum pans with lids. Settings may vary
when using other types of pans.
Suggested Radiant Surface
Element Settings Table


