Frigidaire ES III Range User Manual


Setting Warmer Drawer
Controls (if equipped)
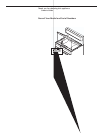
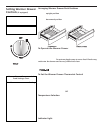
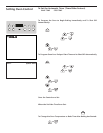
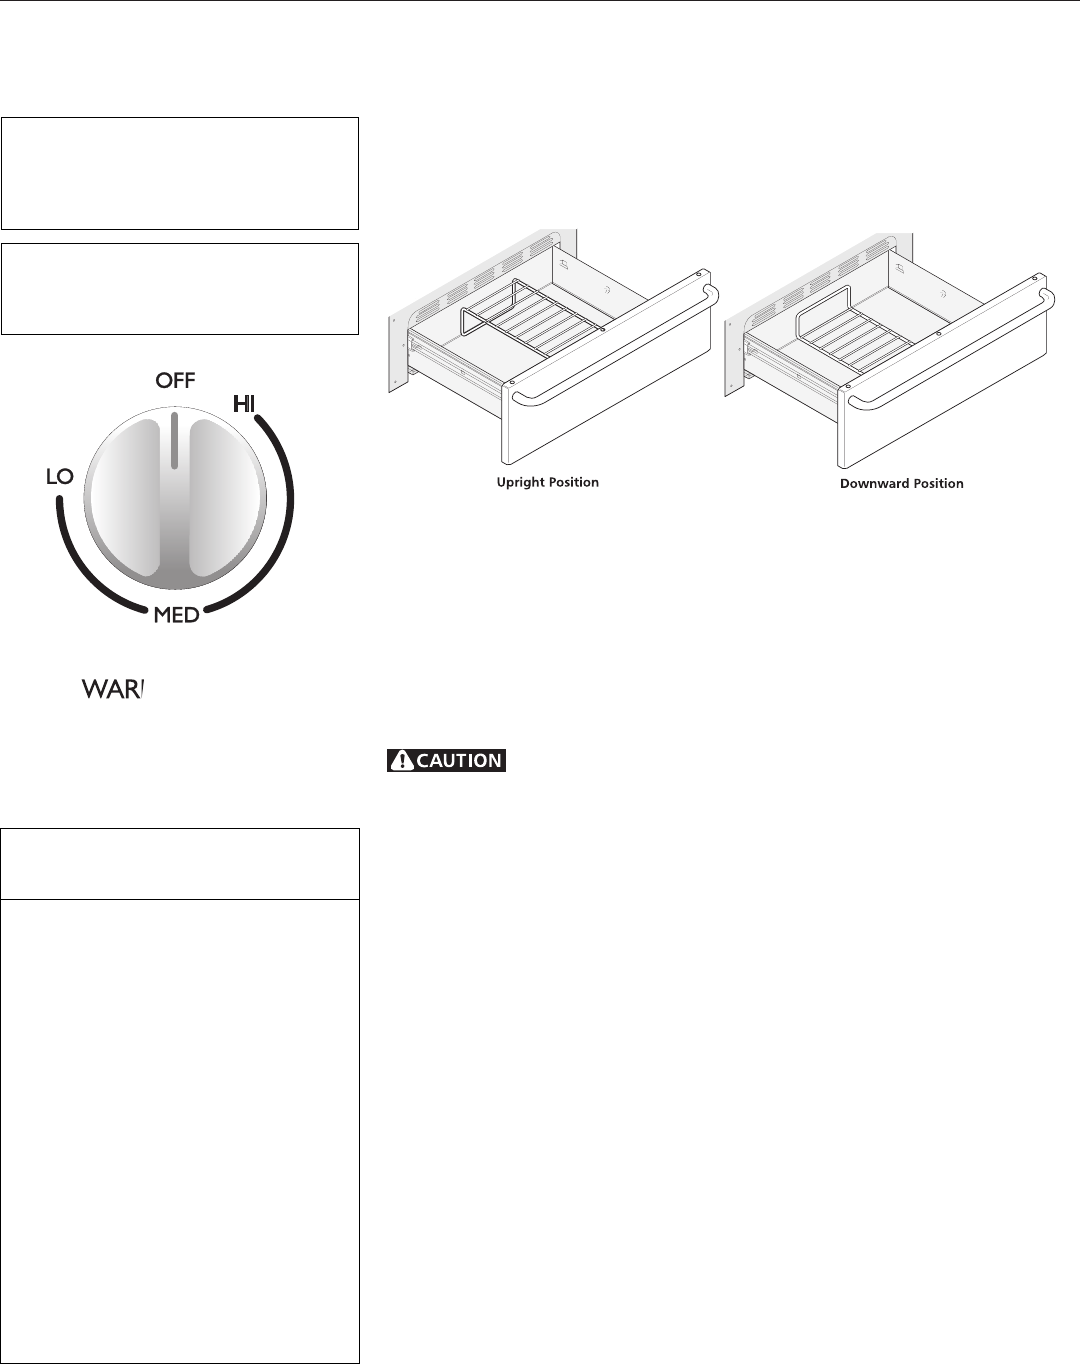
Arranging Warmer Drawer Rack Positions

upright position


downward position


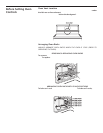
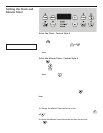
To Operate the Warmer Drawer




Do not use plastic wrap to cover food. Plastic may
melt onto the drawer and be very difficult to clean.




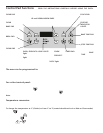
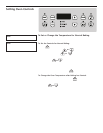
To Set the Warmer Drawer Thermostat Control


       




OFF
Temperature Selection








Indicator Light




     

  


   

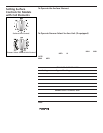
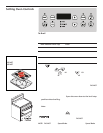
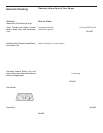
Warmer Drawer Recommended
Food Settings Chart
Food Item Setting
 
 
 
 
 
 
 
 
 
 
 
 
 
 
 
 