3
Electrical Information
These guidelines must be followed to ensure that safety
mechanisms in the design of this appliance will operate
properly.
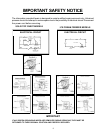
• Refer to the serial plate for correct electrical rating. The
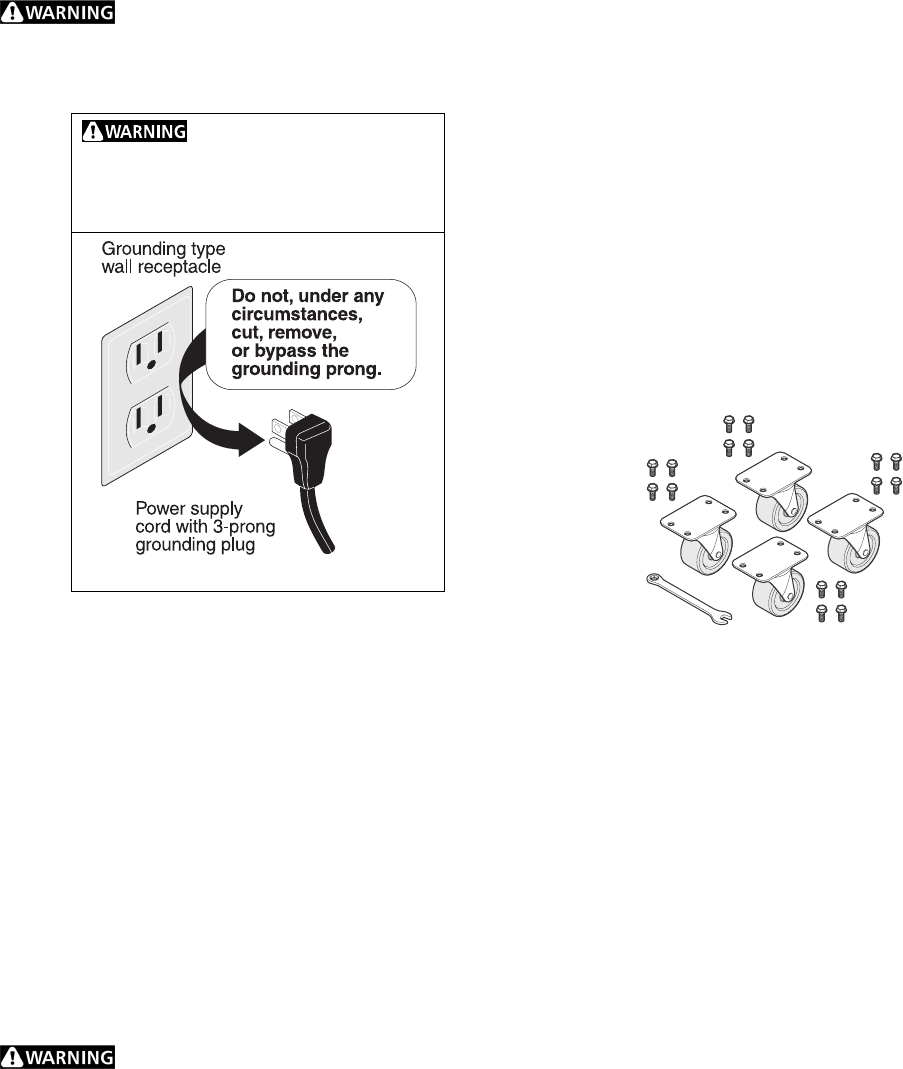
power cord of the appliance is equipped with a three-prong
grounding plug for protection against shock hazards. It must
be plugged directly into its own properly grounded three-prong
receptacle, protected with a 15 amp time delay fuse or circuit
breaker. The receptacle must be installed in accordance with
the local codes and ordinances. Consult a qualified electrician.
Receptacles with Ground Fault Circuit Interrupters (GFCI) are
NOT RECOMMENDED. DO NOT USE AN EXTENSION
CORD OR AN ADAPTER PLUG.
• If the voltage varies by 10 percent or more, appliance
performance may be affected. Operating the appliance with
insufficient power can damage the motor. Such damage is
not covered under the warranty. If you suspect your voltage is
high or low, consult your power company for testing.
• To prevent the appliance from being turned off accidentally,
do not plug the unit into an outlet controlled by a wall switch
or pull cord.
• DO NOT pinch, knot, or bend the power cord in any manner.
Other Precautions
• NEVER unplug the appliance by pulling on the power cord.
Always grip the plug firmly and pull straight out from the
receptacle.
• To avoid electrical shock, unplug the appliance before
cleaning.
NOTE: Turning the control to “OFF” turns off the compressor
but does not disconnect power to other electrical components.
Installation and Setup
Inspection for Damage
Inspect the underside of the cabinet and packaging for damage
such as a fork truck can cause. If hidden damage is found after
uncrating, immediately call the delivery carrier and request an
inspection. Retain all packaging and crating materials until the
inspection is complete.
Uncrating and Set-up
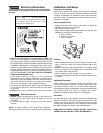
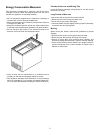
• Using a utility knife with a sharp, short blade, cut along the
perimeter of the carton as indicated.
• Lift the carton off the product.
• Remove the package containing the casters from the unit. This
package will contain the following items:
• One (1) wrench
• Sixteen (16) screws
• Four (4) casters
Casters
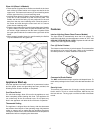
• With an assistant, tilt the unit until it is resting on its back. Take
care to protect the back from being scratched during this
process.
• Using the wrench provided and the sixteen (16) screws, install
all four (4) casters in the tapped holes in the bottom of the
unit. Tighten the screws securely.
• With an assistant, tilt the unit back up onto its casters.
• To prevent unintended movement, block casters once the unit
is in place.
Appliance Placement
Leave a three (3) inch space on all sides and the back of the
cabinet for adequate air circulation. Choose a place that is near
a grounded electrical outlet. For the most efficient operation,
the appliance should be located where surrounding temperatures
will not drop below 40ºF (43ºC) or exceed 110ºF (43ºC).
Additional compressor heaters are not recommended.
Insulation
The insulated space on this cabinet is sealed to maintain peak
efficiency. DO NOT drill holes in the cabinet. Holes drilled in the
cabinet may destroy that seal and damage electrical wiring
located in the insulated space. It may also pierce and damage
the sealed refrigeration system in the insulated space.
DAMAGED ELECTRICAL WIRING OR WET INSULATION
CAUSED BY DRILLING WILL VOID THE WARRANTY.
Avoid fire hazard or
electric shock. Do not use an extension cord
or an adapter plug. Do not remove any
prong from the power cord.


