12
SETTING OVEN CONTROLS - MODEL B
NOTE
The oven control has a built-in energy saving feature
that will shut off the oven if the control is left on for
more than 11 hours 59 minutes.
To Set or Change the Temperature for
Normal Baking
The oven can be programmed to bake at any temperature
from 170°F to 550°F (77°C to 287°C).
To Set the Controls for Normal Baking:
1. Push BAKE pad."— — —" appears in the display.
2. Within 5 seconds, push the UP or DOWN ARROW
pad. The display will show "350°F (177°C)." By holding
the UP or DOWN ARROW pad, the temperature can
then be adjusted in 5°F (1°C) increments.
3. As soon as the UP or DOWN ARROW pad is released,
the oven will begin heating to the selected temperature.
When the oven temperature reaches the desired baking
temperature, the control will beep 3 times and the
Preheat light will turn off.
4. To cancel the baking function, push the CLEAR OFF pad.
To Change the Oven Temperature after Baking has
started:
1. If you are using the minute timer, push the BAKE pad
and make sure the bake temperature is displayed.
2. Push the UP or DOWN ARROW pad to increase or
decrease the set temperature.
CAUTION
Should an oven re occur, close the oven door
and turn off the oven. If the re continues, use a
re extinguisher. DO NOT put water or our on
the re. Flour may be explosive.
Setting Broil
This mode is best for meats, sh and poultry up to 1”
thick. Broiling is a method of cooking tender cuts of meat
by direct heat under the broil element of the oven. The
high heat cooks quickly and gives a rich, brown outer ap-
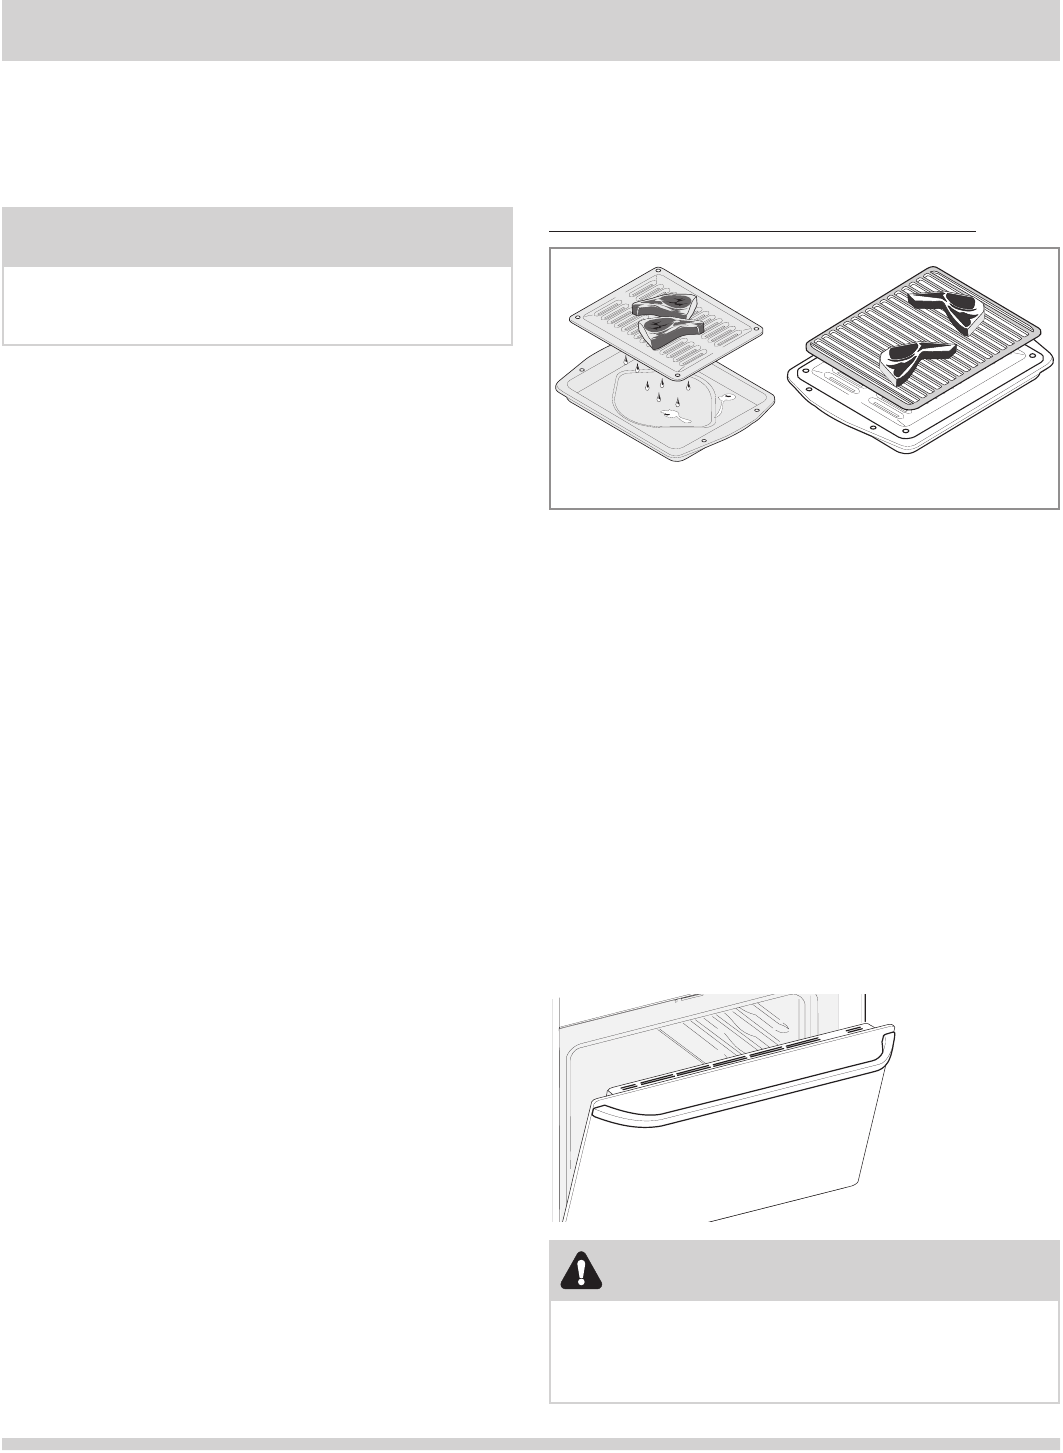
pearance. The BROIL pad controls the Broil feature. An
optional Searing Grill, Broiler Pan and Insert are available
via the enclosed accessories brochure (Figure 1 & 2). The
optional broil pan and broil pan insert used together allow
dripping grease to drain and be kept away from the high
heat of the oven broiler.
Broiling Tips:
• For optimum browning, preheat the broil element for 5
minutes.
• Broil one side until the food is browned; turn and cook
on the second side. Season and serve.
• Always pull the rack out to the “stop” position before
turning or removing food.
• Always use the broiler pan and its cover when broiling.
It allows the dripping grease to be kept away from the
high heat of the broil element (see Figure 1).
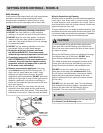
• For best broiling results, broil with the oven door in the
broil stop position (see Figure 3).
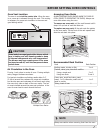
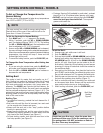
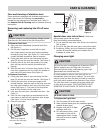
Accessories available via the enclosed brochure:
Searing
Grill
Broiler
Pan
Broiler Pan
& Insert
Broiler
Insert
Figure 1 Figure 2
• If using a Searing Grill (available by mail order), preheat
the grill for 5 to 10 minutes before placing your meat.
• DO NOT use the broil pan without the insert. DO NOT
cover the broil pan insert with foil. The exposed
grease could catch re.
To set the Broil:
1. Arrange oven rack while oven is still cool.
2. Push the BROIL pad.
3. Push and hold the UP or DOWN ARROW pad until the
desired broil setting level appears in the display. Push
UP ARROW pad for HI broil or the DOWN ARROW
pad for LO broil. Most foods can be boiled at the HI
broil setting. Select the LO broil setting to avoid excess
browning or drying of foods that should be cooked to
the well-done stage.
4. Place grid on the broiler pan, then place the food on the
grid. DO NOT use the broiler pan without the grid or cover
the grid with aluminum foil. The exposed fat could ignite.
5. Place the pan on the oven rack. Open the oven door to
the broil stop position when broiling (Figure 3).
6. Broil on one side until food is browned; turn and cook
on the second side. Note: Always pull the rack out to
stop position before turning or removing food.
7. When broiling is nished, push the CLEAR OFF pad.
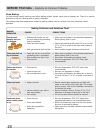
Broil Stop
Position
Figure 3


