


If you have any doubt, please contact
a qualified person.
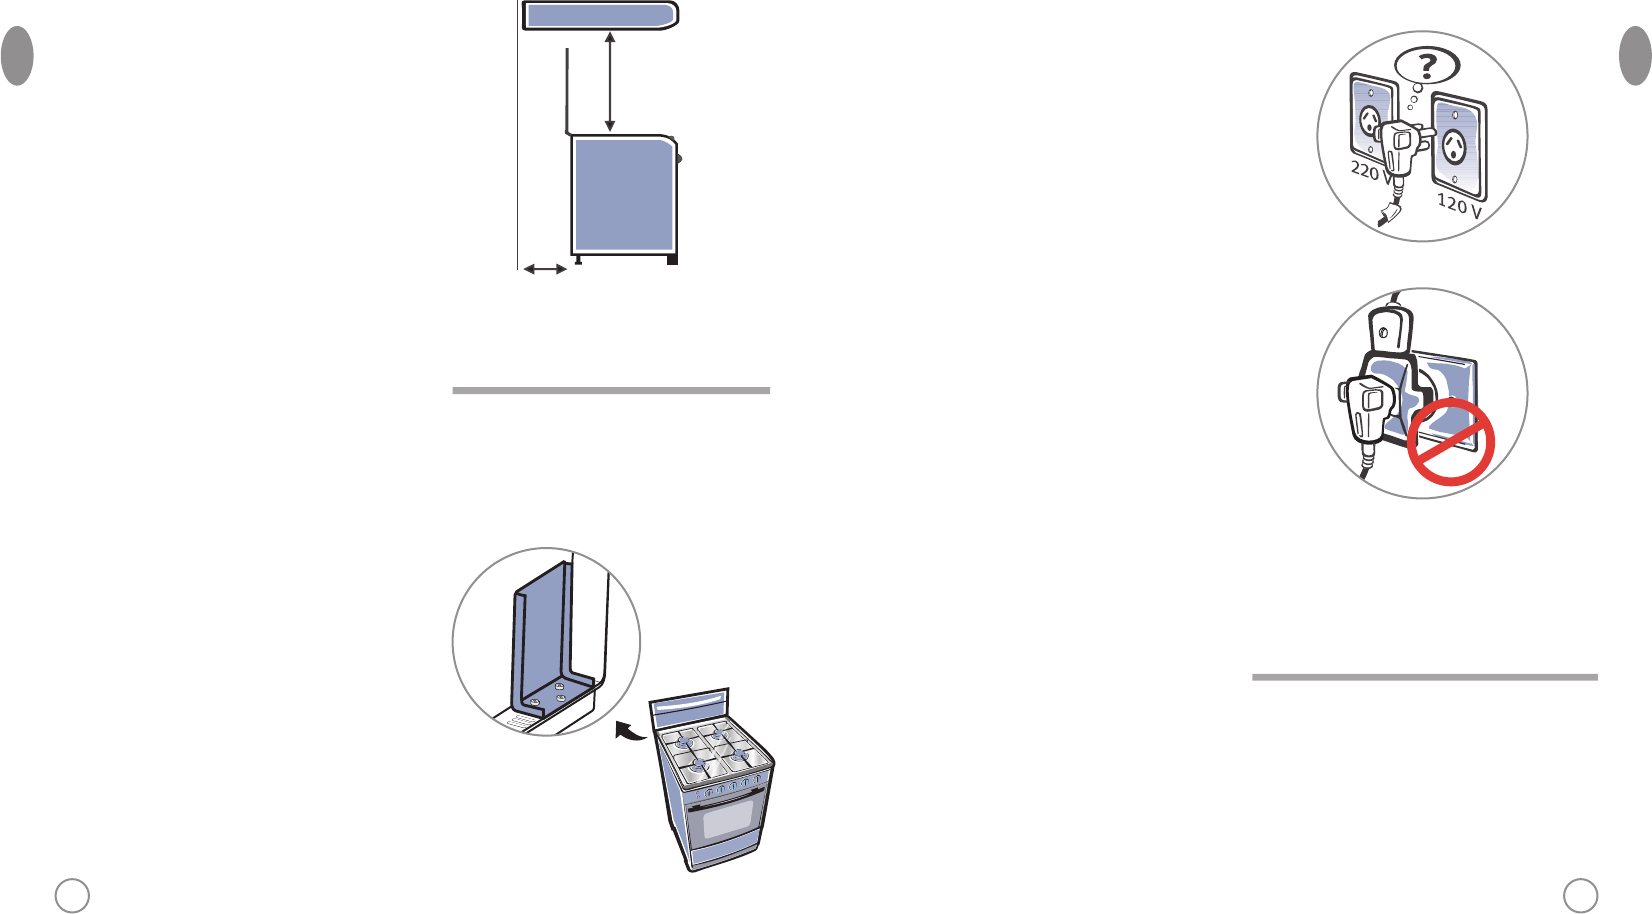
Do not modify your gas range plug.
Do not bite, twist or tie the power
cord.
It is dangerous to modify the range
specifications or features.
01. Before turning on the range,
check to see if the voltage of
the outlet to be used is the
same as that indicated on the
tag located close to the plug
(along the power cord) or on
the gas range identification
label.
02. Install the ground cable or your
gas range according to your
local requirements.
03. If you need to modify the
electric installation, this should
be performed by qualified
personnel.
04. Be sure that electric plug is
easy to reach after installation.
05. Power cord should never be in
contact with hot parts of the
gas range, because the plastic
protection might melt causing a
short circuit.
06. Connect the range to its own
outlet. Do not use an extension
cord or adaptor plug.
07. Never ground the appliance on
PVC or gas pipes.
08. Be sure that the power cord
does not goes through the
back of the gas range.
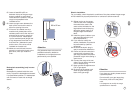
Electric installation
For your safety, check the electric conditions of the place where the gas range
will be installed by a qualify electrician or contact an authorize service.
39 40
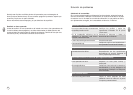
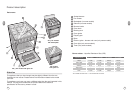
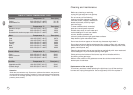
2 cm
80 to 85 cm
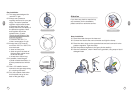
05. Leave at least 80 to 85 cm
between the top of the gas range
and any cabinet or range hood
install above the product. This gas
range is not prepared to be
installed built in.
06. Leave enought room between the
back of the oven and the wall, to
allow for opening the cover.
07. If the oven is installed next to a
wooden wall, please place a fire-
resistant panel next to the wall and
ensure that the oven is more than
4 cm from the wall. Please place
1pc fire-resistant panel (lenght and
a high degree are more than 4 cm
than the oven ) between the wall
and the oven, if the oven will be
installed on wooden wall.
08. Make sure not to block the oven
gas exit, including the funnel or the
gas vents, when you install the
oven.
The guarantee does not cover the
problems caused by defective
installations or changes that were
performed by non-qualified
ENG
ENG
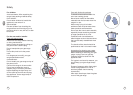
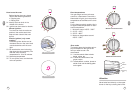
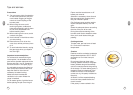
Backsplash assembling (only in some
models)
Backsplash is packed inside the oven
cavity. Unpack the backsplash and stand
it on assembled position. Fix backsplash
with 3 screws on each side as image
shows.
Attention
Attention