18
Gas Requirements
CONNECTION:
Your grill is equipped with gas supply orifices for use only with liquid propane gas. It is also equipped with a high
capacity hose/regulator assembly for connection to a standard 20 lb. L.P. cylinder (18-1/4" high, 12-1/4" diameter).
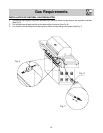
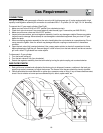
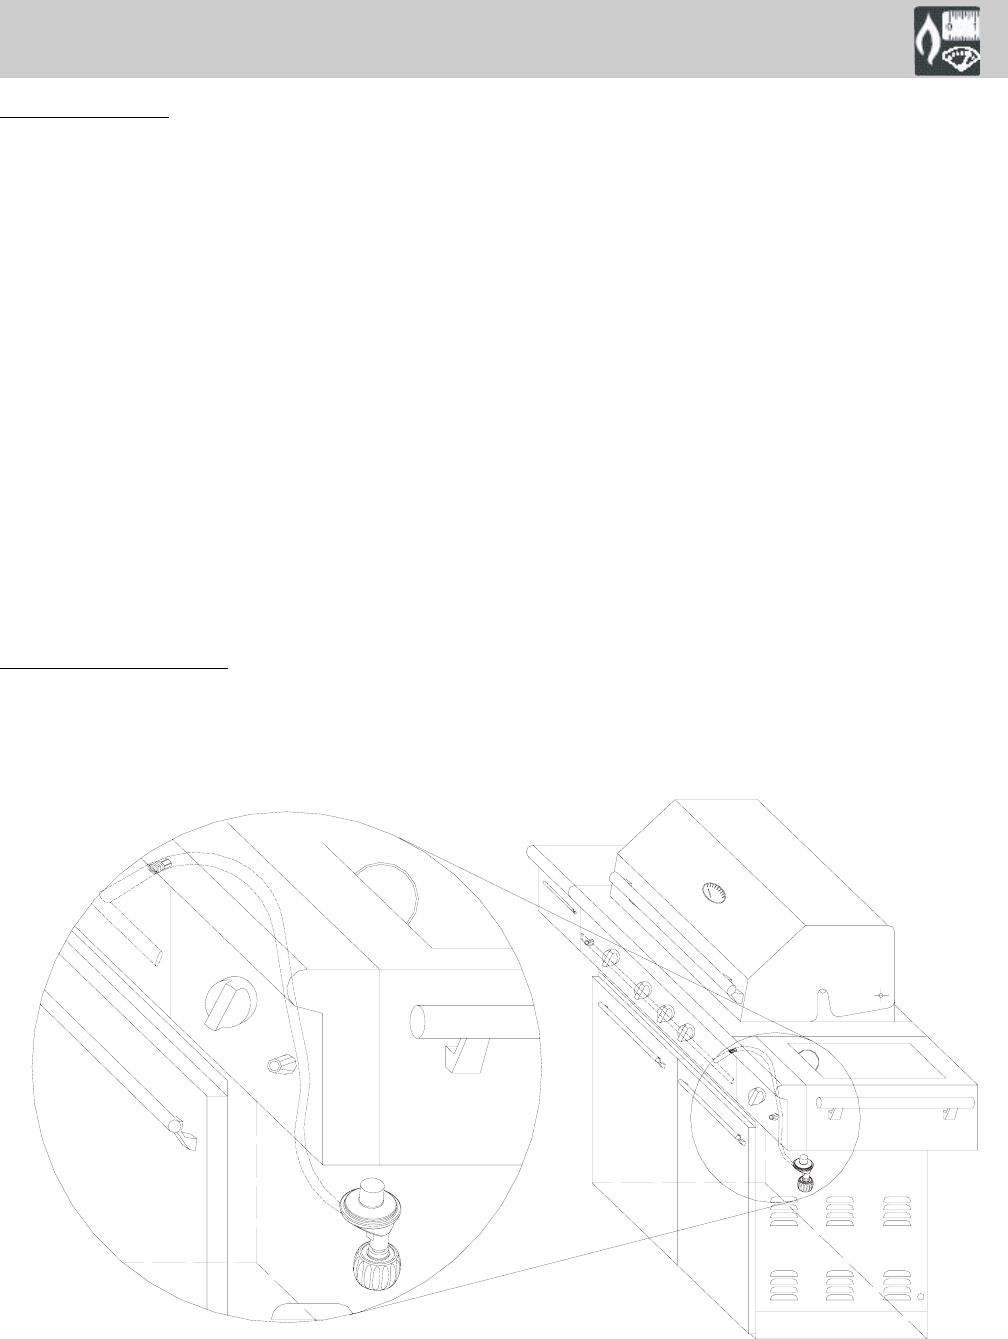
To connect the L.P. gas supply cylinder: (See Fig.8).
1. Make sure tank valve is in its full “OFF” position (turn clockwise to stop).
2. Check tank valve to ensure it has proper external male threads (type 1 connection per ANSI Z21.81).
3. Make sure all burner valves are in the “OFF” position.
4. Inspect valve connections, port and regulator assembly. Look for any damage or debris. Remove any debris.
Inspect hose for damage. Never attempt to use damaged or obstructed equipment. See your local L.P. gas
dealer for repair.
5. When connecting regulator assembly to the valve, hand tighten the nut clockwise to a complete stop. Do not
use a wrench to tighten. Use of a wrench may damage the quick coupling nut and result in a hazardous
condition.
6. Open the tank valve fully (counterclockwise). Use a soapy water solution to check all connections for leaks
before attempting to light the grill. See next page. If a leak is found, turn the tank valve off and do not use the
grill until a local L.P. gas dealer can make repairs.
To disconnect L.P. gas cylinder:
1. Turn the burner valves off.
2. Turn the tank valve off fully (turn clockwise).
3. Detach the regulator assembly from the tank valve by turning the quick coupling nut counterclockwise.
GAS FLOW CHECK:
1. Each grill burner is tested and adjusted at the factory prior to shipment; however, variations in the local gas
supply may make it necessary to adjust the burners. The flames of the burners should be visually checked.
2. Flames should be blue and stable with no yellow tips, excessive noise or lifting. If any of these conditions exist,
check if the air shutter or burner ports are blocked by dirt, debris, spider webs, etc.
Fig.8


