


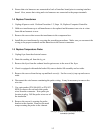
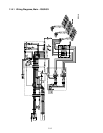

1-7
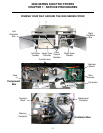
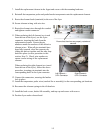
6. Remove the screws securing the frypot to the front frame of the fryer.
7. Carefully lift the frypot from the cabinet.
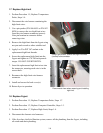
8. Remove the drain valve from the old frypot and install on the new frypot.
9. Apply Loc-Tite Sealant PST 567 to the high-limit threads. Install high-limit into the new frypot.
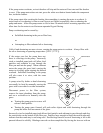
10. Disconnect the tilt plate springs from the old frypot.
11. Remove the securing screws from the tilt plate. Lift the tilt plate/heating element assembly from
the old frypot and install on the new frypot.
12. Follow the preceding steps in reverse to install the new frypot into the fryer.
13. NOTE: Apply Loc-Tite Sealant PST 567 to all pipefittings prior to installation.
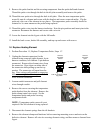
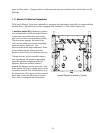
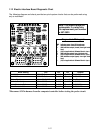
1.9 Replace Contactor (Latching or Heating)
1. Remove filter pan.
2. Remove cover to contactor box.
3. Identify faulty contactor. Remove all wiring connected to the contactor terminals inside the
component box. Tape wire-pairs together and mark each wire-set or wire for reassembly.
4. Remove contactor-mounting screws and remove the contactor.
5. Install the new contactor and connect the wiring removed in Step 3.
1.10 Built-in Filter System Service Procedures
Troubleshooting Built-In Filtration Systems
One of the most common errors is placing the filter paper on the bottom of the filter pan rather than
over the filter screen.
CAUTION
Ensure that the paper support screen is in place prior to filter paper placement and
filter pump operation. Improper screen placement is the major cause of filter system
malfunction.
Whenever the complaint is "the pump is running, but no oil is being filtered", check the installation
of the filter paper, and ensure that the correct size is being used.