


FRYMASTER FPD65 SERIES GAS FRYERS
CHAPTER 3: INSTALLATION
3-3
3.1 Installing the Fryer (cont.)
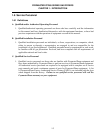
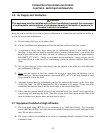
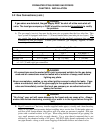
9. Install the front connecting post on the connected
cabinets (Figure 8; see factory-installed posts on
two-battery fryer sections).
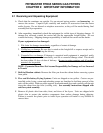
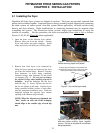
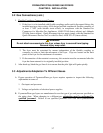
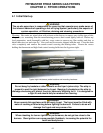
10. Complete installation of topcap battering strips
after the front connecting post has been installed
(Figure 9).
NOTE: Systems shipped in three or more
sections will require the installation of topcaps
and other components prior to installing
topcap-battering strips. See Topcap
Installation Instructions for these systems.
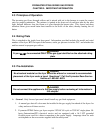
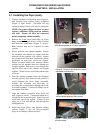
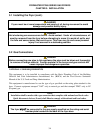
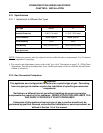
11. Install the rear connecting plate (Figure 10).
Remove four screws from the cabinet backs
(Figure 10, arrows), install connecting plate and
replace screws. Connection strips vary from
system to system.
12. At the fryer front: Tighten the drain manifold
slip-nuts. Install doors removed at the beginning
of assembly. At the fryer back: Tighten the oil-
return line and rinse-line (where applicable)
union(s).
13. Reinstall filter pan after fryer start-up has been
performed (boil-out, burner adjustment, etc.)
NEVER ALLOW WATER OR BOILOUT
SOLUTION INTO FILTER SYSTEM.
Check all connections for leaks.
Ensure all
components operate properly.
Figure 8. Installing front connecting post
on connected fryer sections.
Figure 9. Complete installation of topcap
battering strips (arrow) after installing
front connecting post(s) on connected
fr
y
ers.
Figure 10. Install rear connecting plate.