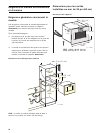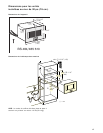
10
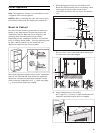
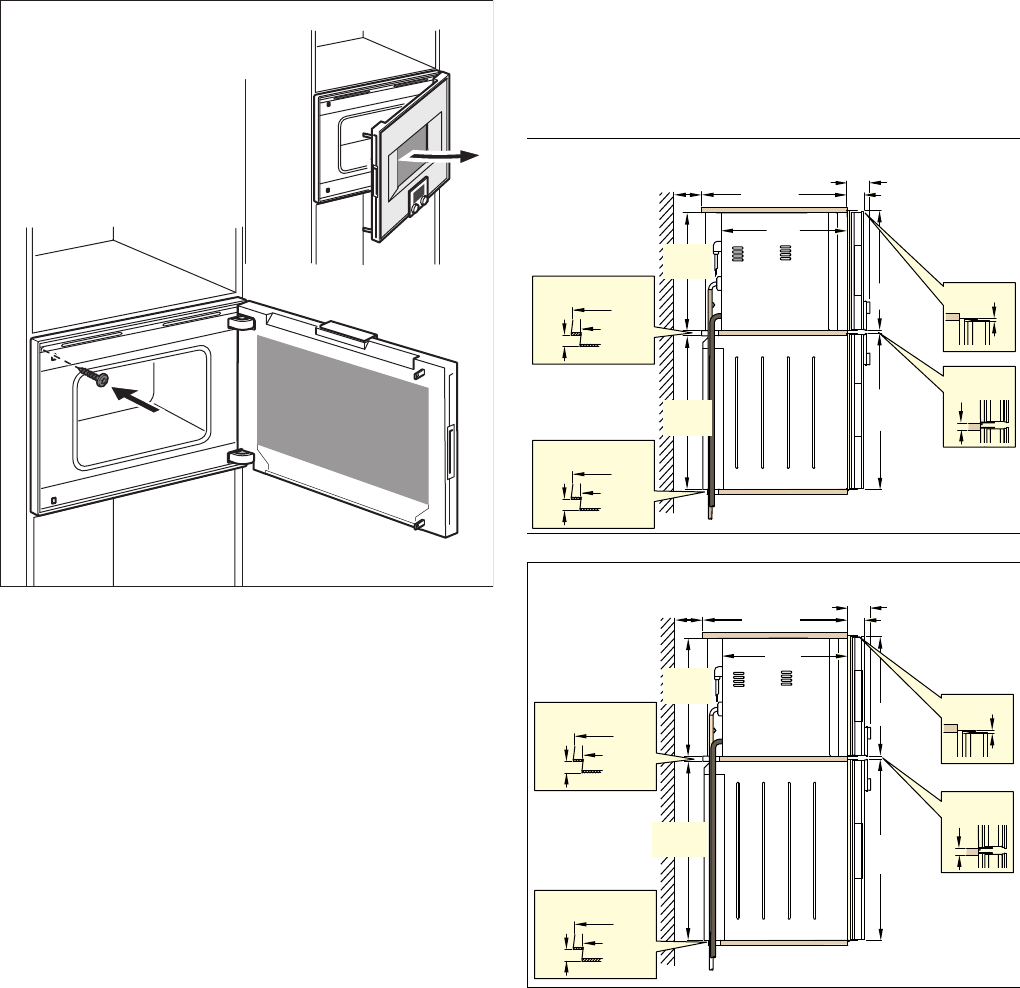
3 Use a spirit level to align the appliance exactly
horizontally.
4 Fasten the appliance with the included
screw.Remove transportation lock from the door.
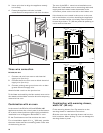
Three wire connection
BO 450/451-610
1 Connect red wire from oven to red electrical
supply wire (hot wire).
2 Connect black wire from oven to black electrical
supply wire (hot wire).
3 Connect yellow/green ground oven wire to bare
ground electrical supply wire.
Attach flexible conduit to the junction box.
To facilitate serviceability, the flex conduit must not be
shortened and should be routed to allow for temporary
removal of the oven.
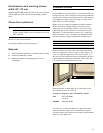
Combination with an oven
In the case of the BS 474/475 and BS 484/485
appliance versions, the control panel is at the bottom.
As a result, these models are particularly suitable for
installation over a Gaggenau Series BO 4.. oven.
Fit the Combi-steam oven first and then the oven.
For an installation depth of 21
5
/
8
" (550 mm), position
the water hoses and the connecting cable in the area
of the housing cut-out.
The rear of the BO 4.. ovens has a bevelled corner.
Route the Combi-steam oven's connecting cable and
supply and drain water hoses downwards to the
connection points on the rear left in the kitchen unit.
If the hoses are not routed in the corner on the rear
left in the kitchen unit, when installing the appliance
over an oven the kitchen unit's body must be pulled
forward by at least 1 \" (35 mm) and side paneling or
a trim must be inserted.
Combination with warming drawer,
width 24" (60 cm)
Fit the warming drawer first. Pay attention to the
warming drawer's installation instructions.
Slide the oven onto the warming drawer and into the
built-in cabinet. When sliding it in, do not damage the
warming drawer's panel.
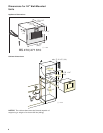
PLQȾ
PLQȿ
PLQȤɊȫȰ
ɀ
èȢɊȫȰ
èèɊȫȰ
ȤɊȫȰ
èçɊȫȰ
ȿ
èèɊȫȰ
Ƚ
ɀ
èèɊȫȰ
Ƚ
PP
çɊȫȰ
èɊȮ
ë
PLQȾ
PLQȿ
çɊȫȰ
PLQȤɊȫȰ
èȢɊȫȰ
Ⱦ
ȿ
èèɊȫȰ
Ƚ
ɀ
èèɊȫȰ
Ƚ
ë
èèɊȫȰ
PP
èçɊȫȰ
ɀ
çɊȫȰ


