


17
Installation:
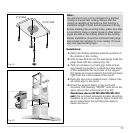
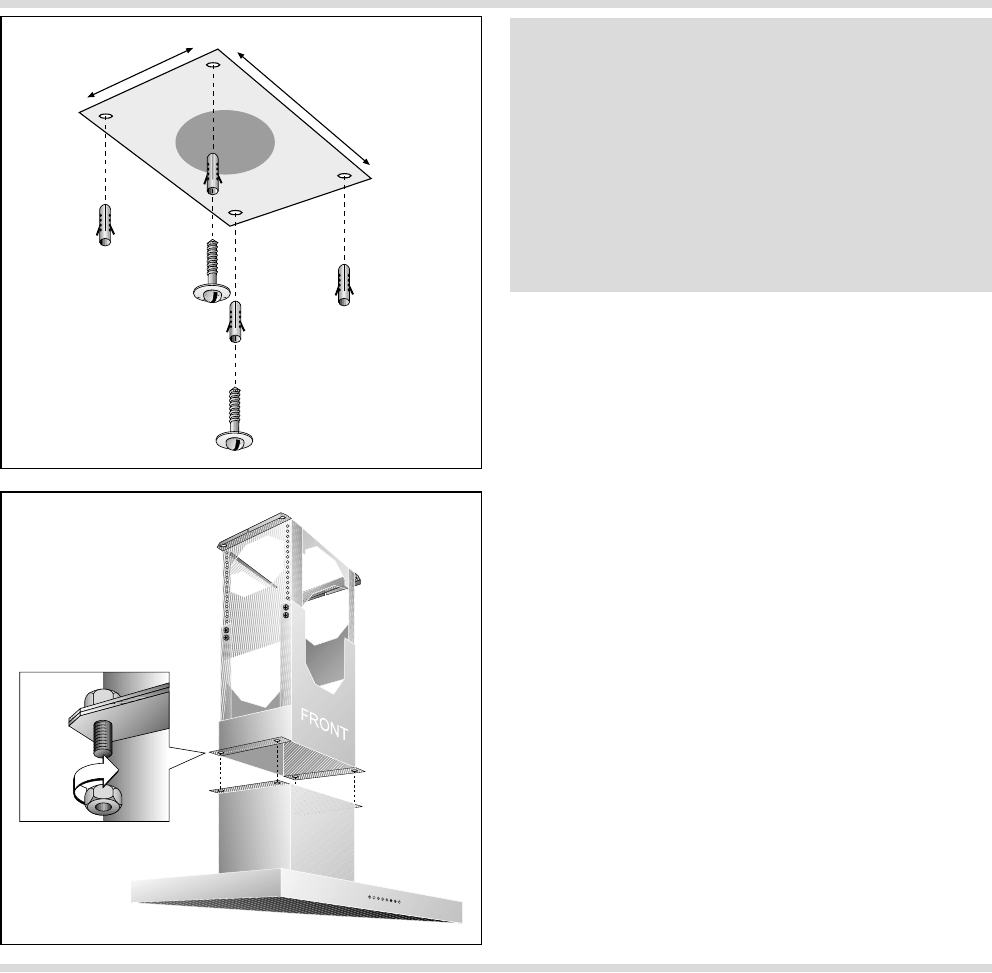
1. Using the drilling template mark the position of
the screws on the ceiling.
2. Drill 4 holes Ø 8 mm for the wall plugs. Push the
plugs flush with the ceiling (Fig. 19).
3. Turn two screws to a 10 mm gap. Both screws
are placed in a position, in which at a later stage
of the installation the key-holes of the suppor-
ting frame are found (namely front left and back
right from the control panel of the hood).
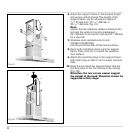
4. Place the hood on a suitable base. Connect the
air outlet pipe to the hood.
5. Screw the support frame to the hood with
4 screws. The marking “FRONT” must be on the
same side as the control panel (Fig. 20).
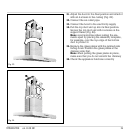
Ventilation ducts LK 590-020/030/021/031
only: the enclosed extension module should be
mounted on top of the support frame. Follow the
above instructions for mounting the support
frame and hood.
(13
5
/
8
")
346
(7
7
/
8
")
200
Fig. 19
Fig. 20
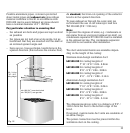
Note:
the extractor hood is to be installed to a kitchen
ceiling or suspended ceiling. Ensure that the
ceiling is capable of providing a firm hold for a
maximum weight of hood and accessories of 60 kg.
Before marking the securing holes, make sure that
no electricity wires or water pipes or other wires/
pipes are laid at the drilling points in the ceiling.
Before installation check the enclosed wall plugs
and screws are suitable for your ceiling. If neces-
sary use special wall plugs.