10
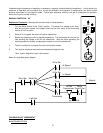
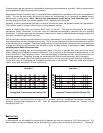
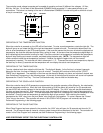
The controller needs voltage to operate and is capable of operating on three (3) different line voltages, 115 Vac,
208 Vac, 240 Vac. On the back of the Robertshaw COM6000 there are several ¼” male spade terminal or pin
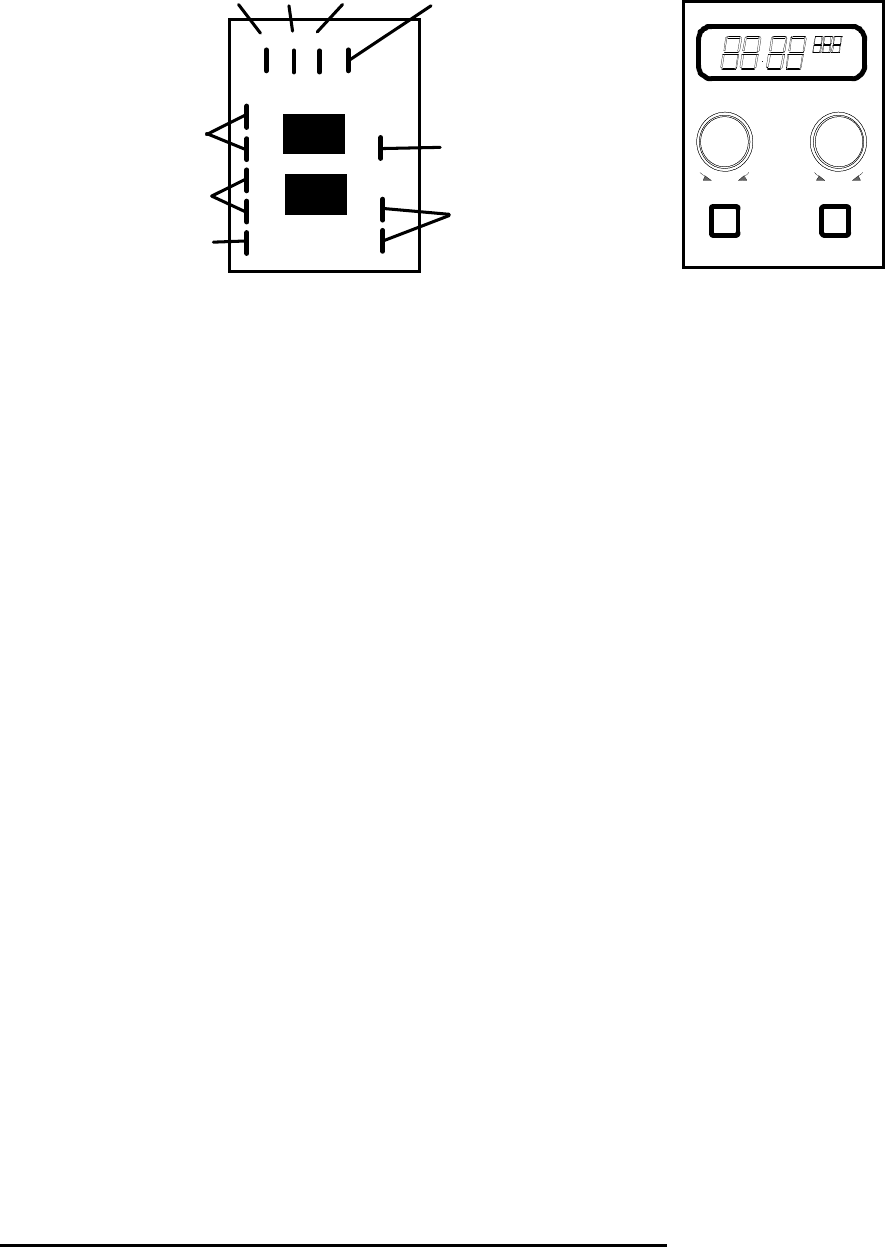
connections. The below is a drawing of the rear of a Robertshaw COM6000 Controller along with a definition of each
of the pin connections.
DOOR
BAKE
AUX
240V
NEUTRAL
GROUND
208V
120V
E7
E6
E1
E5
E4 E3
E2
PROBE
E9
E10
E11
E12
E8
+- - +
CANCEL
TIMER
START
TIMER
REAR VIEW
FRONT VIEW
OPERATION OF THE TEMPERATURE FUNCTION
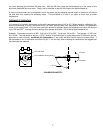
When the controller is powered up, the LED will be illuminated. To enter a cook temperature, rotate the right dial. The
digits will go up as you rotate the dial to the right and decrease if rotated to the left. The controller determines if the
oven is at set temperature by the RTD sensing probe. If the controller senses that the oven is below the displayed set
temperature, the controller activates the bake relay, calling for heat. At the same time the temperature digits begin to
blink indicating that the controller is calling for heat. Once the controllers’ set temperature is satisfied the temperature
digits will stop flashing and remain constant, and deactivating the bake relay. NOTE: The temperature digits will
remain constant unless the set temperature is altered. If altered, the digits will again blink until the new set
temperature is reached. The controller will hold a tolerance of +/- 5°. To access the actual oven temperature, depress
the start key for three (3) seconds and the temperature will now display the actual oven temperature.
OPERATION OF THE TIMER FUNCTION
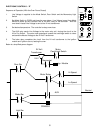
To enter a desired cook time rotate the left time dial. The digits will display, (in the first hour), minutes & seconds.
Above the first hour, the timer will display in hours & minutes. The diplay will continue to blink until the “START
TIMER” key is depressed. The resolution of the timer can be altered to display only hours and minutes if desired, see
User Preference Programming in the following pages. At the end of the timed period an alarm will sound until operator
depresses the “Cancel Timer” key. The timer (in standard mode), has no effect on the bake relay.
OPERATION OF THE COOK’n HOLD FUNCTION
When the controller has a HOLD temperature programmed, the controller operates a little differently. As noted earlier,
set cook temperature and time. When the timer counts down to 00:00 the alarm will sound for five (5) seconds and
the word HOLD will now be displayed in the time side of the LED display. The “AUX” relay will also be deactivated at
this time and stop the oven fan. At the same time the cook temperature will change to the new hold temperature that
was preprogrammed in the controller. This new temperature will now blink, indicating that a new set temperature must
be reached. Once this new set temperature is reached the digit will go constant. After reaching the new set
temperature the “AUX” relay (oven fan) and “Bake” relay (heat) will cycle together. To cancel, depress the “Cancel
Timer” key on the control. This controller will remain in this COOK’n HOLD program until removed, see User
Preference Programming in the following pages.
OPERATION OF THE PULSE FUNCTION
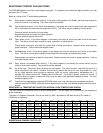
When Pulse Program has been entered in the controller, the “AUX” relay will open for 30 seconds and close for 30
seconds. The 30 seconds open & closed is a factory preset time and cannot be altered in the field. The controller will
remain in this Pulse Program until removed, see User Preference Programming in the following pages.
USER PREFERENCE OFFSET FOR THE ELECTRONIC CONTROLLERS


