


Safety Instructions
Operating Instructions
Safety Instructions
Operating Instructions
Care and Cleaning Troubleshooting Tips Consumer Support
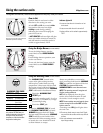
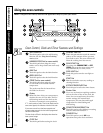
Using the surface units.
GEAppliances.com
Throughout this manual, features and appearance may vary from your model.
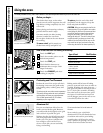
How to Set
Push the knob in and turn in either
direction to the setting you want.
At both
OFF
and
HI
the control
clicks
into position. You may hear slight
clicking
sounds during cooking,
indicating the control is keeping the
power level you set.
A
HOT COOKTOP
indicator light will glow
when any radiant element is turned on,
and will remain on until the surface is
cooled to approximately 150°F.
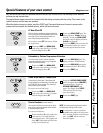
Indicator light will:
■
come on when the unit is turned on or hot
to the touch.
■
stay on even after the unit is turned off.
■
glow until the unit is cooled to approximately
150°F.
Be sure you turn the control knob to
OFF when you finish cooking.
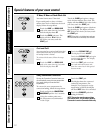
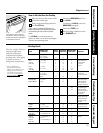
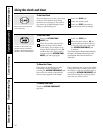
Using the Bridge Burner
(on some models)
To use the bridge burner, turn the
control knob to the
BRIDGE BURNER
settings.
For full bridge burner operation, turn
on the rear burner.
To use only the front burner, turn the
control knob to the
FRONT BURNER
settings.
5
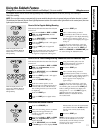
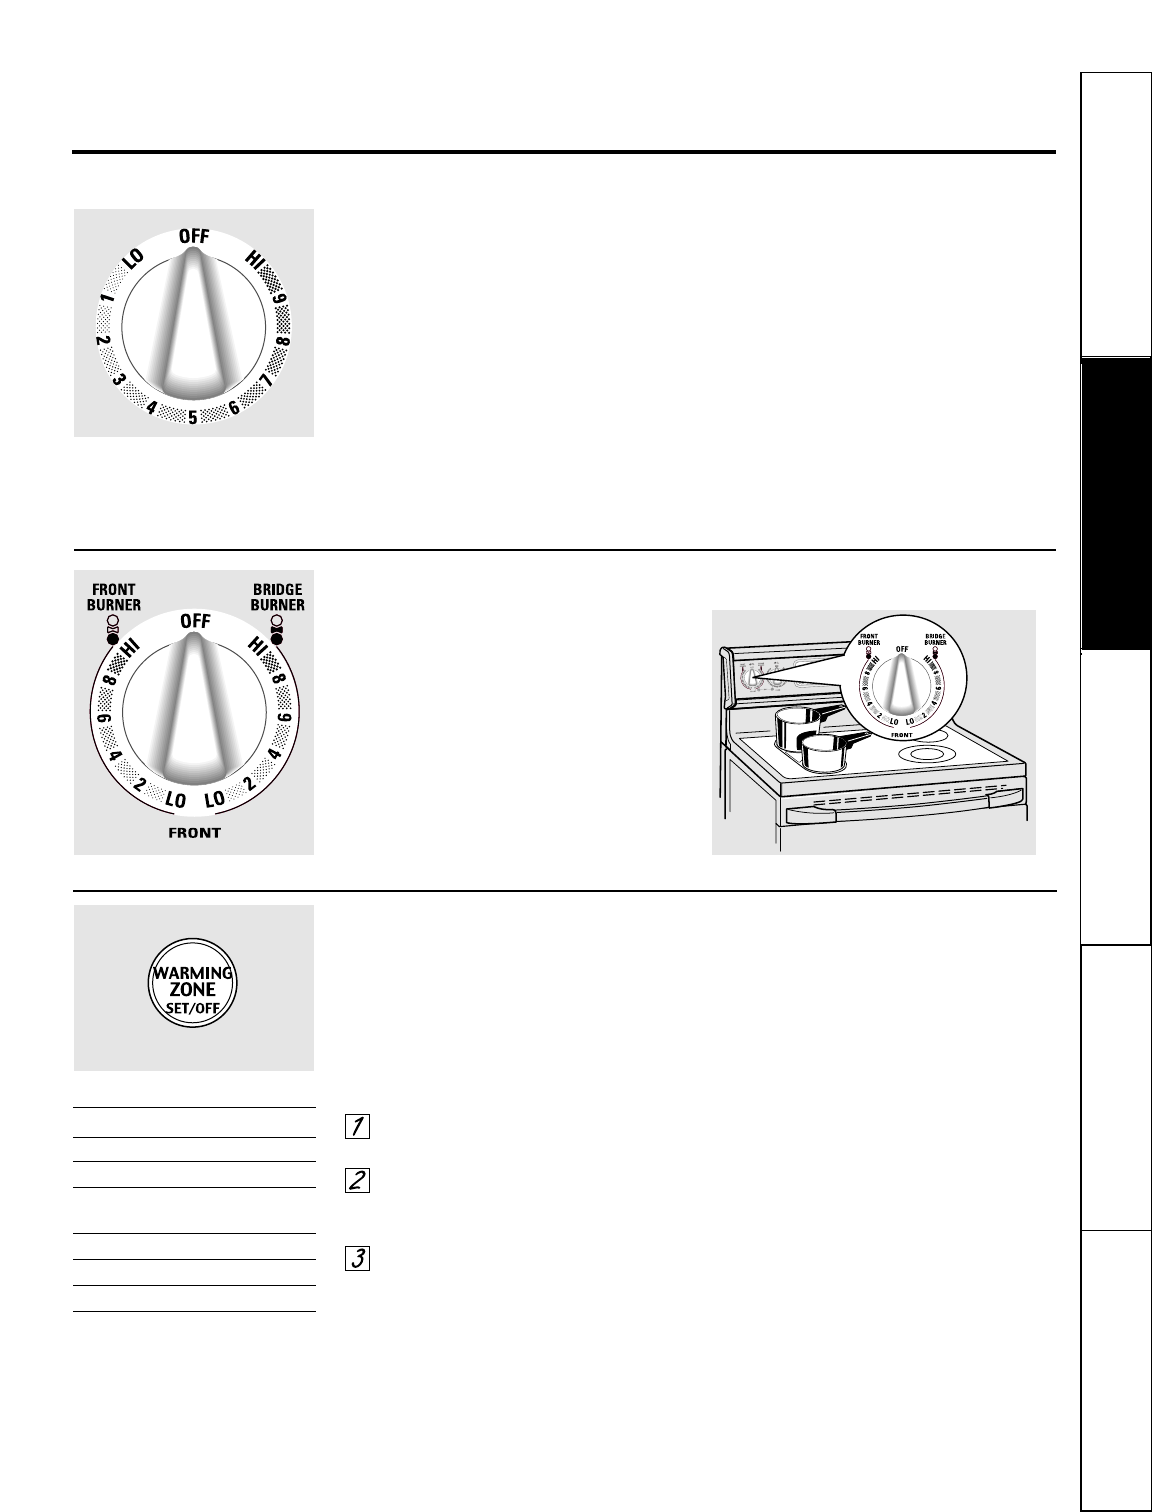
Using the Warming Zone
(on some models)
The
WARMING ZONE
, located in the
center of the glass cooktop surface,
will keep hot, cooked food at serving
temperature. Always start with hot food.
Do not use to heat cold food. Placing
uncooked or cold food on the
WARMING
ZONE
could result in food-borne illness.
Touch the
WARMING ZONE
SET/OFF
pad.
Touch the number pads 1, 2 or 3 to
select low (1), medium (2) or high
(3) warming setting.
Touch the
START
pad.
To turn the
WARMING ZONE
off, touch
the
WARMING ZONE SET/OFF
pad until
WARMER
disappears from the display.
For best results, all foods on the
WARMING
ZONE
should be covered with a lid or
aluminum foil. When warming pastries
or breads, the cover should be vented
to allow moisture to escape.
Always use potholders or oven mitts
when removing food from the
WARMING
ZONE
, as cookware and plates will be hot.
CAUTION: Do not warm food on the
WARMING ZONE for more than two hours.
NOTE: The warming zone will not glow red
like the cooking elements.
HOT
will be displayed when the glass
surface is hot and will remain on until
the surface is cool enough to touch.
NOTE: Lower settings may not heat the glass
surface enough to cause the HOT indicator
light to come on.
A warming zone
ON
light will glow when
the unit is on.
■
Do not use plastic wrap to cover food. Plastic
may melt onto the surface and be very difficult
to clean.
■
Use only cookware recommended for
top-of-range cooking.
WARMING ZONE GUIDE
SETTING FOOD
1 (Low) Bread/Pastries
2 (Medium) Chocolate/Butter
2 (Medium) Sauces, Stews,
Cream Soups
2 (Medium) Vegetables
3 (High) Soups (liquid)
3 (High) Tea or Coffee
The Warmer Guide is for reference
only and the SETTING that you
need will depend on the amount
and type of food, the starting
temperature of the food and the
length of the holding time.
7