E6 E7
HOW TO CLEAN YOUR DEEP FRYER
WARNING: Always flip ON/OFF Toggle Switch to “OFF” then disconnect plug
from wall outlet BEFORE disconnecting BREAK-AWAY CORD.
CAUTION:
• Do not immerse cord sets in water or any liquids.
• Do not attempt to defeat the detachable magnetic Break-away cord system by
trying to permanently attach cord set to product.
• Do not stick pins or other sharp objects in holes on magnetic cord set.
• Do not use any type of steel wool to clean magnetic contacts.
1. Unplug from outlet and allow unit to cool completely.
2. Remove Break-away magnetic cord from the fryer.
3. Clean the outside of the Deep Fryer and lid with a damp cloth.
CAUTION: Do not use abrasive pads or alcohol.
4. Remove Frying Basket. Wash the Frying Basket in the dishwasher or with hot
soapy water. Rinse and towel dry carefully.
5. Lift Control Panel Assembly up from the front of fryer. Gently wipe down the
outer surface of the Control Panel Assembly with a damp cloth containing mild
soap solution or plain water.
6. Remove Condensation Tray.
NOTE: A Removable Condensation Tray is located on the back of the fryer. The
Condensation Tray will collect any water that has condensed on the inside of the
Lid when the Lid is opened after frying. Remember to empty and clean the
Condensation Tray after each use. To clean, simply rinse with warm water.
NOTE: the Control Panel Assembly should never be immersed in water or other
liquids.
CAUTION: Be sure you have allowed enough time, after using, for Control Panel
Assembly to cool down completely.
Carefully lift Oil Reservoir out by holding the rim of the bowl. See Tips for Oil Use
and Storage on page 8.
7. The Basket, Lid and Oil Reservoir are dishwasher safe. For best results, remove
Grease Filter from Lid and wash separately in warm soapy water or in the
dishwasher. Dry thoroughly. Dry all parts thoroughly after cleaning.
8. Ensure that both the Lid and the Oil Reservoir are completely dry after washing
and before use.
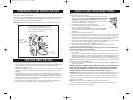
9. After cleaning, reassemble Control Panel Assembly into the locating slots on
the Fryer Housing (See Fig. 1). The Control Panel Assembly must be attached
properly to the Fryer Housing or the appliance will not operate.
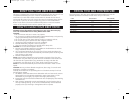
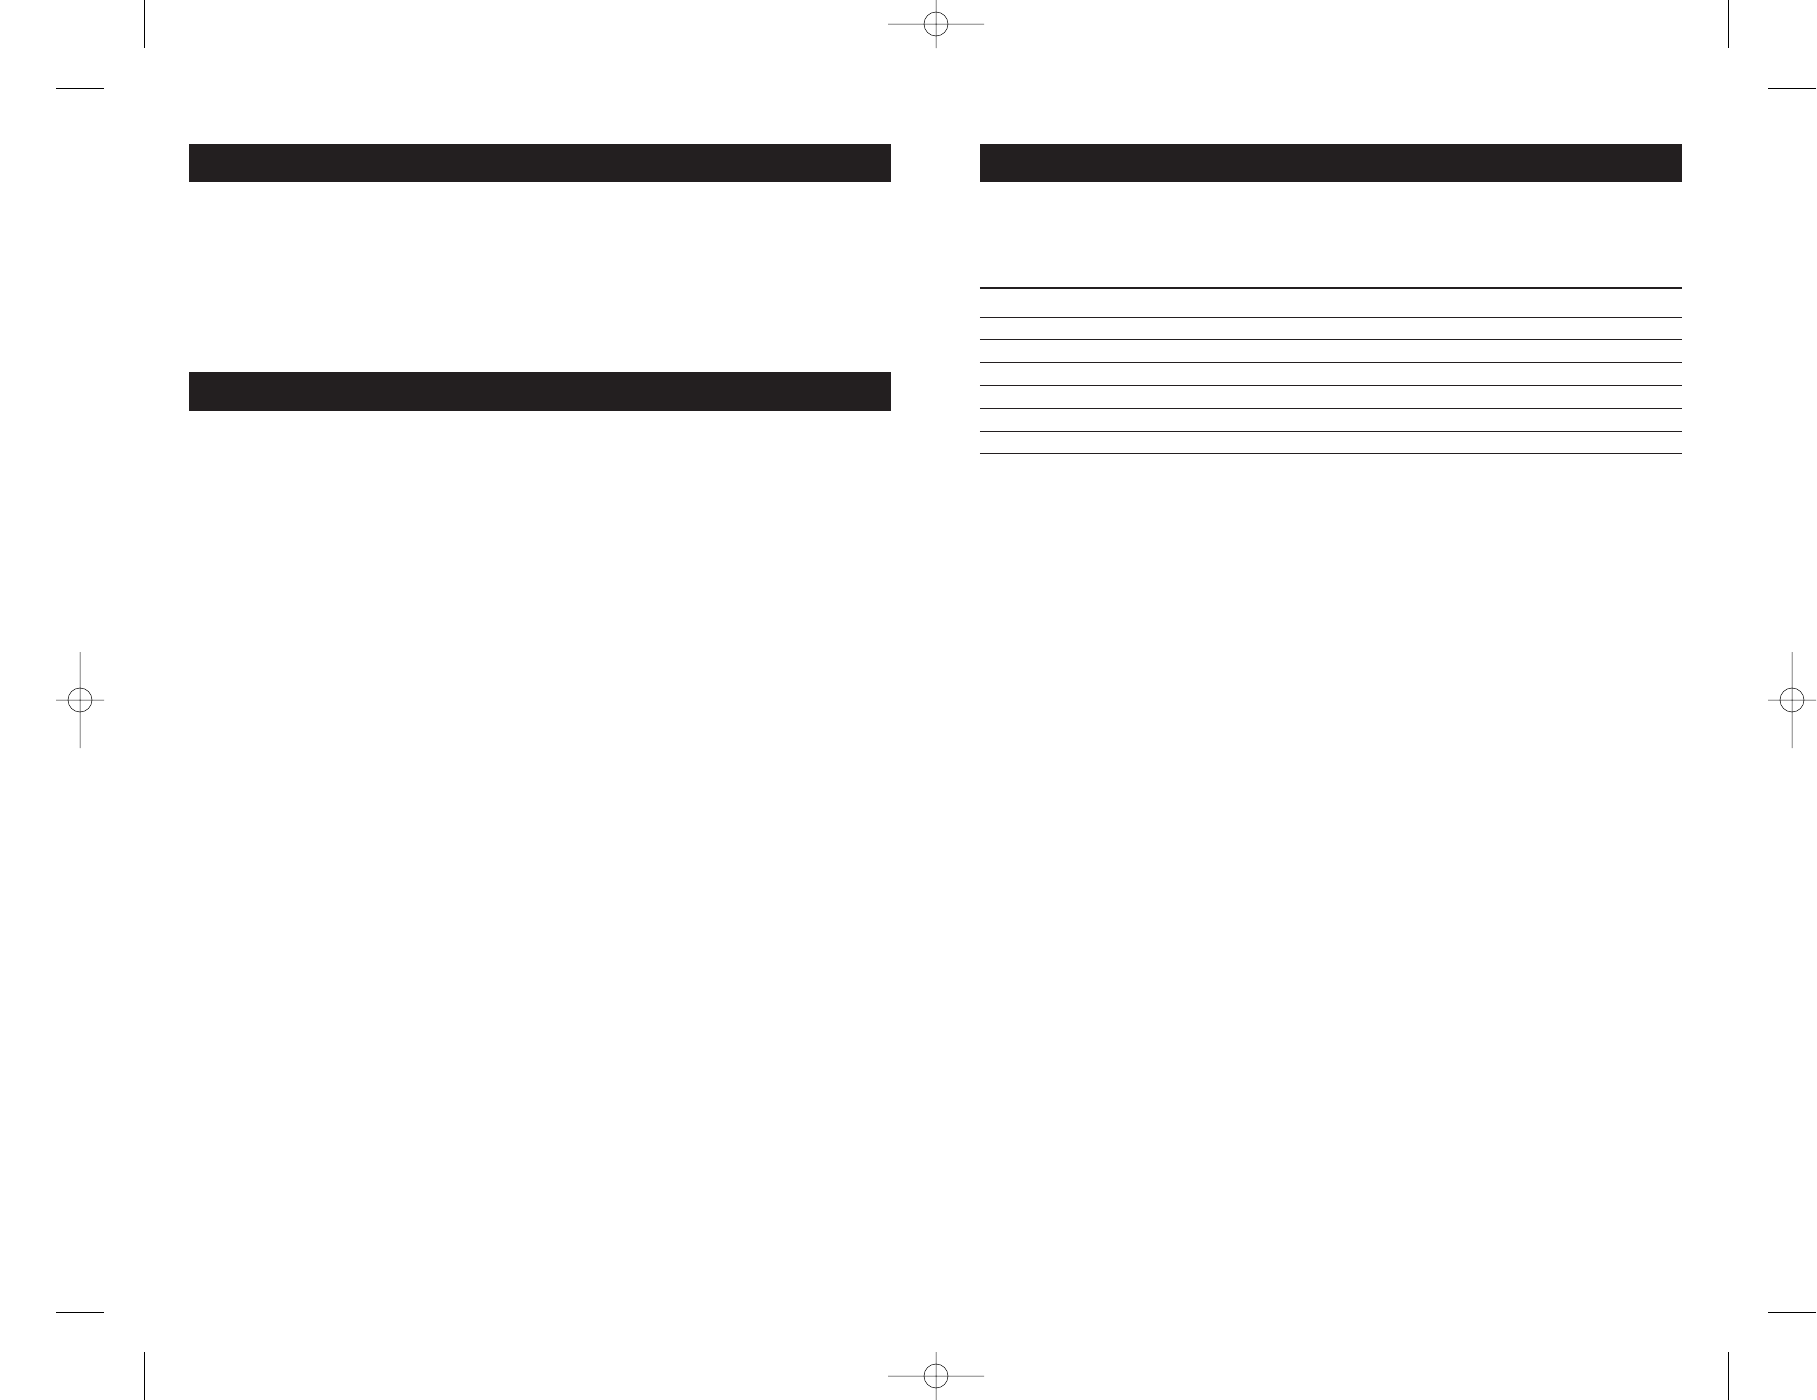
FRYING TIME AND TEMPERATURE
The frying times in this chart are a guide and should be adjusted to suit the
different quantities or thickness of food and to suit your own taste.
FOOD TEMP. SETTING TIME (MINUTES)
Chicken Strips 375 °F 5 to 8
Chicken pieces, bone-in 360 °F 15 to 20
Fish, Battered, fresh 320 °F 8 to 10
French fries, frozen 375 °F 3 to 5
Fritters 375 °F 2 to 4
Onion Rings 375 °F 3 to 5
Shrimp, breaded 375 °F 2 to 4
This Fryer is equipped with a sensor which will automatically shut the unit off if it is
overheated. Overheating can occur if the unit is heated without oil, with
insufficient oil, or with older oil that has become thick. Should the unit shut off,
unplug and allow the unit to cool. Correct the cause of overheating. Then with the
tip of a pen or pencil or the end of a paper clip, press into the recessed Reset
Button on the back of the Control Panel Assembly (Refer to Parts and Features
section of this manual). The unit will not operate until it is reset.
RESETTING YOUR DEEP FRYER
16909006.qxd 6/2/06 17:53 Page 7


