


8
Consumer Support
Troubleshooting Tips
Operating
Instructions
Safety Instructions
Installation
Instructions
Care and Cleaning
Care and cleaning.
If the power fails, open the door as
infrequently as possible to maintain
the temperature. A gradual rise in
temperature should not have any
adverse effect on the wine.
If it is extremely hot, you may want to
unload the wine from the wine chiller and
move the wine to a cooler location until
power is restored.
When power is restored, the controls
automatically are set to the RED WINE
setting. If needed, reset the controls to
the desired setting.
In the Event of a Power Failure
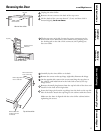
Unload the wine, then secure the racks by
taping them in place to prevent damage.
Be sure the wine chiller stays in an upright
position during the move.
Preparing to Move
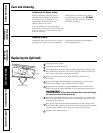
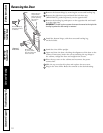
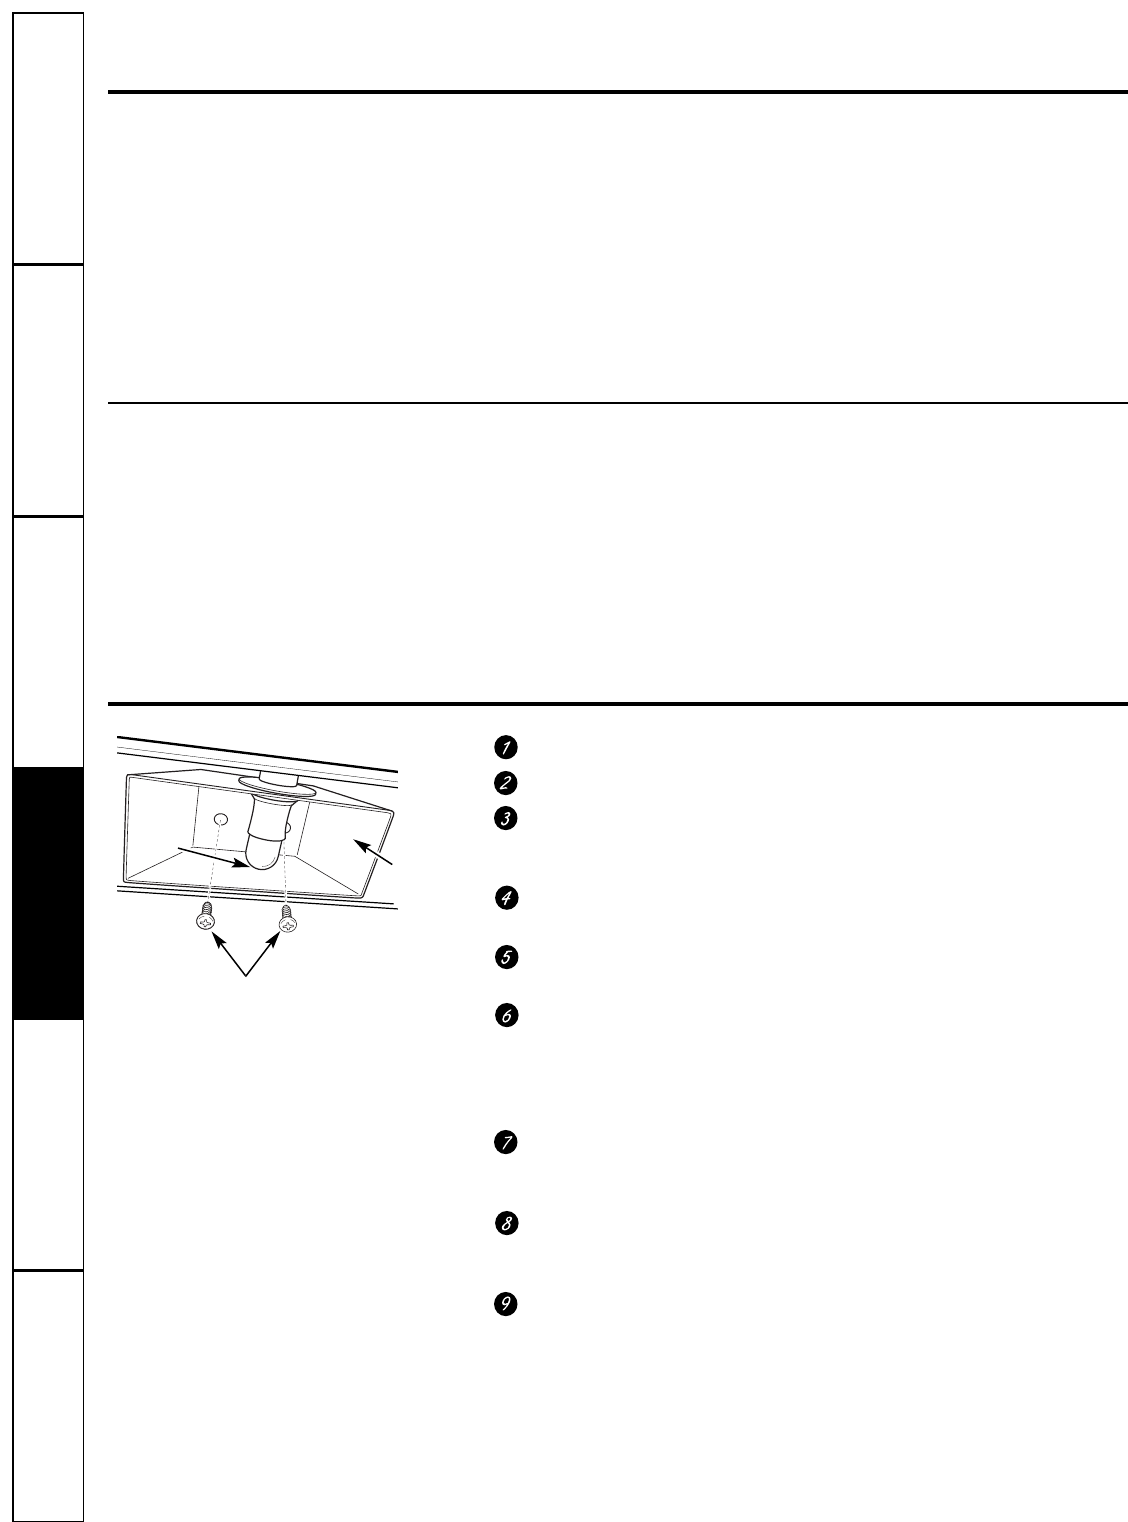
Replacing the light bulb.
Unplug the wine chiller.
If the door is locked, unlock it.
The light bulb is located behind a light shield in the ceiling of the
wine chiller near the front. To remove the light shield, remove the
two screws at the back corners of the shield.
Pull down on the back of the light shield to release the two
front tabs.
Remove the light bulb housing by removing the two screws that
attach the housing to the ceiling of the wine chiller.
Pull the bulb out of the receptacle. Replace with a 5 watt, 12 volt
bulb. This type of bulb is available at most automotive parts stores.
WARNING: Using a bulb rated higher than 5 watts may damage
the electronic controls on the wine chiller.
Attach the light bulb housing to the ceiling of the wine chiller with
the two screws. Make sure not to pinch or damage any of the wires
attached to the housing.
Line up the light shield with the indentation on the ceiling of the
wine chiller, then push the front of the shield up until the front tabs
clip into place. Replace the screws at the back of the shield.
Plug the wine chiller back in.
Step 5:
Remove two screws
Housing
Bulb