4
5
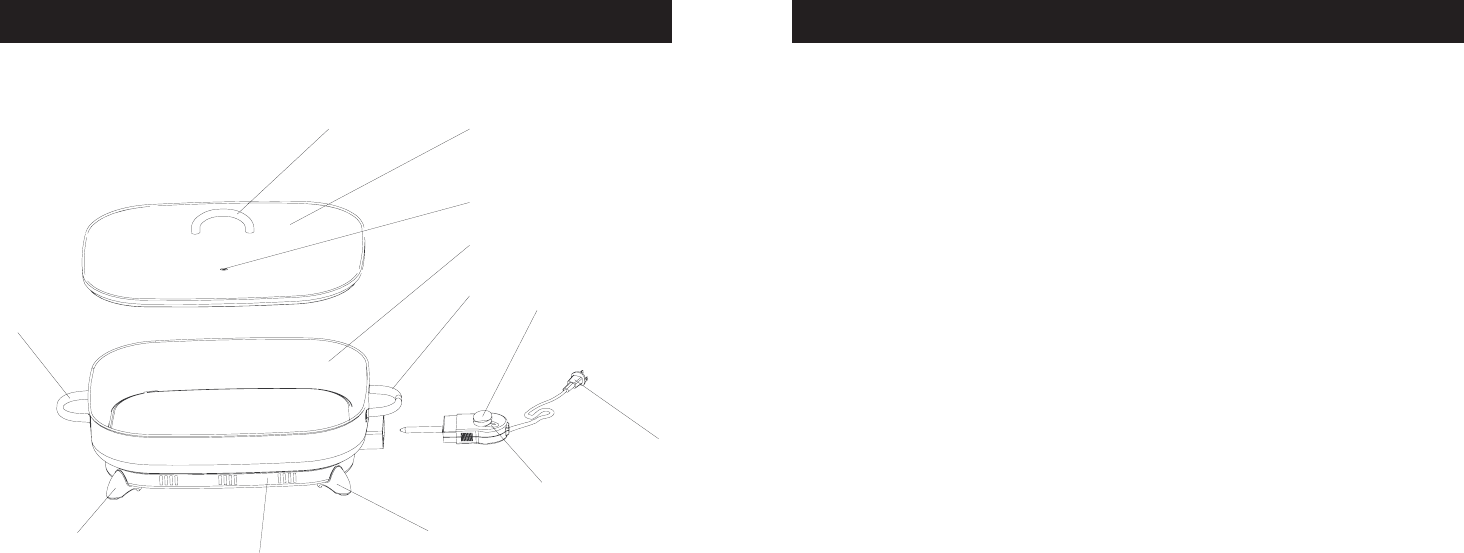
PARTS AND FEATURES
1.
2.
4.
5.
6.
7
8.
9.
10
.
3.
5.
9.
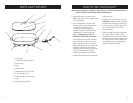
1. Lid Handle
2. Transparent glass Window
3. Steam Vent
4. Body
5. Side Handles
6. Temperature Control Probe
7. Power-Supply Cord
8. Indicator Light on the Probe
9. Legs
10. Heating Element Base
HOW TO USE YOUR SKILLET
1. Before using the first time, wash
Skillet and cover in hot, sudsy water.
Dry completely.
2.
Turn Temperature Control to the
lowest position. Plug Temperature
Control Probe securely into
receptacle on Skillet, plug into
standard 120V AC outlet and turn
Temperature Control to desired
setting. Always plug cord into
Skillet first, then into wall outlet.
3.
The Temperature Control Indicator
Light will cone on when you set or
adjust the temperature. Once the
desired temperature is reached, the
Indicator light will go out. (When
adding food, the Indicator Light will
come on briefly as the overall
cooking temperature is reduced.)
4.
Preheat the Skillet until the Indicator
Light goes out.
5.
A Steam Vent is located on the Lid.
CAUTION: Escaping steam is hot! Be
careful when removing or lifting Lid.
6.
Liquids such as brother, water, wine,
etc., may e added to the Skillet
during cooking.
7.
When cooking has been completed,
turn Temperature Control to the
lowest position. The Indicator Light
on the Probe will be out. Unplug cord
from wall outlet. Let the Skillet cool
completely. Remove Temperature
Control Probe from Skillet.
Note: During cooking, the Indicator Light will go on and off indicating that the
electric Skillet is maintaining desired temperature.


