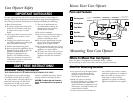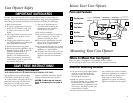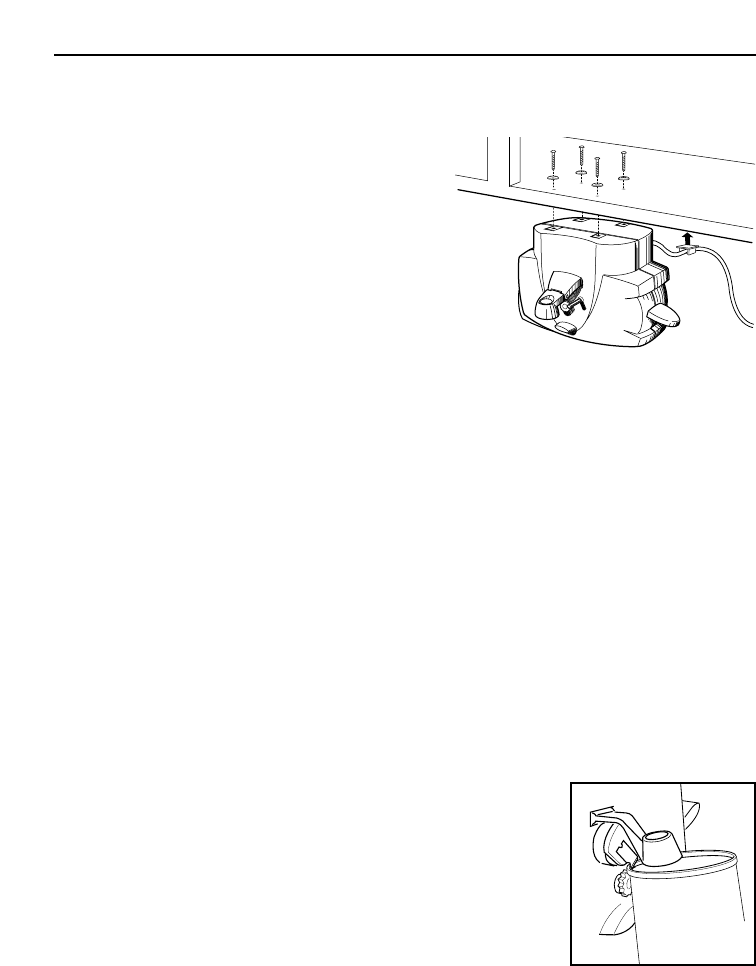
How to Mount Can Opener
The following parts are included for installing the can opener:
4 Phillips recessed flat-head screws
4 plastic washers
1 Cord clip
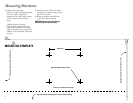
1 Template to position drilled holes
(provided)
Tools required:
Drill with a 3⁄16" bit
Phillips screwdriver
6
How To Open Cans
1. Plug cord into 120 volt, AC outlet.
2. Raise piercing lever, tilt can so that
the rim of the can rests on the edge
of the feed wheel, lower the lever
until the blade pierces the can.
3. Press lever down all the way to pierce
lid and start cutting action. “Power
Pierce” feature: When you press
lever, motor will start rotating can for
easier piercing.
4. Let go of lever and can opener will
continue cutting and will stop
automatically when can has been
opened. (It is normal for motor to
occasionally continue cutting action
for a few seconds after lid has been
completely
severed.)
5. To remove
can, grasp
can firmly
and raise
lever.
Carefully
slide lid from
magnet and dispose of properly.
PLEASE NOTE:
Unit will not open rimless cans. If there is
a dent in the rim of the can, open other
end. Never open or eat the contents of a
dented, bulging or punctured can.
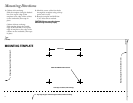
1. Place the hole template (provided),
on the bottom shelf of cabinet as
directed. Make sure it is face-up and
lined up with the front of the
cabinet, as indicated on the
template. Mark the center of the
holes with sharp point by pushing
through the crosshairs. Remove the
template and drill four
3
⁄16" holes at
marked points. CAUTION: Always use
safety glasses when drilling to avoid
injuries to eyes. Keep the template for
future use.
2. Using the Phillips screwdriver, insert
each screw and washer through the
topside of the cabinet into the can
opener holes (See above drawing).
Make sure the cord is aligned through
the slot on the back of the unit.
3. A cord clip is provided to keep cord
out of sight, away from the work
area. Plug in and clip as desired. To
secure, peel off paper backing of
cord clip and press in place. Surface
must be clean, dry and free of dust
and grease.
NOTE: Always leave can opener
unplugged when not in use.
7
1. Be sure knife is clean and free of
grease.
2. Place heel of knife into the guide
slot located on the left side of the
can opener. Lightly draw the blade
towards you, applying a slight
downward pressure. Repeat this
procedure four to five times to put
on a “factory sharp” edge.
How to Sharpen Knives
Do not attempt to sharpen hollow ground blades or those with serrated edges
How to Open Bottles
1. Insert bottle into bottle opener
making sure the prying edge is
placed between the edge of the
bottle cap and the top of the bottle.
2. Grasp bottle tightly with one hand.
3. Slowly and carefully move the bottle
from right to left, making sure the
prying edge begins to separate the
bottle cap from the bottle.
4. If done correctly, the bottle cap
should now easily remove from the
bottle.
How to Clean Blade Assembly
1. Unplug cord.
2. Wipe can opener with a damp cloth.
Clean around blade area with
toothpick or cotton swab if necessary.
HINT: Cutting mechanism may collect food or paper from can labels, and should be
cleaned frequently to maintain optimum performance.


