Auto Defrost Guide Automatic Roasting
19
AUTOMATIC ROASTING
Auto Roast uses the temperature probe to cook to
the desired serving temperature. Unlike Temp
Cook/Hold, which uses a single power level, Auto
Roast uses up to 3 power settings which
automatically switch during roasting, thus providing
even, tender cooking results without overcooking.
Just as in regular roasting, only tender roasts should
be roasted until specified internal temperatures are
reached. Less tender roasts should be microwaved
by time.
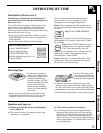
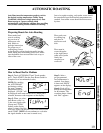
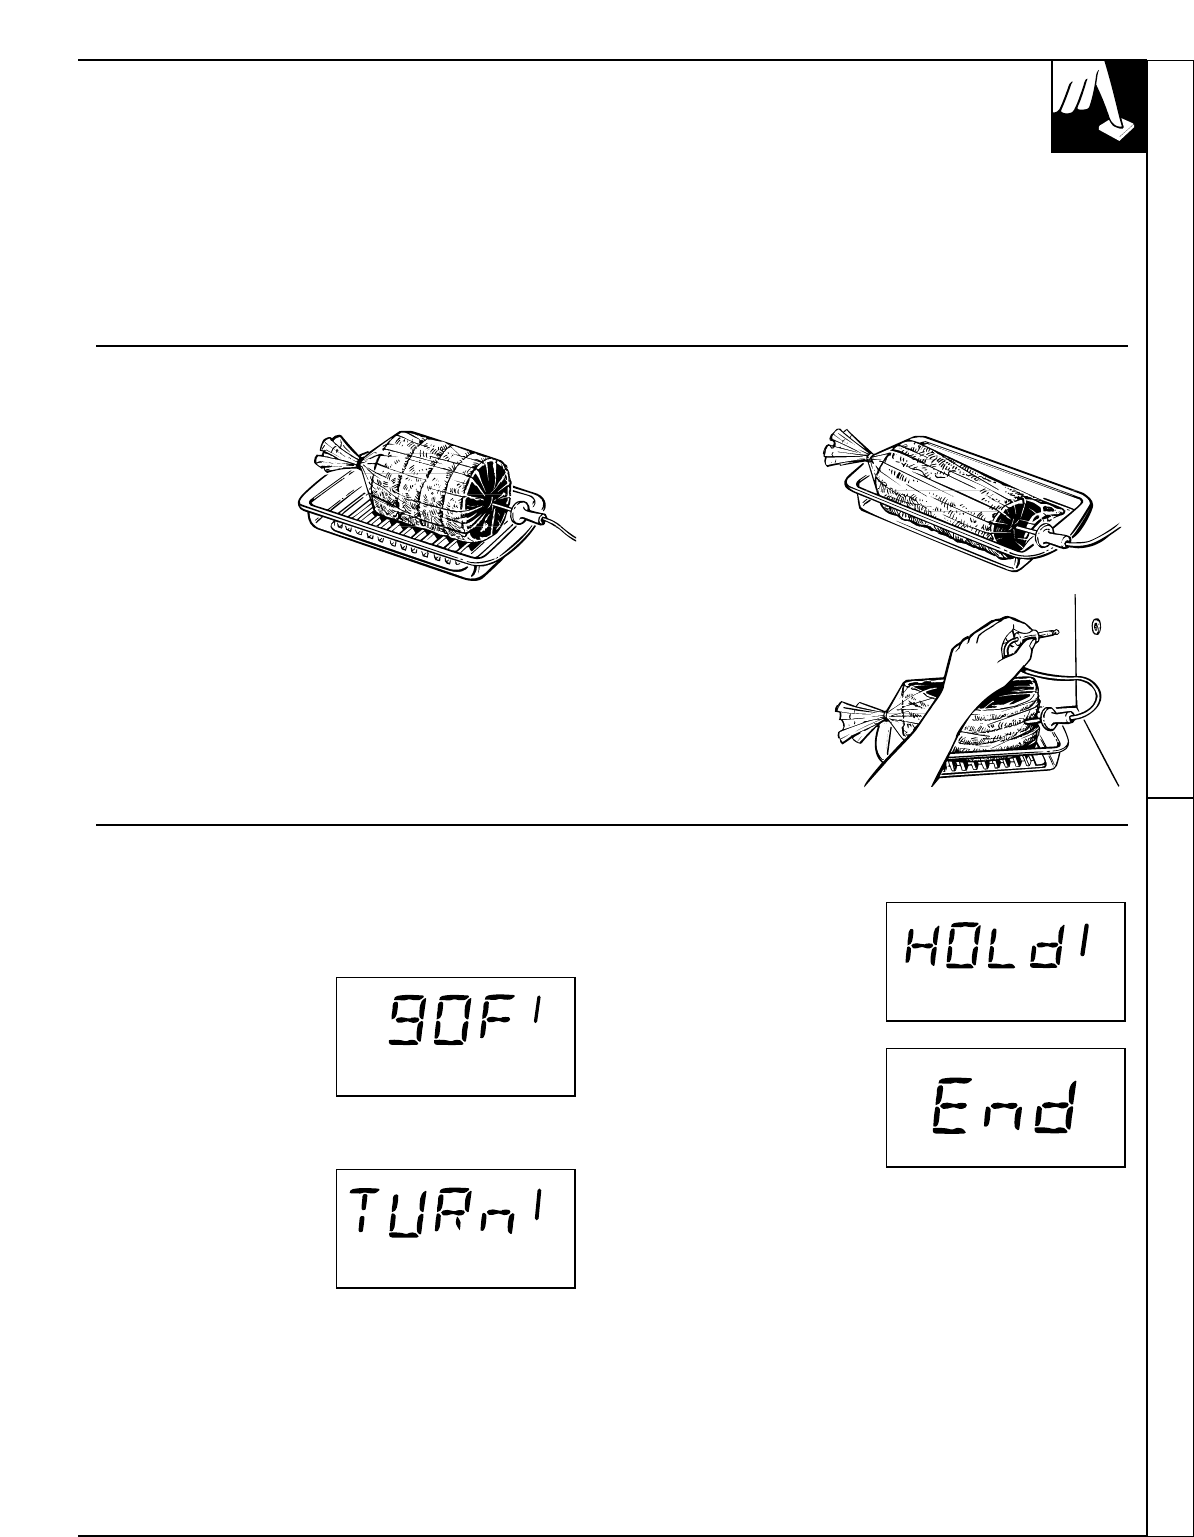
Preparing Roasts for Auto Roasting
Place tender beef
roast in cooking
bag on trivet in
microwave-safe
dish. (Refer to
package instructions
for proper use of
cooking bag.) Insert
probe through cooking bag horizontally into the
center meaty area not touching bone or fat. Make
sure the handle does not touch the food or top or
sides of the oven.
Place pork roast
in cooking bag
and place in
microwave-safe
dish.
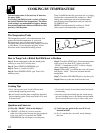
Place meat in
oven with probe
to the right. Insert
cable end of probe
firmly into
receptacle on
oven wall.
How to Roast Beef to Medium
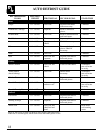
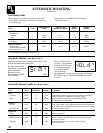
Step 1: Touch AUTO ROAST pad. Touch number
pad 1. Touch START. (See the Auto Roast Guide for
complete list of recommended codes.)
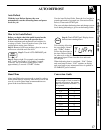
NOTE: By touching
the AUTO ROAST
pad during cooking,
the meat’s internal
temperature will be
displayed. (“COOL” will
be displayed until meat reaches 90°F.) When pad is
released, doneness code reappears on the display.
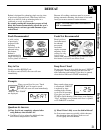
Step 2: When you select
Auto Roast codes 1 or
2, the oven signals with
4 beeps and “TURn”
flashes on the display
when it’s time to turn the
roast over. After you turn the roast, close the door and
touch START. (NOTE: Oven continues to cook after
the signal whether or not roast is turned over.)
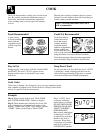
Step 3: After a
pre-programmed
food temperature is
reached, oven beeps
4 times and “HOLd”
appears on the display.
Step 4: Food will be
held at this temperature
for 60 minutes. The
oven then beeps 4 times
and “End” appears.
(continued next page)
CODE
CODE
FOOD TEMP
CODE


