


6
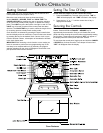
ov e n op e r a t I o n
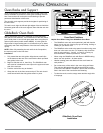
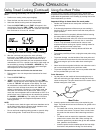
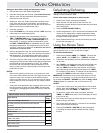
Glide clips
Oven
rack
Helpful Hints When Using Your GlideRack Oven Rack
The GlideRack oven rack works particularly well with heavier •
items, but you can use it during any type of baking, broiling or
roasting in your Dacor oven.
The GlideRack racks need to be spaced out when using more •
than one in the oven at a time. For instance, they should be
used in rack positions 1, 3 and 5 or 2 and 4, counting up
from the bottom, instead of positions 2, 3 and 4.
When using the GlideRack rack with Dacor’s ABS20 baking •
stone, use rack position 1 for best results.
Heavier roasting pans and dishes will also cook better on •
rack position 1.
Do not leave any of the racks in the oven during self-clean. •
They may be damaged and/or will become difficult to slide
in and out if self-cleaned. In addition, remove the convection
filter in the back of the oven before self-cleaning.
To clean the racks, use hot, soapy water and the rough side •
of a sponge.
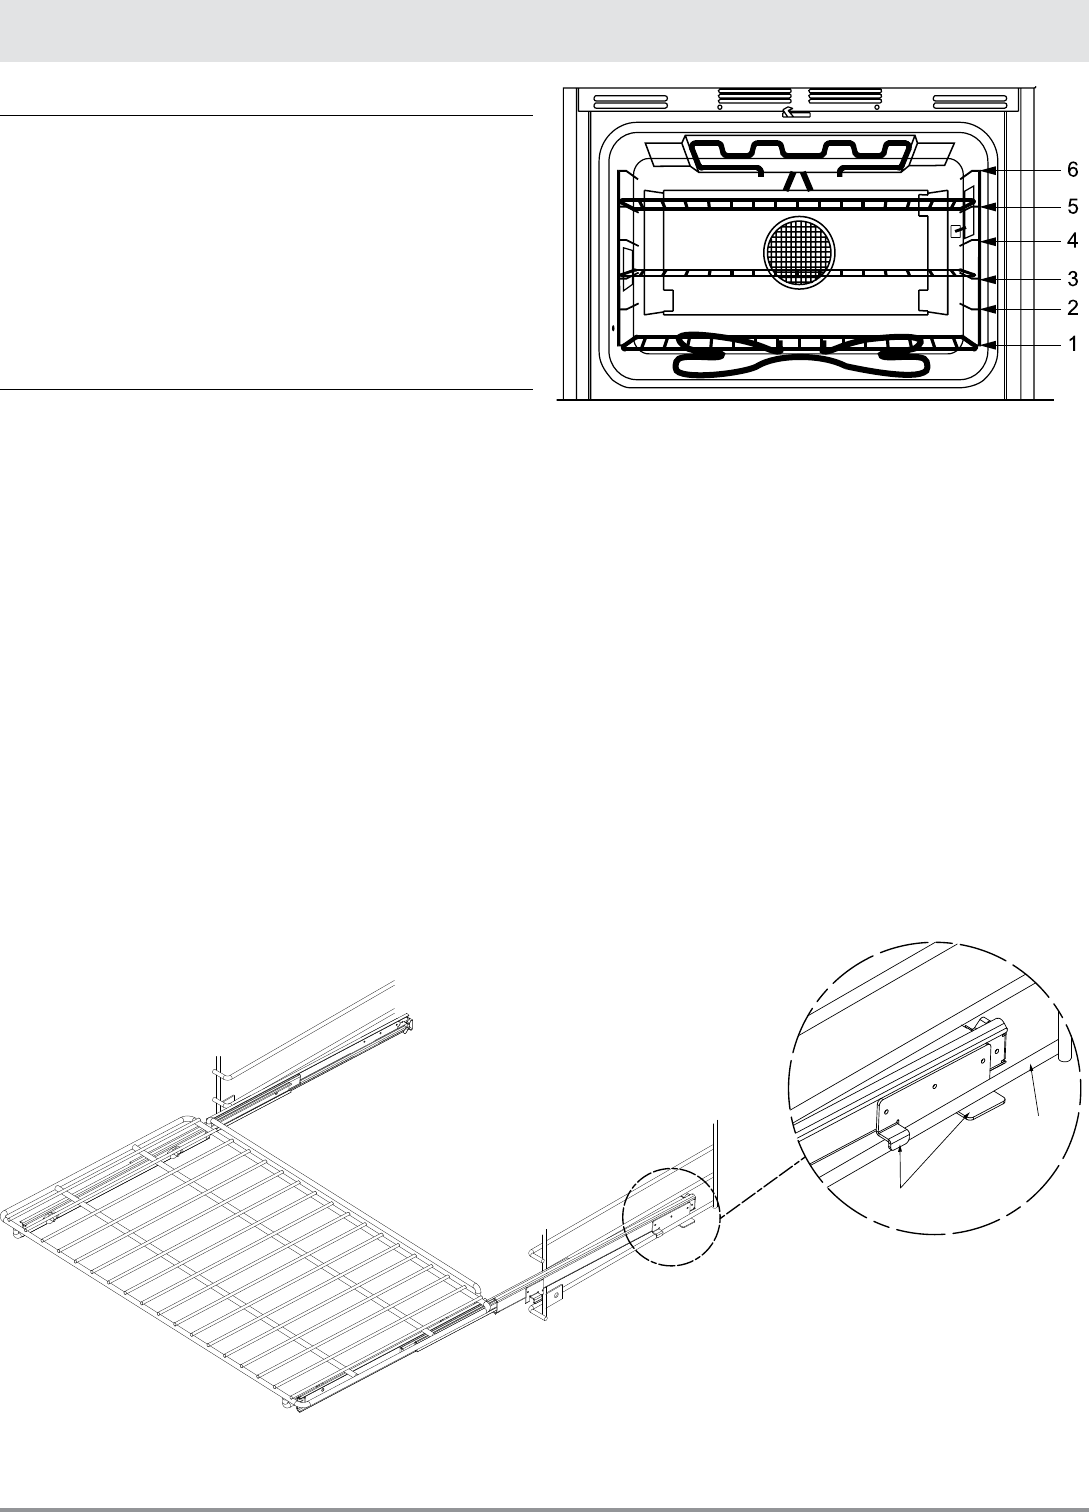
Oven Rack Positions
GlideRack Oven Rack
Installation
Oven Racks and Support
Three chrome-plated convection racks are provided in the oven.
Always remember to position the racks prior to heating the oven.
Also, remove the oven racks prior to self-cleaning to prevent
permanent discoloration of the racks.
The porcelain rack supports provide six heights for positioning of
the oven racks.
To install a rack, align the left and right edges of the rack with the
horizontal guide rails of the rack supports, then slide the rack into
the oven.
GlideRack
™
Oven Rack
Dacor’s GlideRack oven rack is designed to install effortlessly
and glide at a full extension. The full extension of the rack allows
you to slide pizza on and off with great ease when using Dacor’s
optional pizza stone (model number ABS20). It is also great for
large roasts in large roasting pans. It will also allow you to baste
more easily and check temperatures of the food more safely and
quickly.
NOTE: When fully extending the rack while in the first position,
the rack may rest on the inner door.
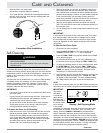
Installation:
Fully extend the two side guides. Align the two small clips 1.
on the bottom at the rear of the rack with the black porcelain
rack guides in the oven.
Begin to slide the rack in, then lift up. The GlideRack oven 2.
rack must be in between the two clips on the upper and lower
side of the rack rear.
Push the rack all the way to the back.3.
Grasp the rack in the front center and pull. The rack should 4.
come forward while the side guides remain in place.