


13
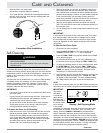
Soak the filter in hot soapy water. •
Dry the filter completely before re-installing. •
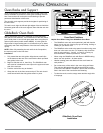
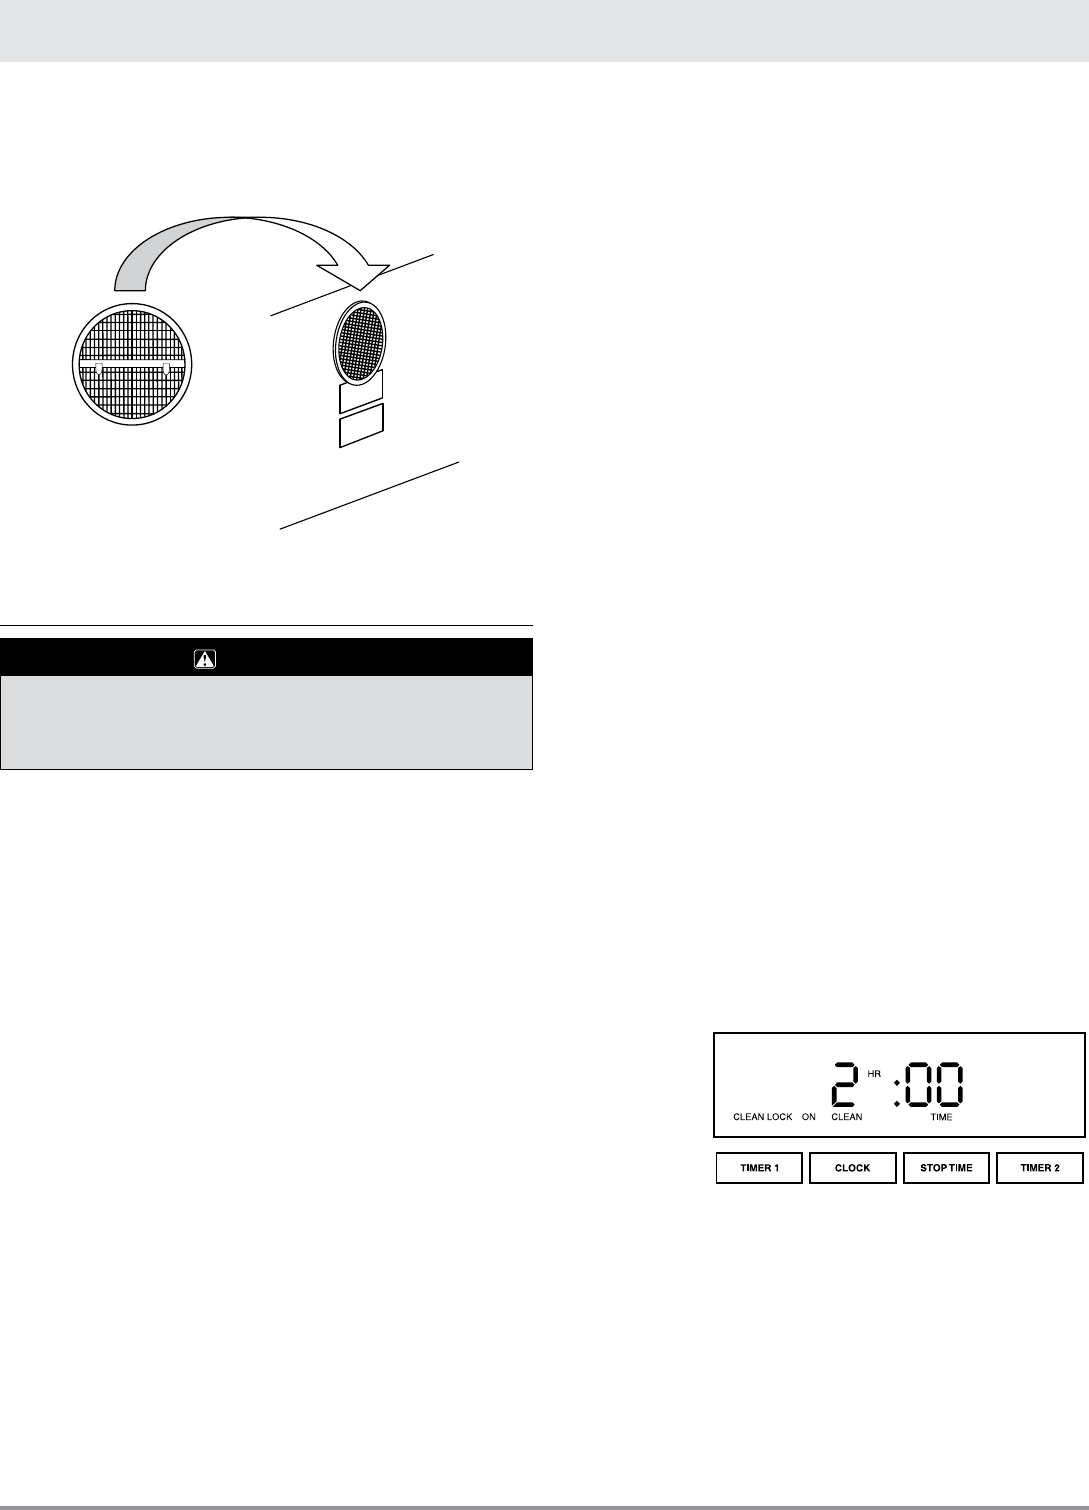
To re-install the filter, orient the two mounting tabs towards •
the rear, open end down. Hook the two mounting tabs over
the center horizontal bar.
Self-Cleaning
WARNING
1. DO NOT OPERATE THE OVEN LIGHTS IN THE
SELF-CLEAN MODE.
2. Do not touch the outside surfaces of the oven during the
self-clean cycle.
The oven features an automatic pyrolytic self-cleaning cycle
to eliminate the need for difficult and time-consuming manual
scrubbing of interior surfaces. During this cycle, the oven reaches
temperaturesof850˚Ftoburnoffsoilanddeposits.Apowderash
residue is left in the bottom of the oven after completion of the
self-clean cycle.
The self-clean time is variable from 2 to 4 hours to offer flexibility
in handling various soil conditions. A 2-hour cycle normally
handles a moderately soiled oven, whereas a 4-hour cycle is
recommended for heavy soil. The self-clean cycle can also be
delayed to start at a later time if desired.
IMPORTANT:
It is normal for some smoke to be emitted during the first few •
self-clean cycles.
Popping sounds are normal during self-clean. These sounds •
are caused by the expansion and contraction of metal
surfaces during heat-up and cool-down.
Do not line the oven with aluminum foil or other materials. •
These items can melt or burn during a self-clean cycle,
causing permanent damage to the oven.
To Prepare the Oven for Self-Cleaning:
Clean soil from the oven front frame area and the oven door 1.
outside of the door gasket. Do not clean the door gasket.
Cleaning the door gasket by hand can cause it to bend or
move. A tight door seal is essential for proper baking and
self-cleaning. Rinse surfaces well with a solution of vinegar
and water, then wipe dry. Heavily soiled areas may be
cleaned with a non-scratching scouring pad.
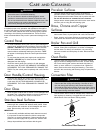
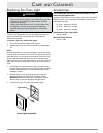
Convection Filter Installation
ca r e a n d cl e a n I n g
Remove the broiler pan and grill, all cookware, utensils and 2.
other loose items from the oven chamber. Also, remove all
oven racks and the convection fan filter to prevent them from
permanently discoloring. However, to clean stubborn particles
in the convection filter you may elect to simply leave it in
place during self-clean. The filter will discolor due to the high
heat, but the filtering capabilities will not be affected.
Wipe up excess grease and other food spills with a damp 3.
cloth. This will minimize smoke and increase the efficiency of
the self-clean cycle.
Turn on kitchen fans or vents to help remove odors during the 4.
process.
IMPORTANT:
If racks are left in the oven during a self-clean cycle, it will affect
their ability to slide in and out easily. If damage occurs, polish
the rack edges with a soapy steel wool pad, then apply a small
amount of vegetable oil to the edges so that the racks will slide
more easily.
To Start the Self-Clean Cycle:
Close the oven door completely.1.
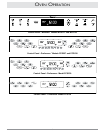
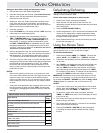
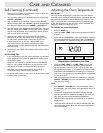
Press the 2. SELF-CLEAN key. The oven will beep once,
“CLEAN” will flash, and “– –:– –” will be displayed.
Press the 3. TIME • TEMP + key and the default time of “2:00”
hours will be displayed.
Increase the self-clean time up to 4 hours (depending upon 4.
the amount of oven soil) by holding the TIME • TEMP + key.
To delay the self-clean start to a more convenient time, press 5.
the STOP TIME key. Then, press the TIME • TEMP + key
to set the time of day for the cycle to be complete. “DELAY
TIMED” will appear in the clock display. The cycle can be
delayed up to 11 hours and 50 minutes.
Approximately 30 to 60 seconds after selecting self-clean, the 6.
automatic door latch will lock the door. “LOCK” and “ON”
will appear in the clock display. The oven will begin heating.
The “ON” indicator will cycle on and off with the burner.
NOTE:
If delay timed mode has been set, the “ON” display and the oven
heat will not turn on until the programmed time has been reached.
IMPORTANT:
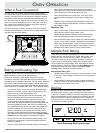
The electric
door latch is
a convenient
safety feature
that keeps the
door locked when
the interior is too
hot. If the door
is not closed
completely, the automatic door latch will not lock the door when
the self-clean is selected. In this case, “Door” will flash in the
display, Press the CANCEL • SECURE key and wait about 1
minute. Repeat the self-clean steps from the beginning, being
certain to close the door completely. Do not try to force the door
open after it is locked, because damage can occur. If you need to
unlock the door, press the CANCEL • SECURE key to turn off the
self-clean cycle. After about 1 minute, “LOCK” will disappear from
the clock display, and the door will unlock. The door will remain
lockeduntiltheoventemperaturefallsbelow390˚F.
Continued...
Display - Self-Cleaning Mode