


19
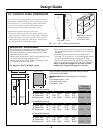
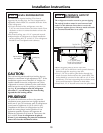
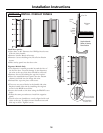
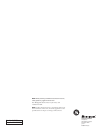
STEP 15 INSTALL TOEKICK
• Locate the supplied toekick (shipped taped to
the side of the refrigerator). Install with 2 screws
provided, adjust to desired height and tighten
screws.
• A custom toekick can be installed to match or
complement the surrounding cabinetry. Use the
supplied toekick as a template to cut the shape.
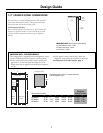
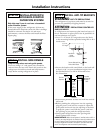
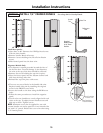
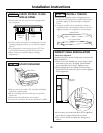
STEP 14 START ICEMAKER
• Flip the switch to I (ON). The icemaker will begin
operation automatically.
• Be sure nothing interferes with the sweep of the
feeler arm.
• Discard the first full bucket of ice cubes.
• To turn the icemaker off, set the switch to O (OFF).
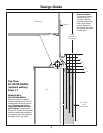
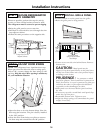
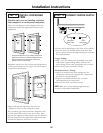
STEP 13 CHECK POWER, CLOSE
GRILLE PANEL
• Check to be sure the power cord is plugged into
the receptacle.
• Check to make sure power to refrigerator is on by
opening refrigerator door to see if interior lights
are on.
• The temperature controls are preset at 37°F for
the fresh food section and 0°F for the freezer.
• Allow 24 hours to stabilize before making
adjustments.
Power Switch
Green Power Light
Feeler Arm
Supplied Toekick
1/4" or Thicker Toekick
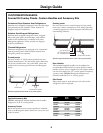
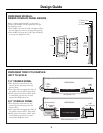
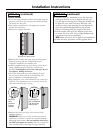
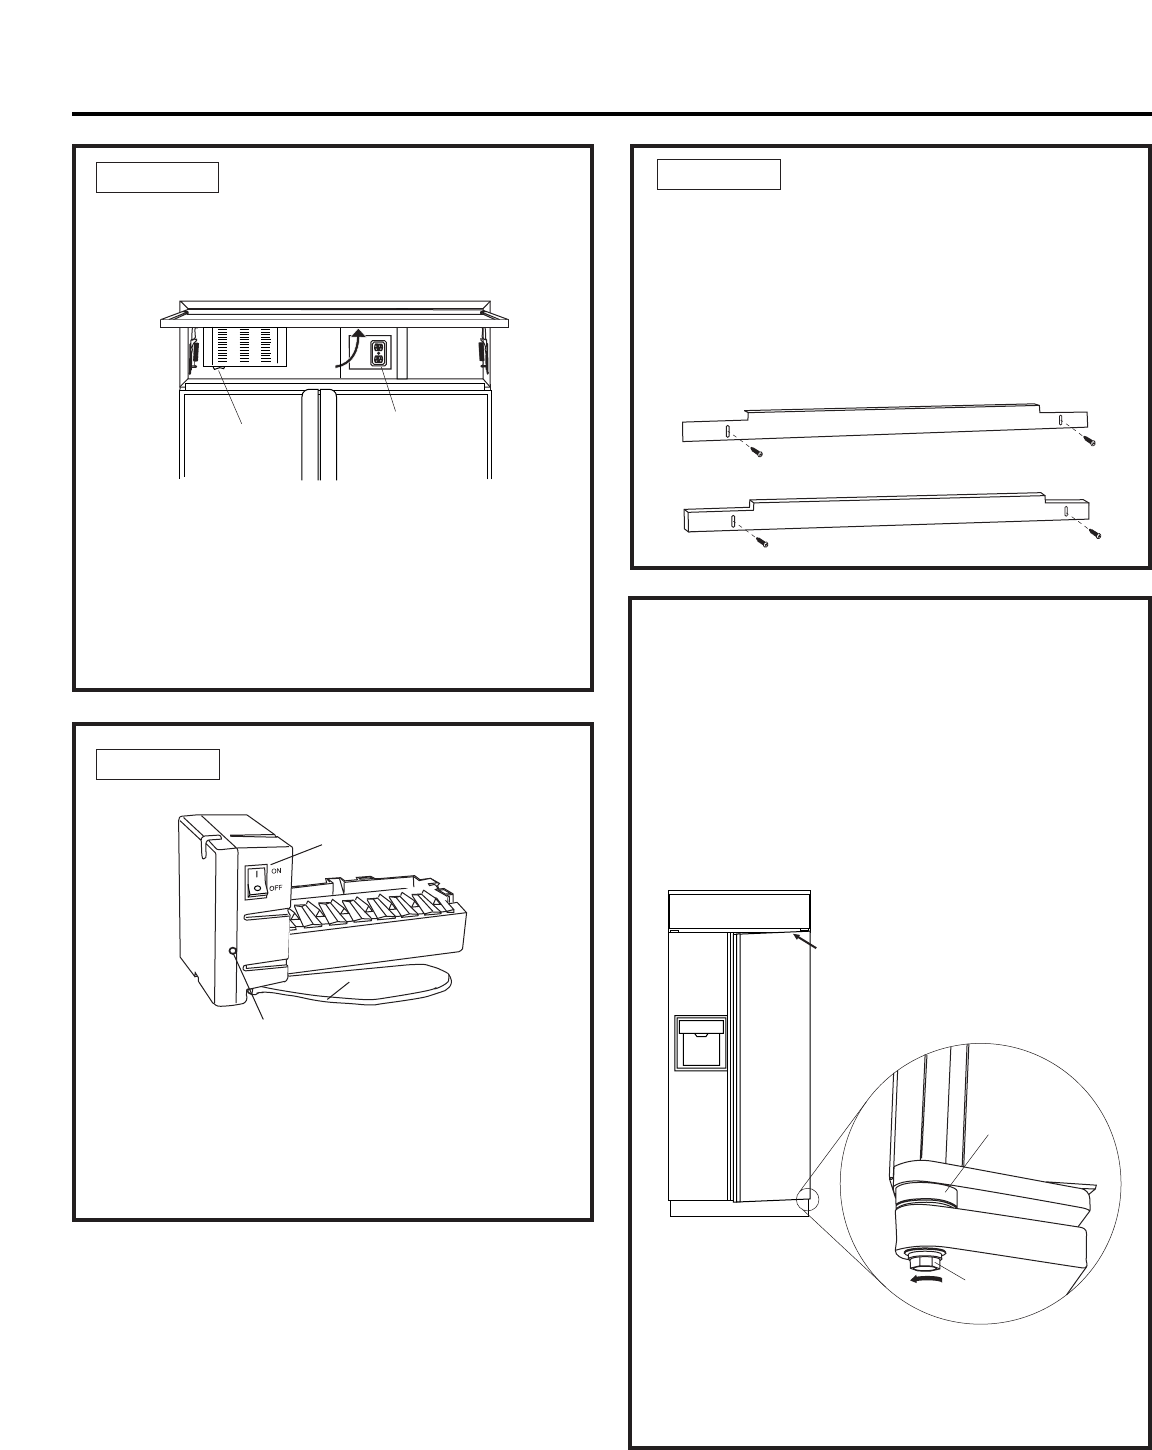
INSPECT FINAL INSTALLATION
Check door alignment
Stand back away from the refrigerator to inspect the
final installation.
• Check to be sure handles are evenly aligned with
each other at the top. To adjust, loosen handle
screws and slide up or down. Tighten screws.
• During shipping or the addition of heavy door
panels may have caused the doors to move slightly
out of alignment.
• If necessary, the fresh food door may be adjusted
up or down to align with the freezer door.
• Use a 5/16" wrench to adjust the hinge pin as
shown.
Bushing
Door Hinge
Case Hinge
5/16" Wrench
Raise
Door Out of
Alignment
Raise
Grille
Panel
Master Light
Switch
Electrical
Outlet
Installation Instructions