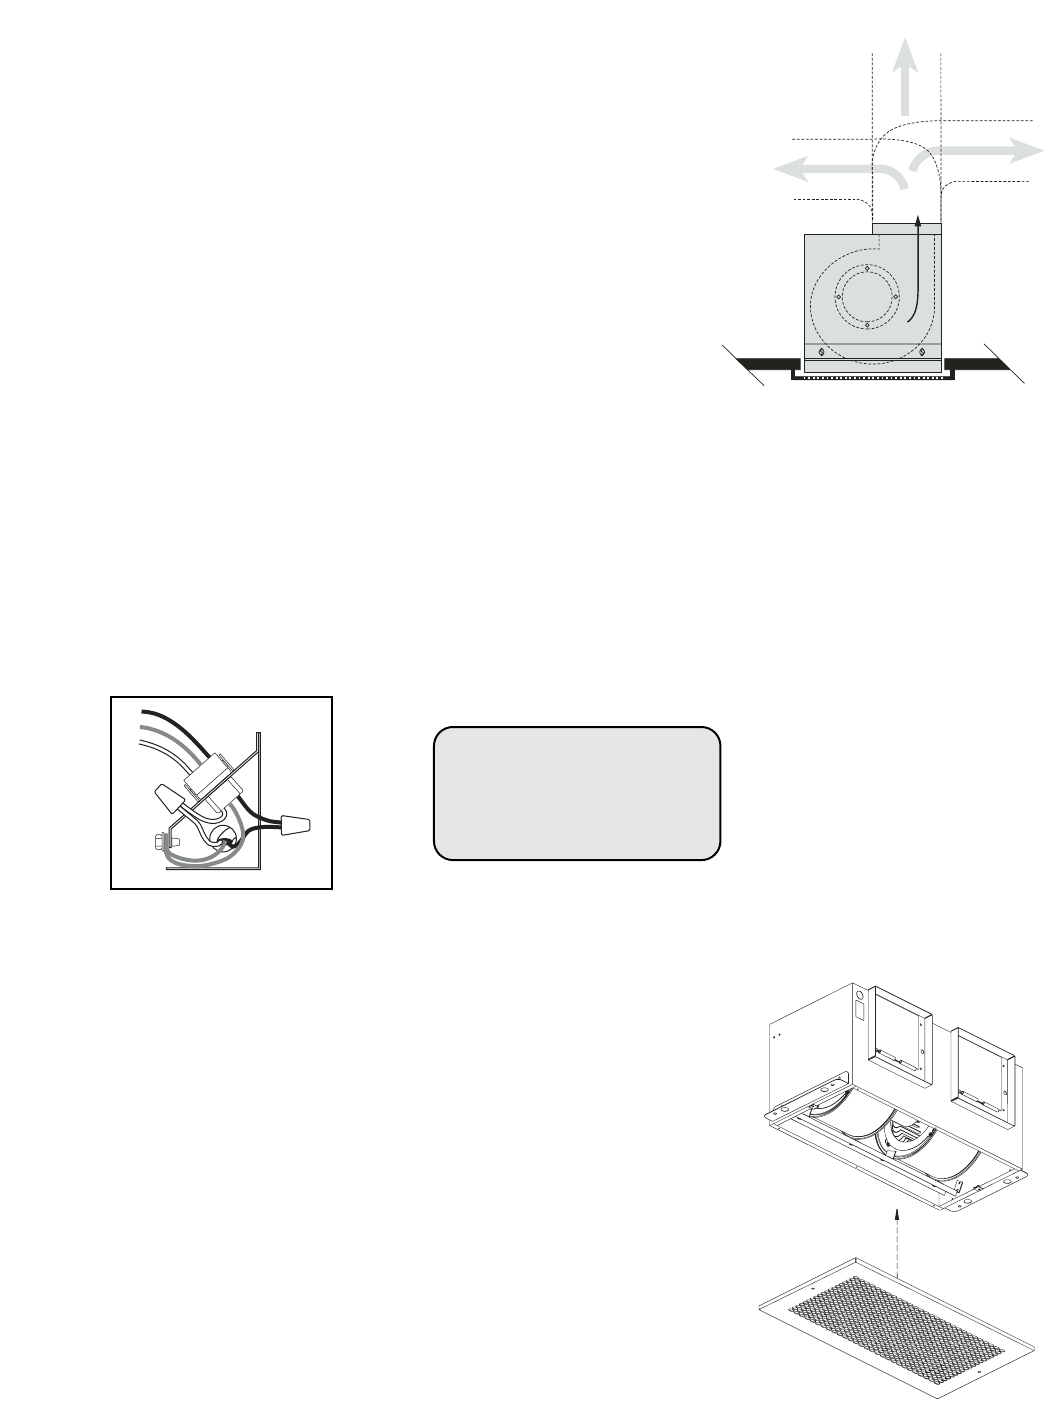
4. Slide ductwork over the fan’s discharge collar and securely
attach it with sheet metal screws. Make sure the screws do
not interfere with damper operation. Check damper to make
sure it opens freely.
3
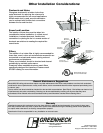
Wire the Fan
1. Remove wiring cover. Then wire unit to the correct installation type,
shown in Fig. 12, using proper wire connectors.
Attach the Grille
1. Attach grille with two screws provided, shown in Fig. 13. Make sure
not to over tighten, over tightening will damage grille.
2. Turn on power and check fan operation.
Fig. 13
Fig. 12
2. Push all wiring into the unit’s cover and replace wiring cover.
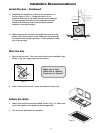
3. Installation of ductwork is critical to the performance of
the fan, shown in Fig. 11. Straight ductwork (1) or
ductwork that turns in the same direction as the wheel (2)
is recommended. Ductwork turning opposite the wheel
direction (3) will cause turbulence and back pressure
resulting in poor performance.
AIR FLOW
1
(GOOD)
3
(POOR)
2
(GOOD)
Fig. 11
Installation Recommendations
Install the Fan - Continued
Black wire is “Hot”
White wire is “Neutral”
Green wire is “Ground”


