


2
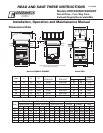
Installation
Greenheck Model ESRMD & ERD fans are thoroughly inspected and test run at the factory, however
damage may occur during handling and shipping. Consequently, it is important that the fan be carefully
inspected for visible and concealed damage before installation. Report any damaged or missing items to
the shipper immediately.
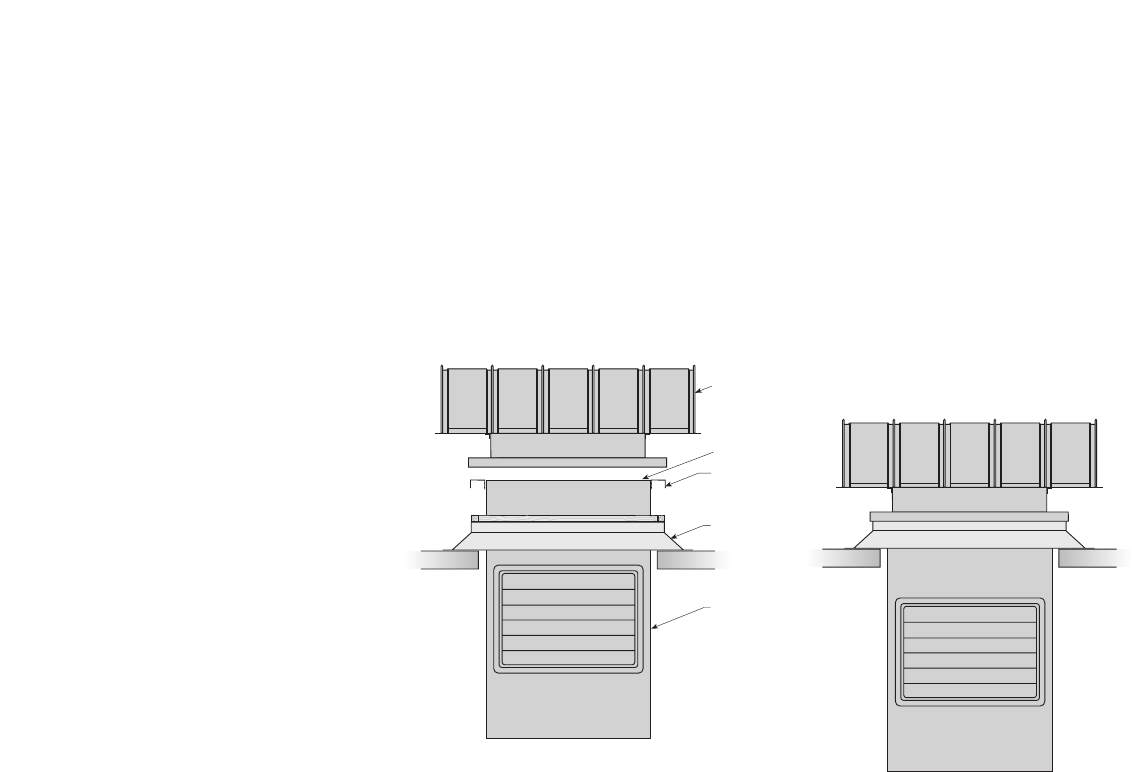
Follow the installation sequence shown below. Attach the plenum and hood to the roof curb using a
suitable fastener in each of the prepunched mounting holes. Care must be taken not to bend or distort
the plenum and fan components during installation.
Electrical Connections
Before electrical connections are made, the supply voltage, phase and ampere capacity must be
checked for compatibility with the fan motor. In addition, the supply wiring must be properly fused and
conform to local and national electrical codes.
If fan is to be wired to a control center, which is available through Greenheck, the control center wiring
instructions must be followed.
Pre-Starting Checks
Check all fasteners and set screws for tightness. The propeller should rotate freely and not rub on the fan
panel. The unit was aligned and test run at the factory prior to shipment, however movement of various
components may occur during shipment. Proper propeller rotation should be determined by momentarily
energizing the fan in the exhaust mode. If the rotation in the exhaust mode is for supply the motor wiring
between the fan and the controls should be changed. For 3 phase units, simply interchange any two of
the three electrical supply leads. Single phase units should not rotate the wrong direction, since the fan
has been pre-run at the factory.
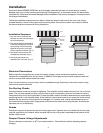
Guards
Guards are required to protect the fan and nearby personnel. If guards are not ordered with the fan, they
must be supplied by the installer. When ordered with the fan, the guard is attached to the bottom of the
double venturi panel.
Damper Plenum Linkage Adjustments
Plenum dampers should open to 45
o
from closed position. Consult factory before adjusting damper
linkages.
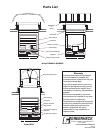
Hood
Mounting
Channels
Lifting Lugs
Roof
Curb
Plenum
Fig. 1
Fig. 2
Installation Sequence
1. The roof curb is mounted and
secured over the roof opening to
the roof structurals.
2. The plenum (factory assembled)
is lowered through the curb and
roof opening until its mounting
channels rest on the roof curb.
Lifting Lugs are provided. (Fig. 1)
3. The hood is lowered onto the
curb/plenum assembly. (Fig. 1)
4. The hood and plenum are
secured to the roof curb. (Fig. 2)