


Diagram 5
Fig.6Double sided
foam attachment
Diagram 7
Diagram 6
Diagram 8
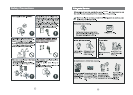
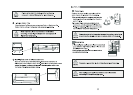
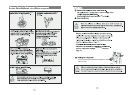
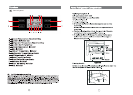
11. Attach double sided foam to the back of the water filter head as shown in
Diagram 5. Write the date to be replaced on the filter (date installed + 6
months). Remove double sided foam backing and attach filter to the
desired position as located in step 10 (refer to previous page).
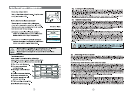
12. Run the 6 mm (¼”) tubing to back of the fridge ensuring there is enough
tubing to pull out the refrigerator for service.
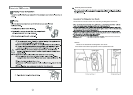
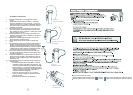
13. Connect tubing into the water (solenoid) valve located on the right hand
side of the unit (compressor) compartment as shown in Diagram 7.
Beware of hot pipes.
14. Pull gently on tubing to ensure it is locked in as shown in Diagram 8.
15. The completed installation should look like Diagram 9 on page 15.
16. Turn isolating tap on and check that all connections are dry and free of drips. If not, please
alert the plumber.
17. Coil water line tubing behind the fridge. Push your refrigerator into place being careful not to
kink or squash the water line running into the water (solenoid) valve.
25
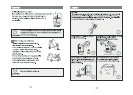
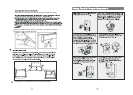
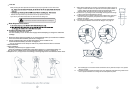
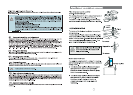
Do not put hands or other items into the water dispenser or ice storage box.
When preessing the water dispenser tab the first time you may not get water out as air will be in the
g
Please throw away the first 5 cups of water to remove any impurities in the lines.
If you like very cold water first add some ice cubes from the ice storage box.
g
g
C
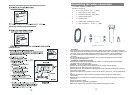
Change the filter after 6 months.
It is not necessary to turn off the water supply before attempting to change the water filter
cartridge.
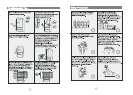
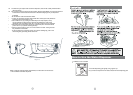
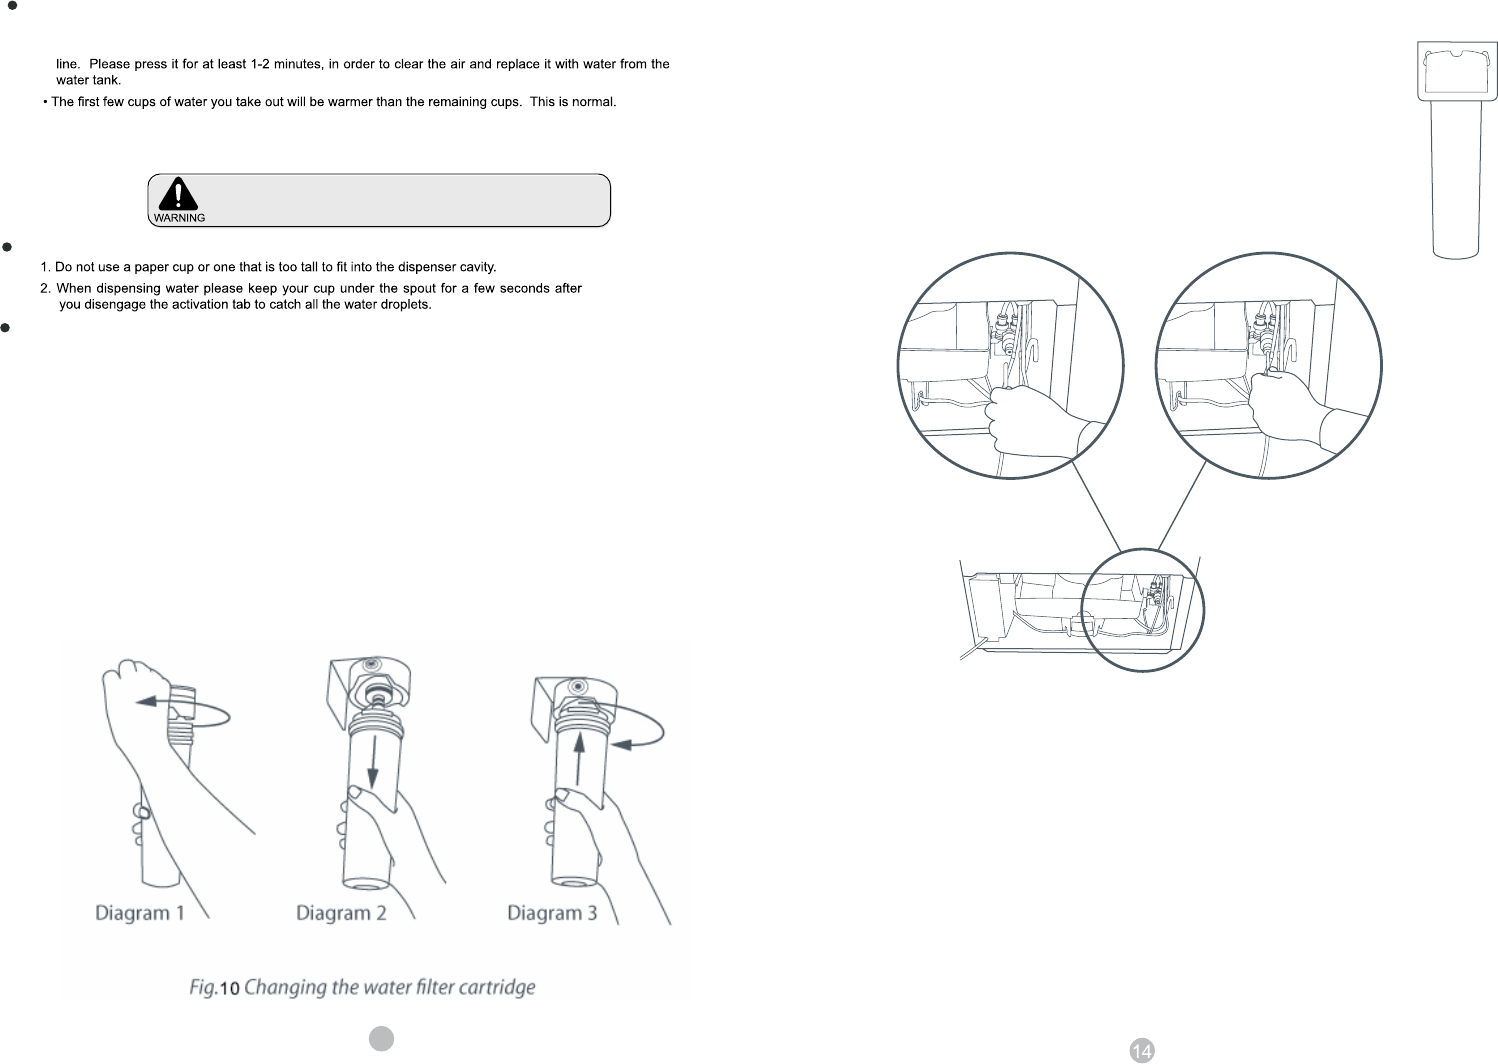
1 Grasp and firmly twist the cartridge in an anticlockwise direction (to the left when installed
in the recommended orientation) as shown in Diagram 1.
2 Pull the cartridge away from the filter head (down when installed in the
recommended orientation) as shown in Diagram 2.
– It is not unusual for a few drops of water to be present when the filter is removed.
3 Discard old filter.
4 Filter installation:
– Remove protective cap on spigot on head.
– Push the cartridge up towards filter head while rotating it in a clockwise direction (to
the right when installed in the recommended orientation) as shown in Diagram 3
5 Dispense 10 L (10 qt) to flush the cartridge, removing trapped air and harmless carbon fines.
First Use
Water Dispenser Precautions
Fig.7Tubing connection into water valve
First Use
Water Dispenser Precautions
Changing the water filter cartridge
Fig.7