


3
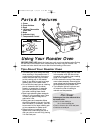
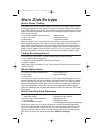
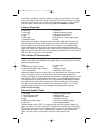
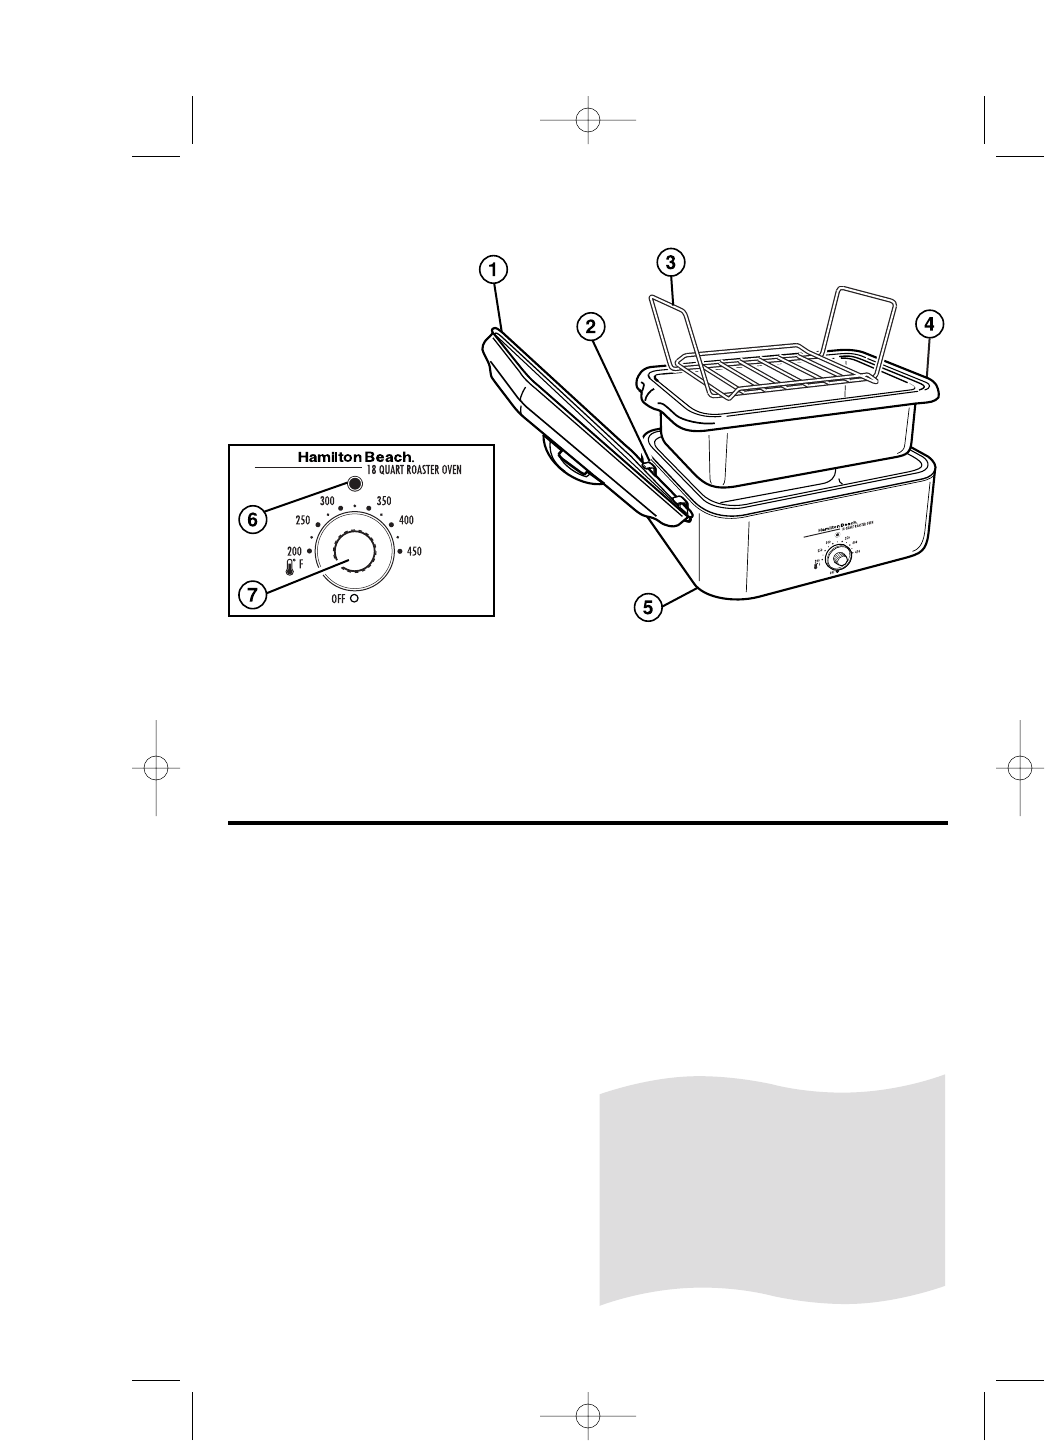
1. Cover
2. Cover Holders
3. Rack
4. 18 Quart Removable
Insert Pan
5. Base
6. Indicator Light
7. Temperature Control
Parts & Features
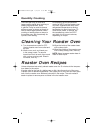
Pan Sizes!
Following are pan sizes which will fit in
the roaster oven:
• One 9 x 13-inch baking or
10 x 14-inch roasting pan
• Two 9 x 5-inch or 8 x 4-inch loaf pans
• One tube or bundt pan
Using Your Roaster Oven
BEFORE FIRST USE: Wash the insert pan, rack, and cover before using. During
the first use of the roaster oven, some smoke and odor may be noticed. The
smoke and odor should not occur after this first heating of the oven.
Tips About Your Roaster Oven
• The insert pan must always be used
when cooking in the roaster oven. If
cooking large quantities of soups or
stews, the insert pan may be used
as the cooking pan in the roaster
base. It may also be used as a large
roasting pan in the roaster base.
• Do not use the insert pan as a baking
pan or casserole dish for cakes,
breads, or casseroles. A separate
pan must be placed in the insert
pan when cooking these foods.
• Most heat-resistant glass casserole
dishes fit in the roasting oven. Place
in insert pan before filling dish to
make sure it fits.
• Baking pans and casserole dishes
should be placed on the rack for best
heat circulation. If necessary, rack can
be removed to fit a large roasting pan
or two casseroles in roaster oven.
• Before baking or roasting in the
roaster oven, make sure the pan or
dish you plan to use will fit by placing
it in the insert pan.
• Foil oven roasting bags can be used
in the roaster oven. We do not rec-
ommend using plastic oven roasting
bags in the roaster oven.
• Do not remove the cover of the roaster
oven unless necessary. Removing the
cover allows heat to escape and affects
the temperature of the roaster oven.
• The indicator light will cycle on and
off when the oven is heating to
maintain set temperature.
840128400 Ev02.qxd 7/7/04 9:23 AM Page 3