4
How to Assemble & Use
Read and follow instructions in “Before First Use.”
1. Place separator on top of base as
shown on page 3. Place pulp bowl
in separator.
2. Place cutter/strainer into pulp bowl
and gently push until firmly in place.
Once in place, the cutter/strainer
should spin easily.
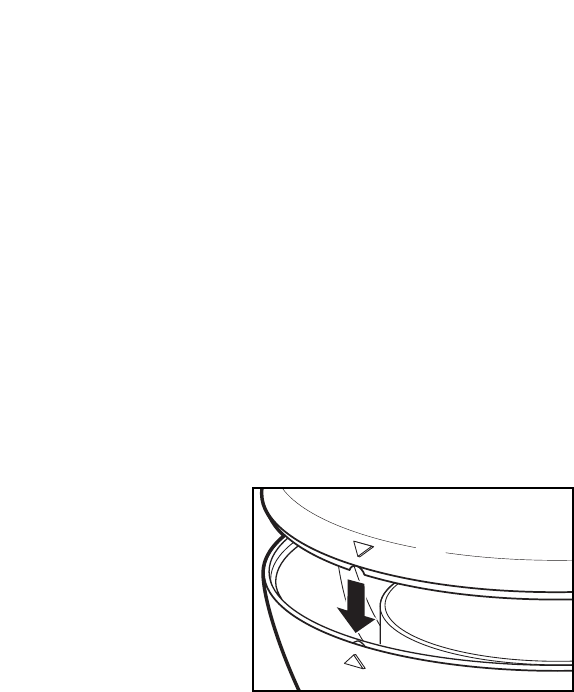
3. Place cover on top of pulp bowl
aligning arrows on front.
4. Position the top of both safety
latches in place, then push in at
bottom to lock. Lock both sides.
DO NOT OPERATE UNIT UNTIL
SAFETY LATCHES ARE LOCKED.
5. Place a container in position under
the juice spout.
NOTE: Check the pulp bowl frequently.
It is important to empty the pulp bowl
when full and to clean out the separator.
6. Cut food into pieces to fit the food
chute. See “Tips & Techniques.”
7. Plug cord into outlet.
8. Be sure juice container is in place.
Push switch to turn on. The unit will
not turn on until safety latches have
been closed.
9. Place food in the food chute and
press lightly with food pusher.
Never use fingers or utensils other
than the food pusher as a food
pusher. Food should be placed in
food chute only when unit is operat-
ing. Food can be continuously
placed in food chute until pulp bowl
is full without having to turn unit off .
NOTE: For best results, empty the
pulp bowl before it is completely full.
10. When pulp bowl is full, turn unit off.
It is very important to empty the
pulp bowl when full. For best perfor-
mance, empty pulp bowl and clean
cutter/ strainer and separator often.
11. When juicing is completed, or when
pulp bowl or juice container need
to be emptied, turn unit off and
unplug from outlet. Immediately
wash cutter/strainer according to
instructions.
Caring & Cleaning
To prolong the life of the juice extractor, it is recommended that all washable parts
be washed immediately after each use.
The cutter/strainer is a very delicate screen not covered under the warranty. Do
not wash in an automatic dishwasher. If bent or damaged, do not use, as it could
break into small pieces and cause personal injury and/or damage the appliance.
Call the toll-free customer service number to order a new cutter/strainer. Replace
cutter/strainer when it shows signs of wear.
1. Turn OFF and unplug from electrical
outlet.
2. Unlock safety latches. Remove
cover. Remove cutter/strainer, pulp
bowl and separator. Do not let food
dry and harden on the cutter/strain-
er. For hard to remove particles, use
a plastic bristle brush or toothbrush.


