INSTRUCTIONS
5101512
6.1 1 Stop the motor, remove the sharpener, turn
the slice adjusting dial back to zero, and return
the sharpener to its place on the inside of the
side plate.
6.1 2 After sharpening; the slicer should again be
cleaned to remove any dust, or dirt as a direct
result of sharpening.
NOTE: The adjustments on the sharpening unit
are factory-set for best operation on the
machine.
7.
CARRIAGE REMOVAL
&
ADJUSTMENT:
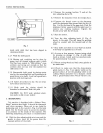
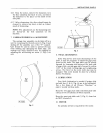
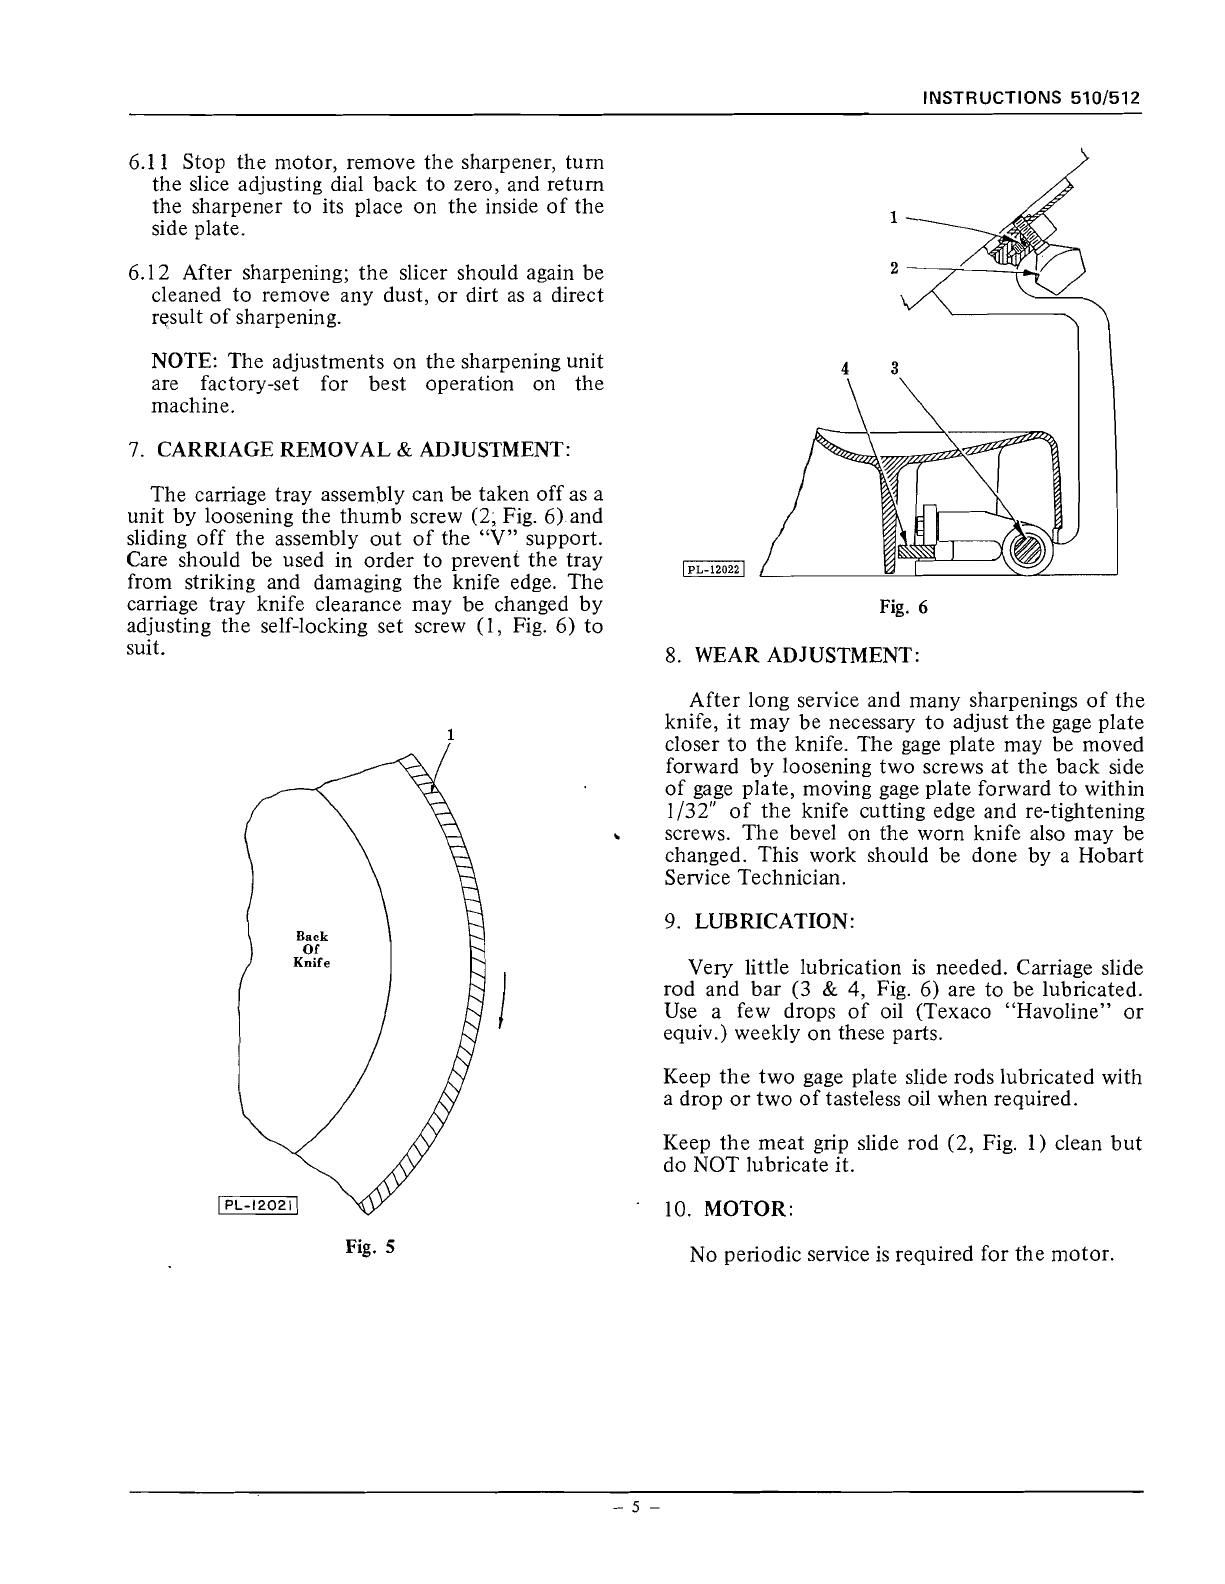
The carriage tray assembly can be taken off as a
unit by loosening the thumb screw (2; Fig. 6) and
sliding off the assembly out of the
"V" support.
Care should be used in order to prevent the tray
from striking and damaging the knife edge. The
carriage tray knife clearance may be changed by
adjusting the self-locking set screw
(1, Fig. 6) to
suit.
Fig.
5
Fig.
6
8.
WEAR ADJUSTMENT:
After long service and many sharpenings of the
knife, it may be necessary to adjust the gage plate
closer to the knife. The gage plate may be moved
forward by loosening two screws at the back side
of gage plate, moving gage plate forward to within
1/32" of the knife cutting edge and re-tightening
screws. The bevel on the worn knife also may be
changed. This work should be done by a Hobart
Service Technician.
9.
LUBRICATION:
Very little lubrication is needed. Carriage slide
rod and bar (3
&
4,
Fig. 6) are to be lubricated.
Use a few drops of oil (Texaco "Havoline" or
equiv.) weekly on these parts.
Keep the two gage plate slide rods lubricated with
a drop or two of tasteless oil when required.
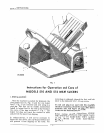
Keep the meat grip slide rod (2, Fig. 1) clean but
do NOT lubricate it.
10. MOTOR:
No periodic service is required for the motor.


