


– 7 –
Press the 1 button to begin the lamp test. The door will lock and the lamps will each turn on briefly. After each
lamp is turned on successfully, the display will report Lamp OK. If all lamps pass, the oven will automatically
return to the normal operating mode.
If a lamp does not operate properly, the test will stop and the display will show the number of the lamp that failed.
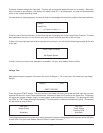
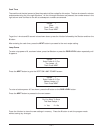
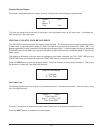
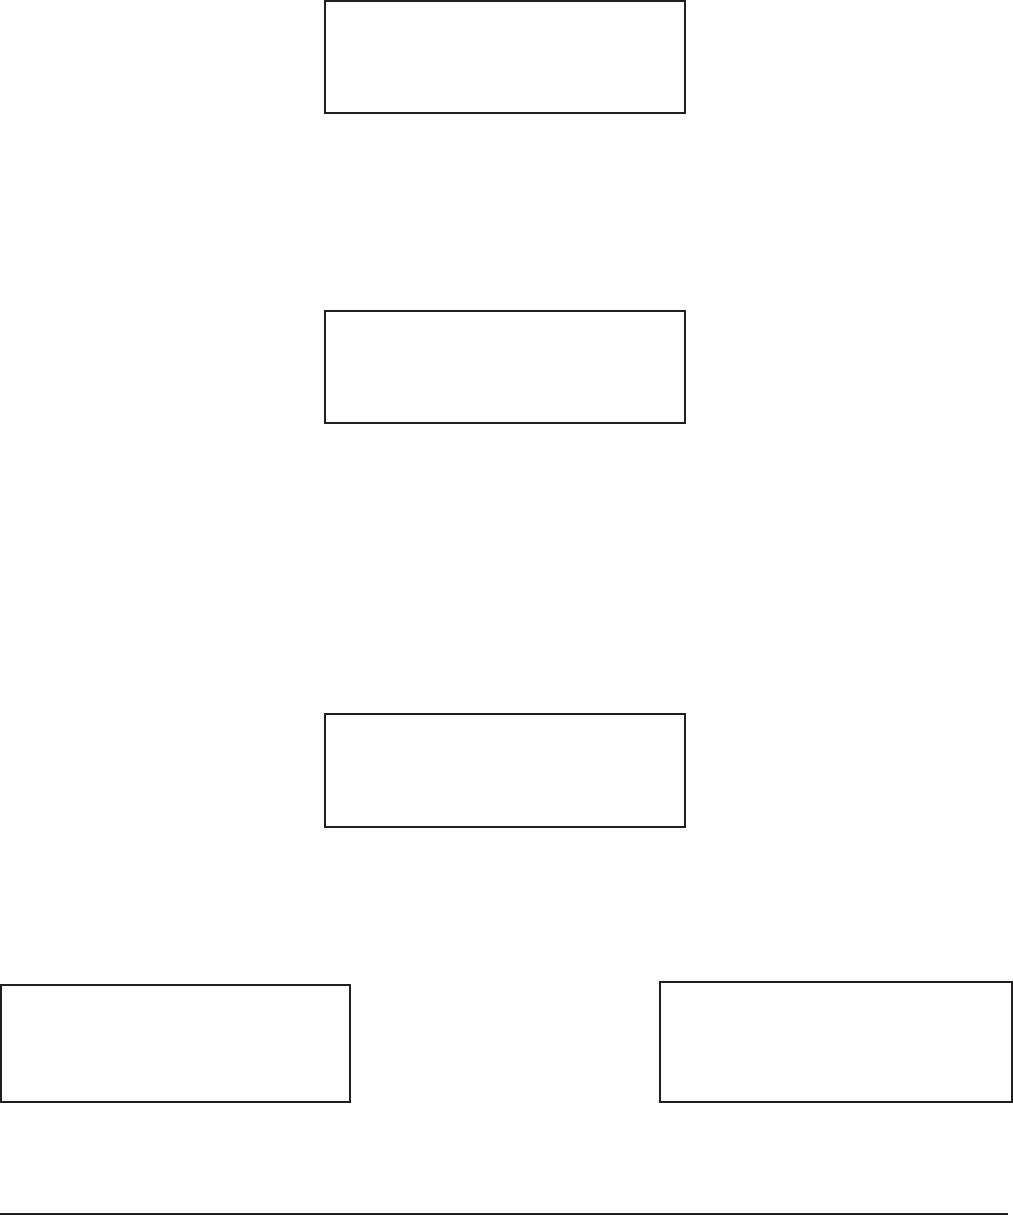
Lamp 2
Lamp Error
-------->> Press Any Key <<--------
Press any key to continue the test. At the end of the test, the display will show “Lamp Check Finished.” If a lamp
was reported as an error, re-run the test and verify visually that the lamp did or did not light.
If either of the two light sensors failed to operate during the test, you will see the following message at the end
of the test:
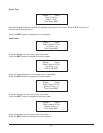
Lamp Check Finished
No Bottom Sensor
If either a lamp or a sensor are reported as a problem, call your local Hobart Service Office.
Voltage Test
After performing the lamp test, the screen will return to Recipe 1. On a new oven, the screen will say Empty
Recipe.
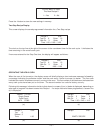
Recipe 1 0:00
EMPTY RECIPE
Press the green START button. The door will lock, the blower will start, and a few seconds later the cycle will
end and the door will unlock. Now hold down the 1 button and push the 7 button at the same time. The display
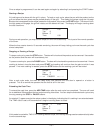
will report the system voltage, single- or three-phase, and the phasing if three-phase. (The phasing will show
as “CCW” or “CW.” Either phasing is acceptable. This information is used for troubleshooting only.) The display
will be similar to one of these:
The voltage reported on this screen must match the nominal system voltage supplied to the oven: either 208 Volts
or 240 Volts. Call your local Hobart Service Office if it does not match.
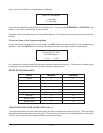
208 Volts
Single-Phase
Automatic
240 Volts
Three-Phase
Phasing CCW
Automatic