7
TURNING ON THE POWER
Unpack the power cord from the back of the wine chiller. Safely
plug the chiller into a suitable 120V three prong power outlet. The
chiller will immediately start running and the interior light will
initially turn on.
To turn the light ON or OFF press the switch directly above the
temperature control adjuster. To turn ON the light press the
(l)
side. To turn OFF the light press the
(O)
side.
Five bottles fit on each rack – 3 facing one direction and 2 facing the
opposite direction in between.
When placing both white and red wine into the chiller, please keep in
mind that the top of the chiller is the warmest area and the bottom of
the chiller is the coolest area.
NOTE: WHEN USING THE RACKS, CAREFULLY PULL OUT THE
RACKS AS THEY SLIDE EASILY IN AND OUT.
Allow the wine chiller to cool for up to 3 – 4 hours before loading.
After three hours of cooling the chiller will reach an approximate
temperature of 55°F (12.7°C) degrees.
PLACING WINE IN THE CHILLER
SETTING UP THE WINE CHILLER
CONTROL PANEL
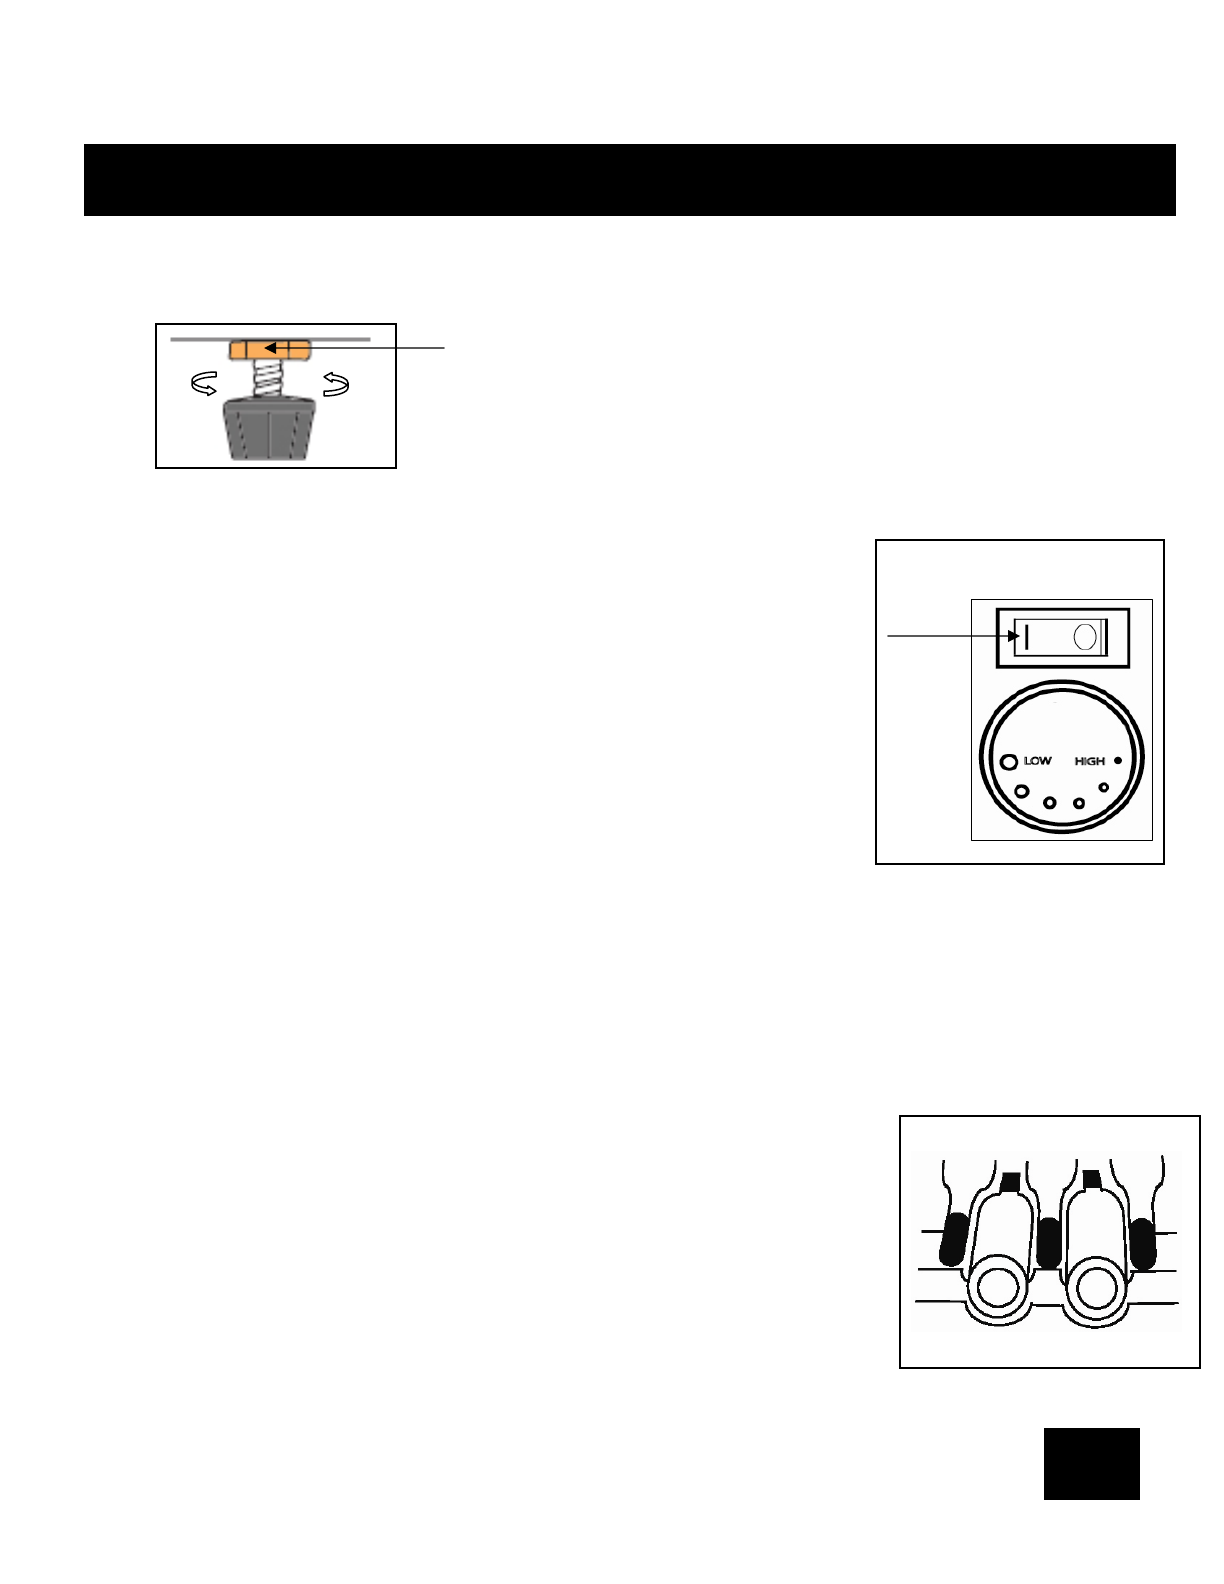
ADJUSTING THE LEGS OF THE CHILLER
The wine chiller has adjustable legs on the front of the unit.
The legs are preset by the factory to a specific height with a
screw nut for proper height. Please make sure this screw nut
is in place at all times. Do not remove it under any
circumstances.
To lengthen the leg turn the leg counter-clockwise and to
shorten the leg turn clockwise.
ADJUSTABLE LEG
Light
switch
INTERIOR LIGHT
The interior light source of the wine chiller consists of LED lighting which is long lasting
and very energy efficient. LED lights will last for many years. It is not replaceable.
Screw Nut
5 bottles per rack
FRONT
BACK


