


6
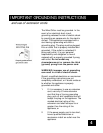
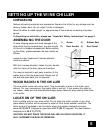
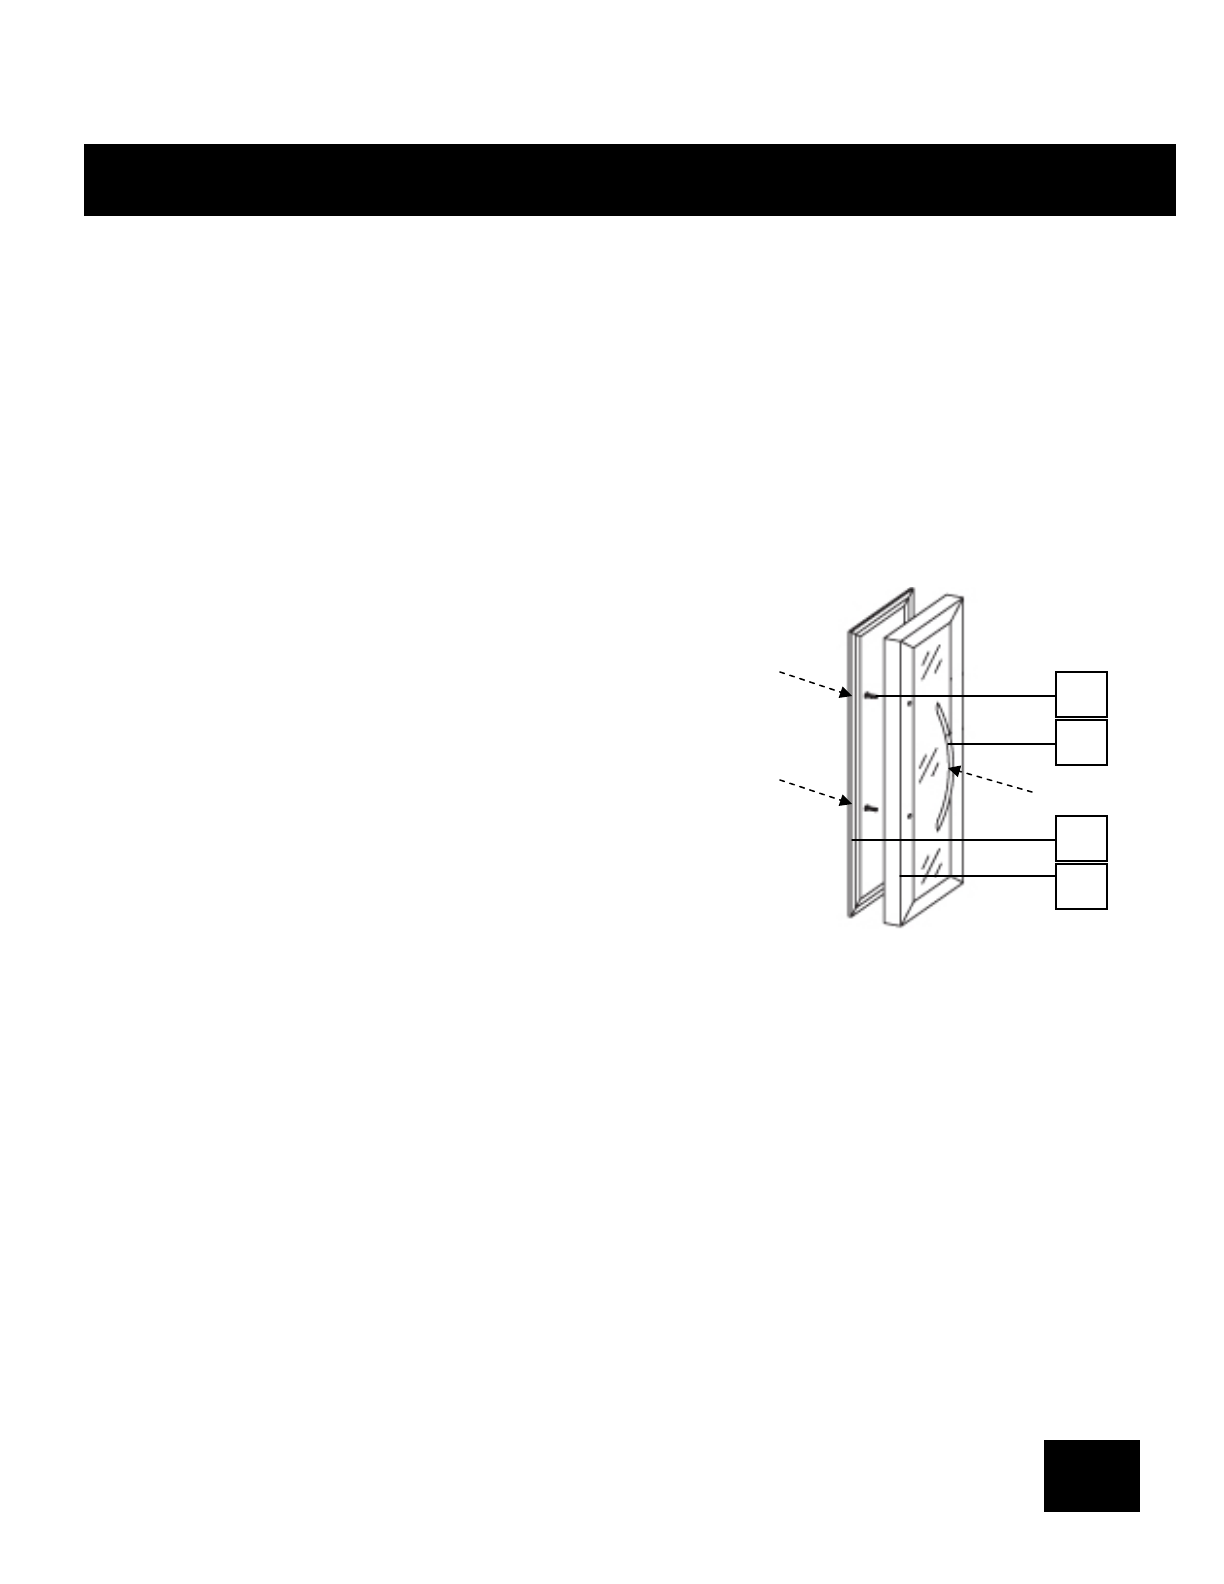
ASSEMBLING THE DOOR
1) Screw
2) Door handle
To save shipping space and avoid damage of the
wine chiller during transportation, the door handle
of this unit is shipped unassembled. Before setting
up the chiller, please assemble the door handle as
follows:
Locate the door handle and 2 screws attached
inside the cabinet.
With the 2 screws attached, fasten the door handle
onto the frame of the door panel as illustrated.
You may be required to pull away a section of the
rubber seal to find the screw holes. Simply pull off
the seal and place back into the grooves.
UNPACKING
Remove all packing materials and accessories. Examine the chiller for any damage such as
dents or broken door. Do not install if chiller is damaged.
Allow the chiller to stand upright for approximately 2 hours before connecting the power
source.
If discarding an old chiller, please see “Important Safety Instructions” on page 3.
LOCATION OF THE CHILLER
Find a suitable area for your wine chiller. Do not place the chiller outside, or any other
place where the chiller will be exposed to water or other harsh weather conditions. The
chiller must not be placed in environments where the ambient temperature drops
below 18°C (65°F ) degrees or goes above 29°C (85°F) degrees. The ideal ambient
temperature is 22.2°C (72°F).
CAUTION: DO NOT PLACE THE WINE CHILLER IN A COLD LOCATION. IT
WILL INCREASE THE RISK OF FREEZING.
SETTING UP THE WINE CHILLER
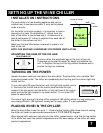
WOOD RACKS IN THE CHILLER
The wine chiller comes with wood racks. They are already in place in the chiller upon
delivery. For your convenience, they easily slide in and out. If you remove the racks for
any reason, make sure the wood attached edge always faces out when placing them back
in the chiller.
3) Rubber Seal
4) Door Panel
1.
4.
3.
2.