


34
B. Cleaning and Sanitizing Instructions
The icemaker must be cleaned and sanitized at least once a year. More frequent
cleaning and sanitizing may be required in some water conditions.
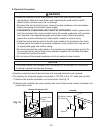
WARNING
• To prevent injury to individuals and damage to the icemaker, do not use ammonia
type cleaners.
• Carefully follow any instructions provided with the bottles of cleaning and
sanitizing solution.
• Always wear liquid-proof gloves and goggles to prevent the cleaning and sanitizing
solutions from coming into contact with skin or eyes.
NOTICE
To prevent damage to the water pump, do not leave the control switch in the
"SERVICE" position for extended periods when the water tank is empty.
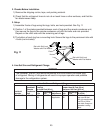
1. Cleaning Procedure
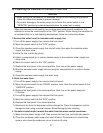
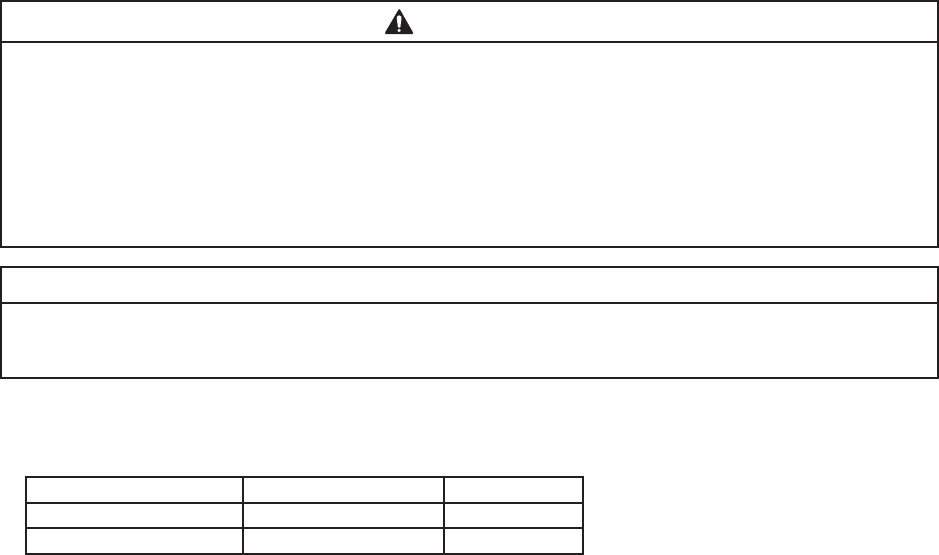
1) Dilute Hoshizaki "Scale Away" with warm water. Refer to the table.
Model Scale Away Warm Water
KML-451 and Smaller 10.5 . oz. (310 ml) 2 gal. (7.6 l)
KML-631 13.5 . oz. (400 ml) 2.5 gal. (9.5 l)
2) Remove all ice from the evaporator and the dispenser unit/ice storage bin.
Note: To remove cubes on the evaporator, turn off the power supply and turn it back on
after 3 minutes. The harvest cycle starts and the cubes will be removed from the
evaporator.
3) Turn off the power supply.
4) Remove the front panel, then move the service switch to the "DRAIN" position. Move
the control switch to the "SERVICE" position.
5) Replace the front panel in its correct position, then turn on the power supply for
2 minutes.
6) Turn off the power supply.
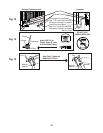
7) Remove the front panel, then remove the front insulation panel by lifting up the panel
slightly and pulling it towards you.
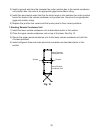
8) In bad or severe water conditions, clean the oat switch assembly as described below.
Otherwise, continue to step 9.
a. Remove the 3 screws securing the oat switch assembly, then remove the
assembly.
b. Remove the retainer rod from the bottom of the oat switch housing, then remove
the oat. Be careful not to bend the retainer rod excessively when removing it.
c. Wipe down the oat switch housing, shaft, oat, and retainer rod with cleaning
solution. Rinse the parts thoroughly with clean water.
d. Reassemble the oat switch assembly and replace it in its correct position. Secure
the oat switch assembly with the screws.