Here you can set a time period of up to 10 hours, that will count down.
When it reaches zero, the timer will emit an audible tone.
For Example: If you set 20 minutes, the audible tone will occur 20
minutes later.
SETTING THE MINUTE MINDER
Step 1 Ensure the time of day is set correctly.
Step 2 Press and release the ‘+’ button.
Note: Step 3 must be started within 10 seconds, otherwise
you must repeat Step 2.
Step 3 Press the ‘+’ button to set the required time period.
A ‘Bell’ symbol will light up.
The time period can be adjusted, by using the ‘+’ button to
increase the time period or the ‘-’ button to decrease the
time period.
Release all buttons, the timer display will show the remaining time
period. The ‘Bell’ symbol will remain lit to signify that a time period has
been set.
At the end of the set time an audible tone will be heard and the ‘Bell’
symbol will disappear.
Step 4 To cancel the audible tone press the ‘+’ button.
To cancel the minute minder period press the ‘-’ button until 0.00 is
displayed in the window then press the ‘+’ button.
If at any time the display shows flashing zero’s, it is likely that the
electricity supply has been interrupted.
Reset the timer to the correct time of day.
Note: The Timer display will show the minute minder
period as follows:
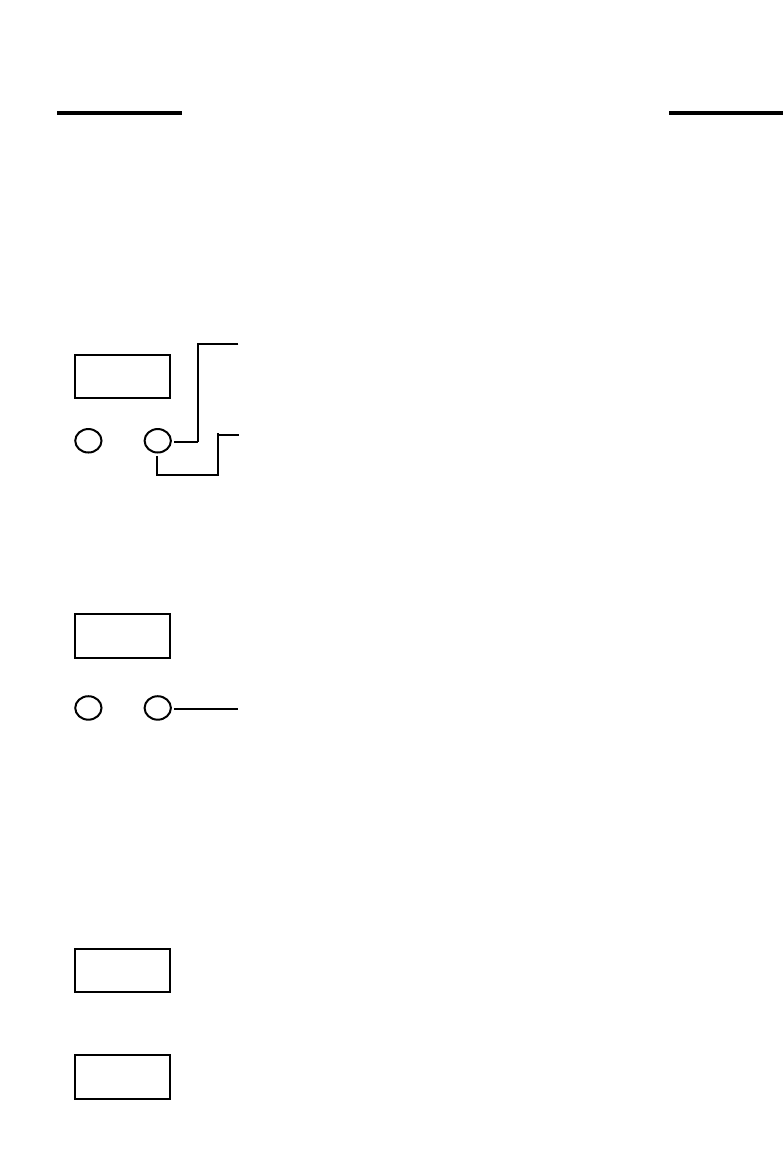
Any period up to 99 minutes and 50 seconds -
The display shows MINUTES and SECONDS (10s intervals)
eg. 19 minutes 50 seconds
Any period between 100 minutes (1 hour 40 minutes) and up
to 10 hours -
The display shows HOURS and MINUTES
eg. 1 hour 41 minutes
0.00
19.50
1.41
0.00
13
2 BUTTON TIMER OPERATION


