


Rev. 0608
5
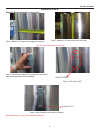
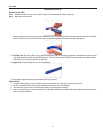
10. Use nger to smooth silicone as thin as possible at
masking tape on inside and outside of rear mullion
(apply additional silicone if necessary). Remove
tape applied on line #3.
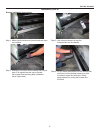
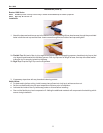
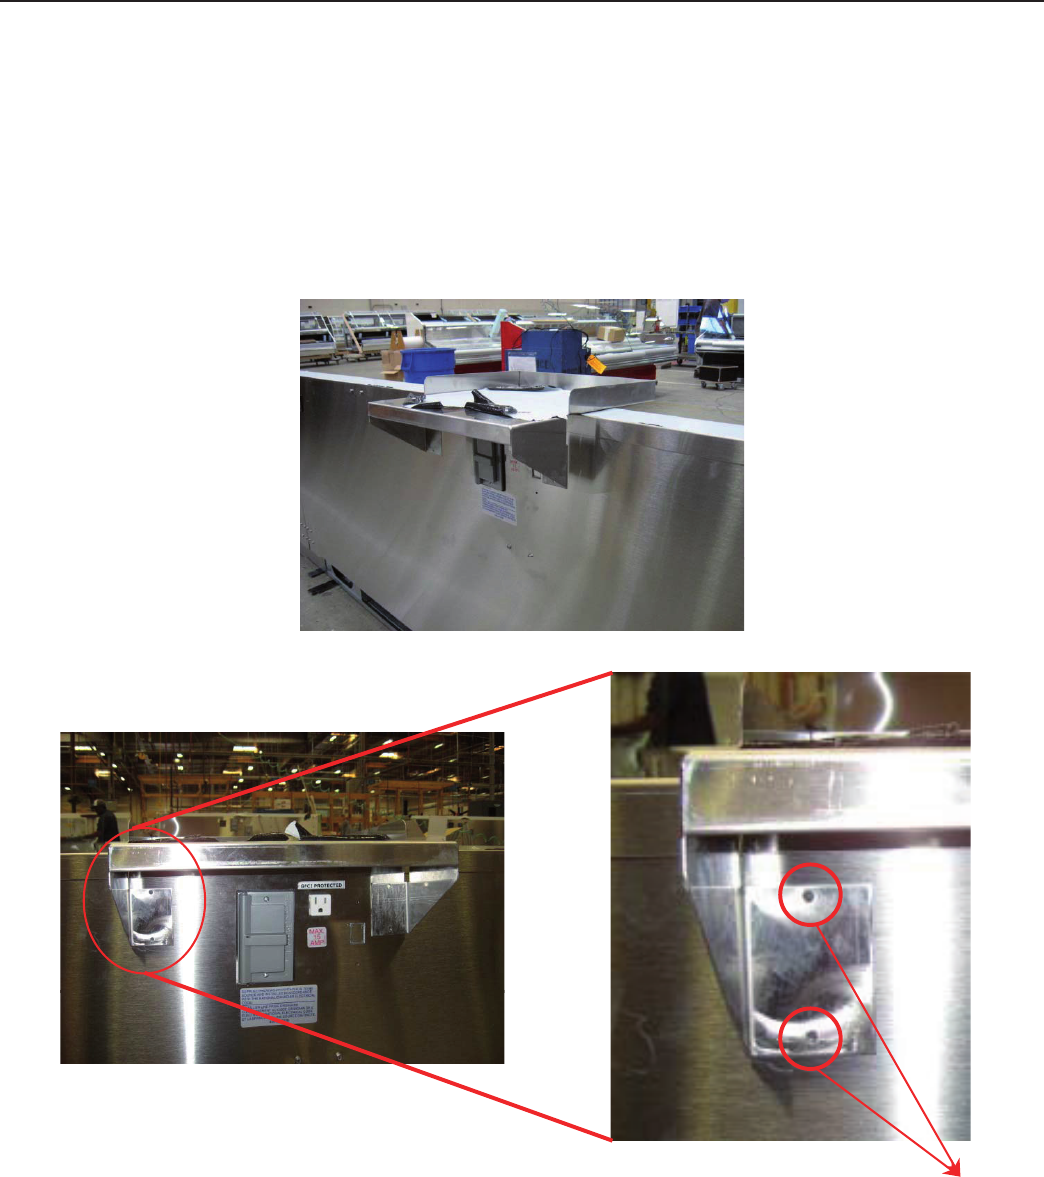
Corner Wedges
Corner wedges are attached via front and rear camlocks.
Use a 7mm allen wrench to turn the locks. Do not
overtighten! Join the top by using a joint bracket (included
in joint kit) with 3/8” bolts.
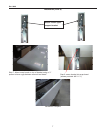
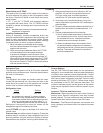
Joint Trim
After cases have been leveled and joined, and refrigeration,
electrical, and wasted piping work completed, install the
splashguards. Fasten along the top edge, or center, with
#10 X 3/3” sheet metal screws.
DO NOT SEAL JOINT TRIM TO FLOOR!
Installation (Cont'd)
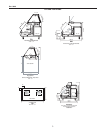
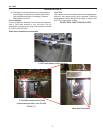
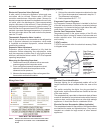
Scale Stand Installation Instructions
1.- Set Scale Stand to desire location
2.- Drill holes and screw in place
(with screws provided – Hex Tek S/S
10-16 X ½”)
Note: Use hole pattern