


GEM Models A/W R&R- Water Reservoir, Bin Control
Page 26
Water Reservoir:
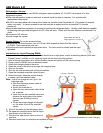
1. Disconnect electrical power supply.
2. Shut off water supply to the ice maker.
3. Remove the front panel.
4. Disconnect water inlet tube from reservoir inlet fitting.
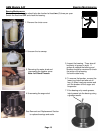
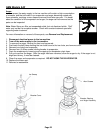
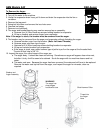
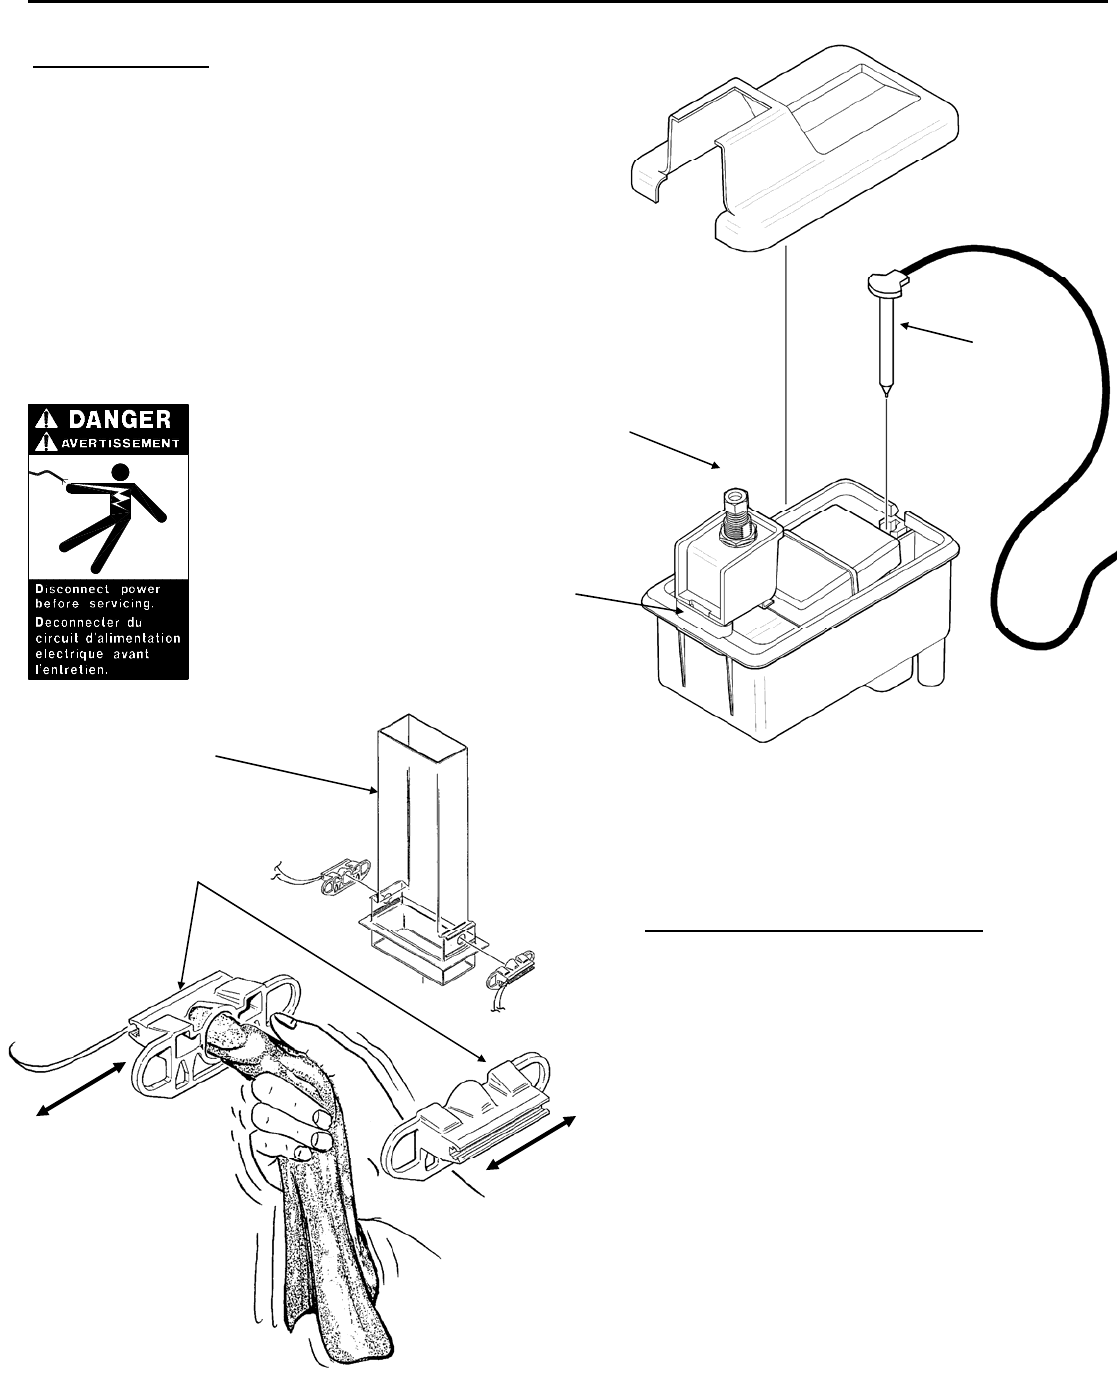
5. To remove float valve, push in “locking tabs” as shown
and pull float up. Note: The plunger/seat is available
separately as a part.
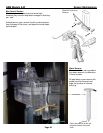
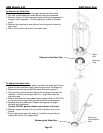
6. To remove reservoir, pull up and remove water sensor.
7. Disconnect water outlet tubes.
8. Remove mounting screws from reservoir bracket, and
remove reservoir from ice maker.
9. Reverse to reassemble.
Water
Sensor
Float Assembly
Locking Tabs
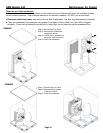
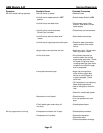
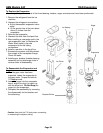
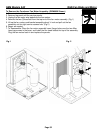
Ice Chute
Slide Bin
Controls to
Remove
Bin Controls (Ice Level Sensors)
1. Disconnect electrical power supply.
2. Remove the front panel.
3. Remove the control box cover.
4. Locate ice chute, at the base of the chute, in
front of and behind it are two plastic bin
control mounts.
5. Slide each bin control to the left, and
disconnect the electrical leads connecting
the bin control to the circuit board.
6. Reverse to reassemble, be certain that the
bin controls are aligned so that the ice level
sensors are visible (centered) through the
holes in the ice chute.